


Swan Wall Panel Trims and Corner Pieces: More Than Accessories—They Are the Key to a Professional Finish
Wall Solutions by Swan Canada
Wall Panel Trims and Corner Pieces: More Than Accessories
Corner pieces, starter trims, joining profiles, clips and lighting accessories are practical solutions that turn exposed edges and visible joints into a clean, durable and professionally finished wall.

Quick answer
The trim completes the panel system
Wall-panel accessories help finish edges, organize joints, protect corners, secure panels and add decorative lighting. They should be selected before installation—not treated as a last-minute extra.
A complete installation
Why Wall Panel Accessories Matter
A beautiful wall-panel installation is not created by panels alone. Small finishing details can separate a basic installation from a polished, professionally completed wall.
Panels are often installed around columns, beside doors, across large surfaces and along exposed wall edges. Without the correct profile, these areas may show cuts, gaps, open edges or uneven joints. The correct trim solves these problems while supporting a cleaner and more durable result.
- Cover exposed panel edges.
- Create clean inside and outside corners.
- Connect two panels or sheets.
- Conceal minor cutting variations.
- Protect vulnerable edges from impact.
- Provide a controlled start and finish.
- Improve alignment and stability.
- Support integrated LED lighting.
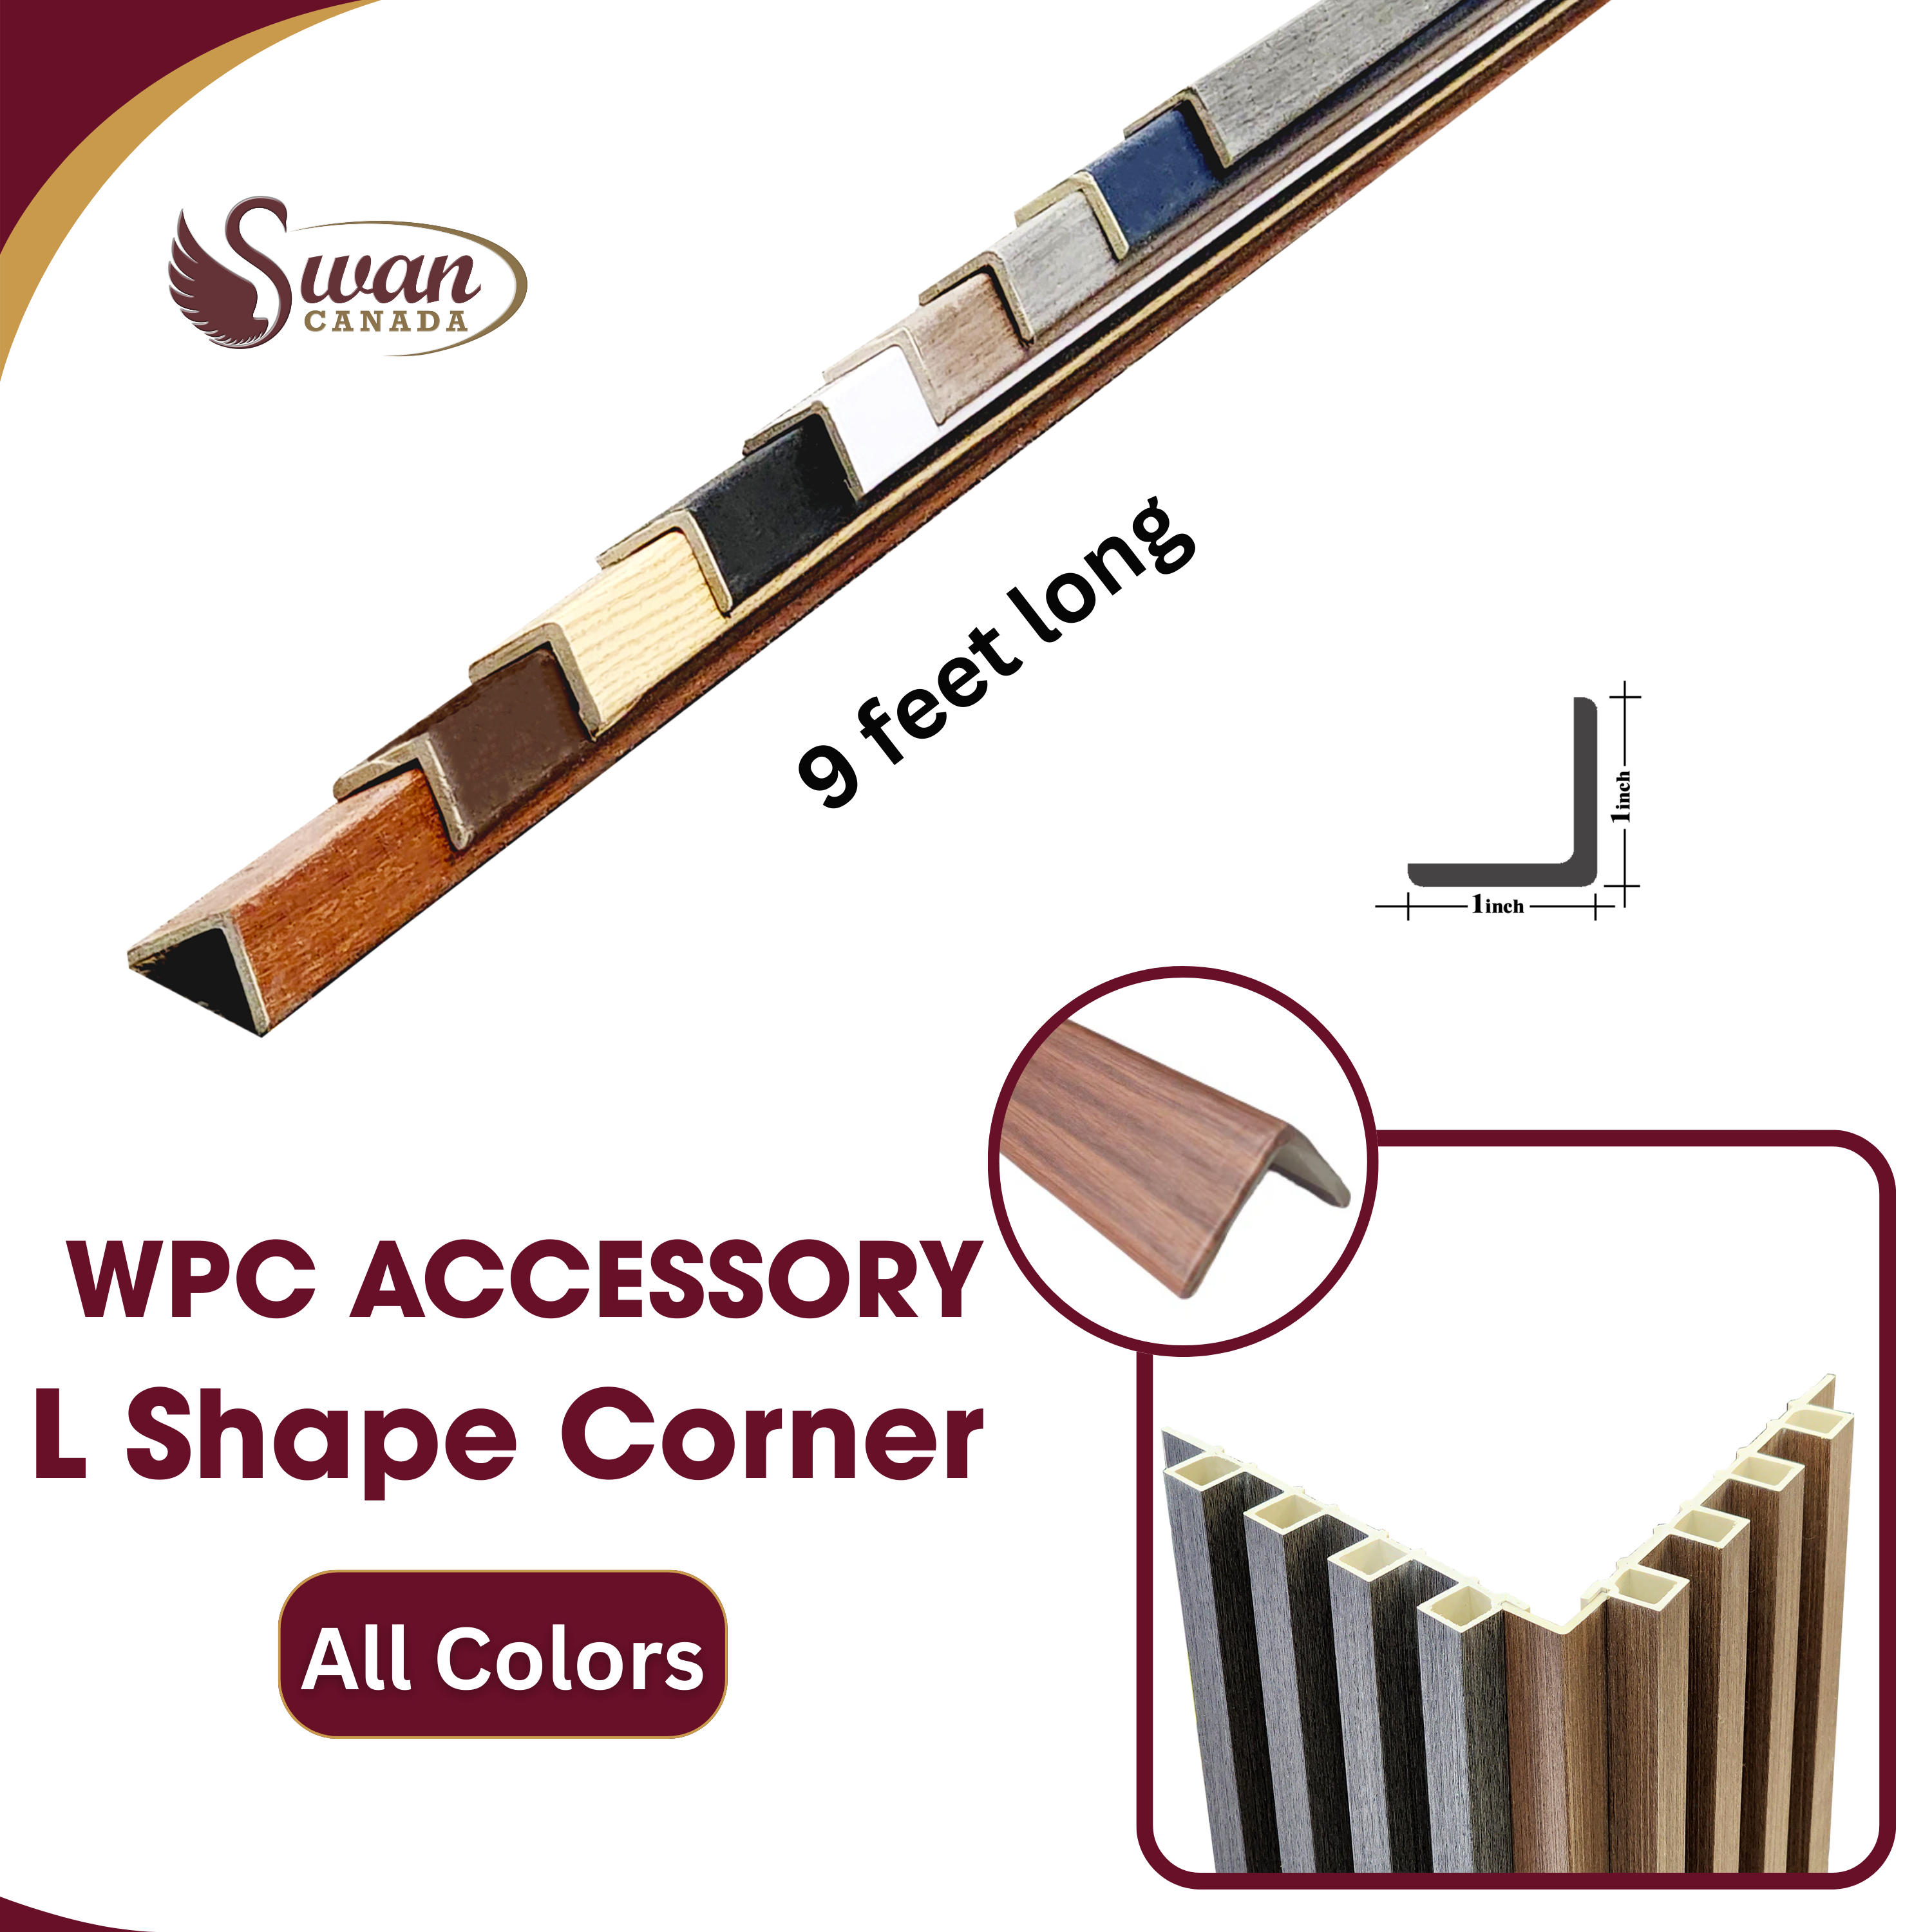
WPC fluted panels
WPC Fluted Wall Panel Accessories
WPC accessories organize the beginning, ending, corners and connections of a fluted wall. They also help secure the panels and add metallic or illuminated design details.
Finish Corners, Starts and Ends
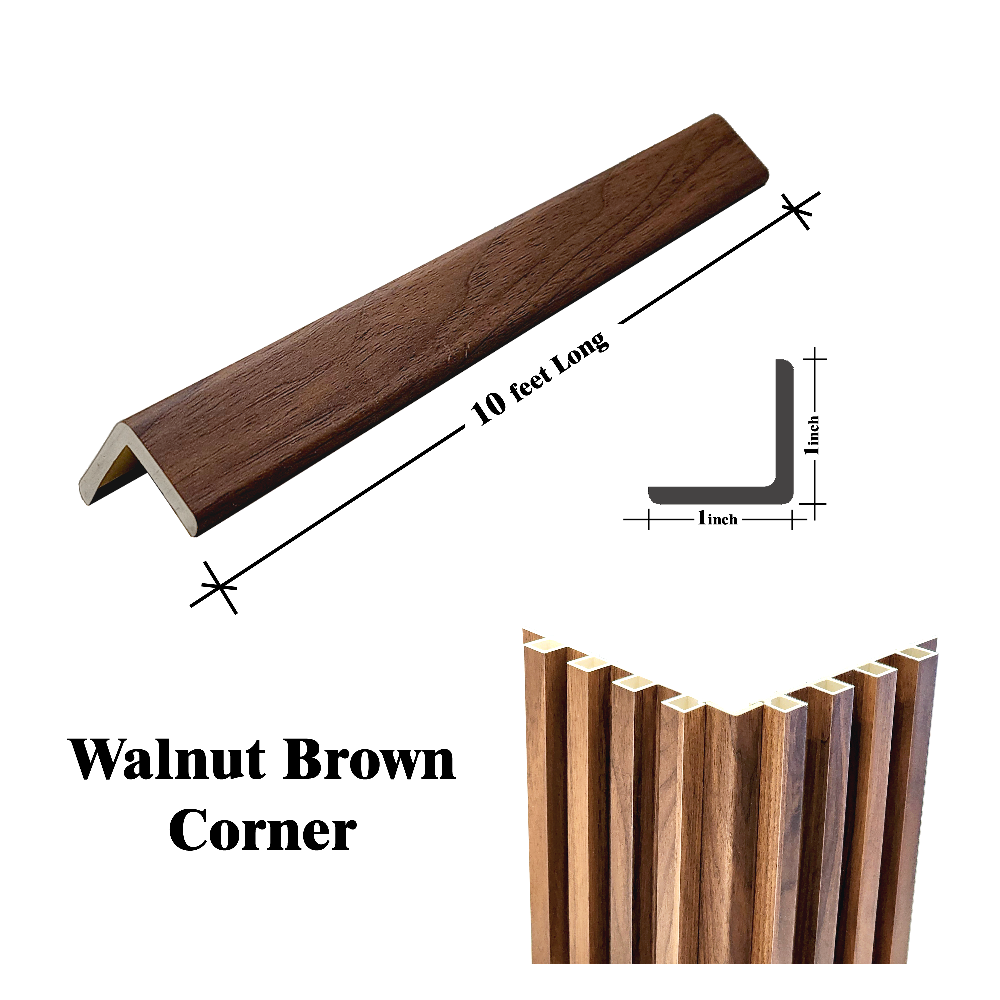
WPC L-Shape Corner Trim
An L-shape trim covers an outside corner or exposed edge, helping create a straighter outline while protecting the panel cut.
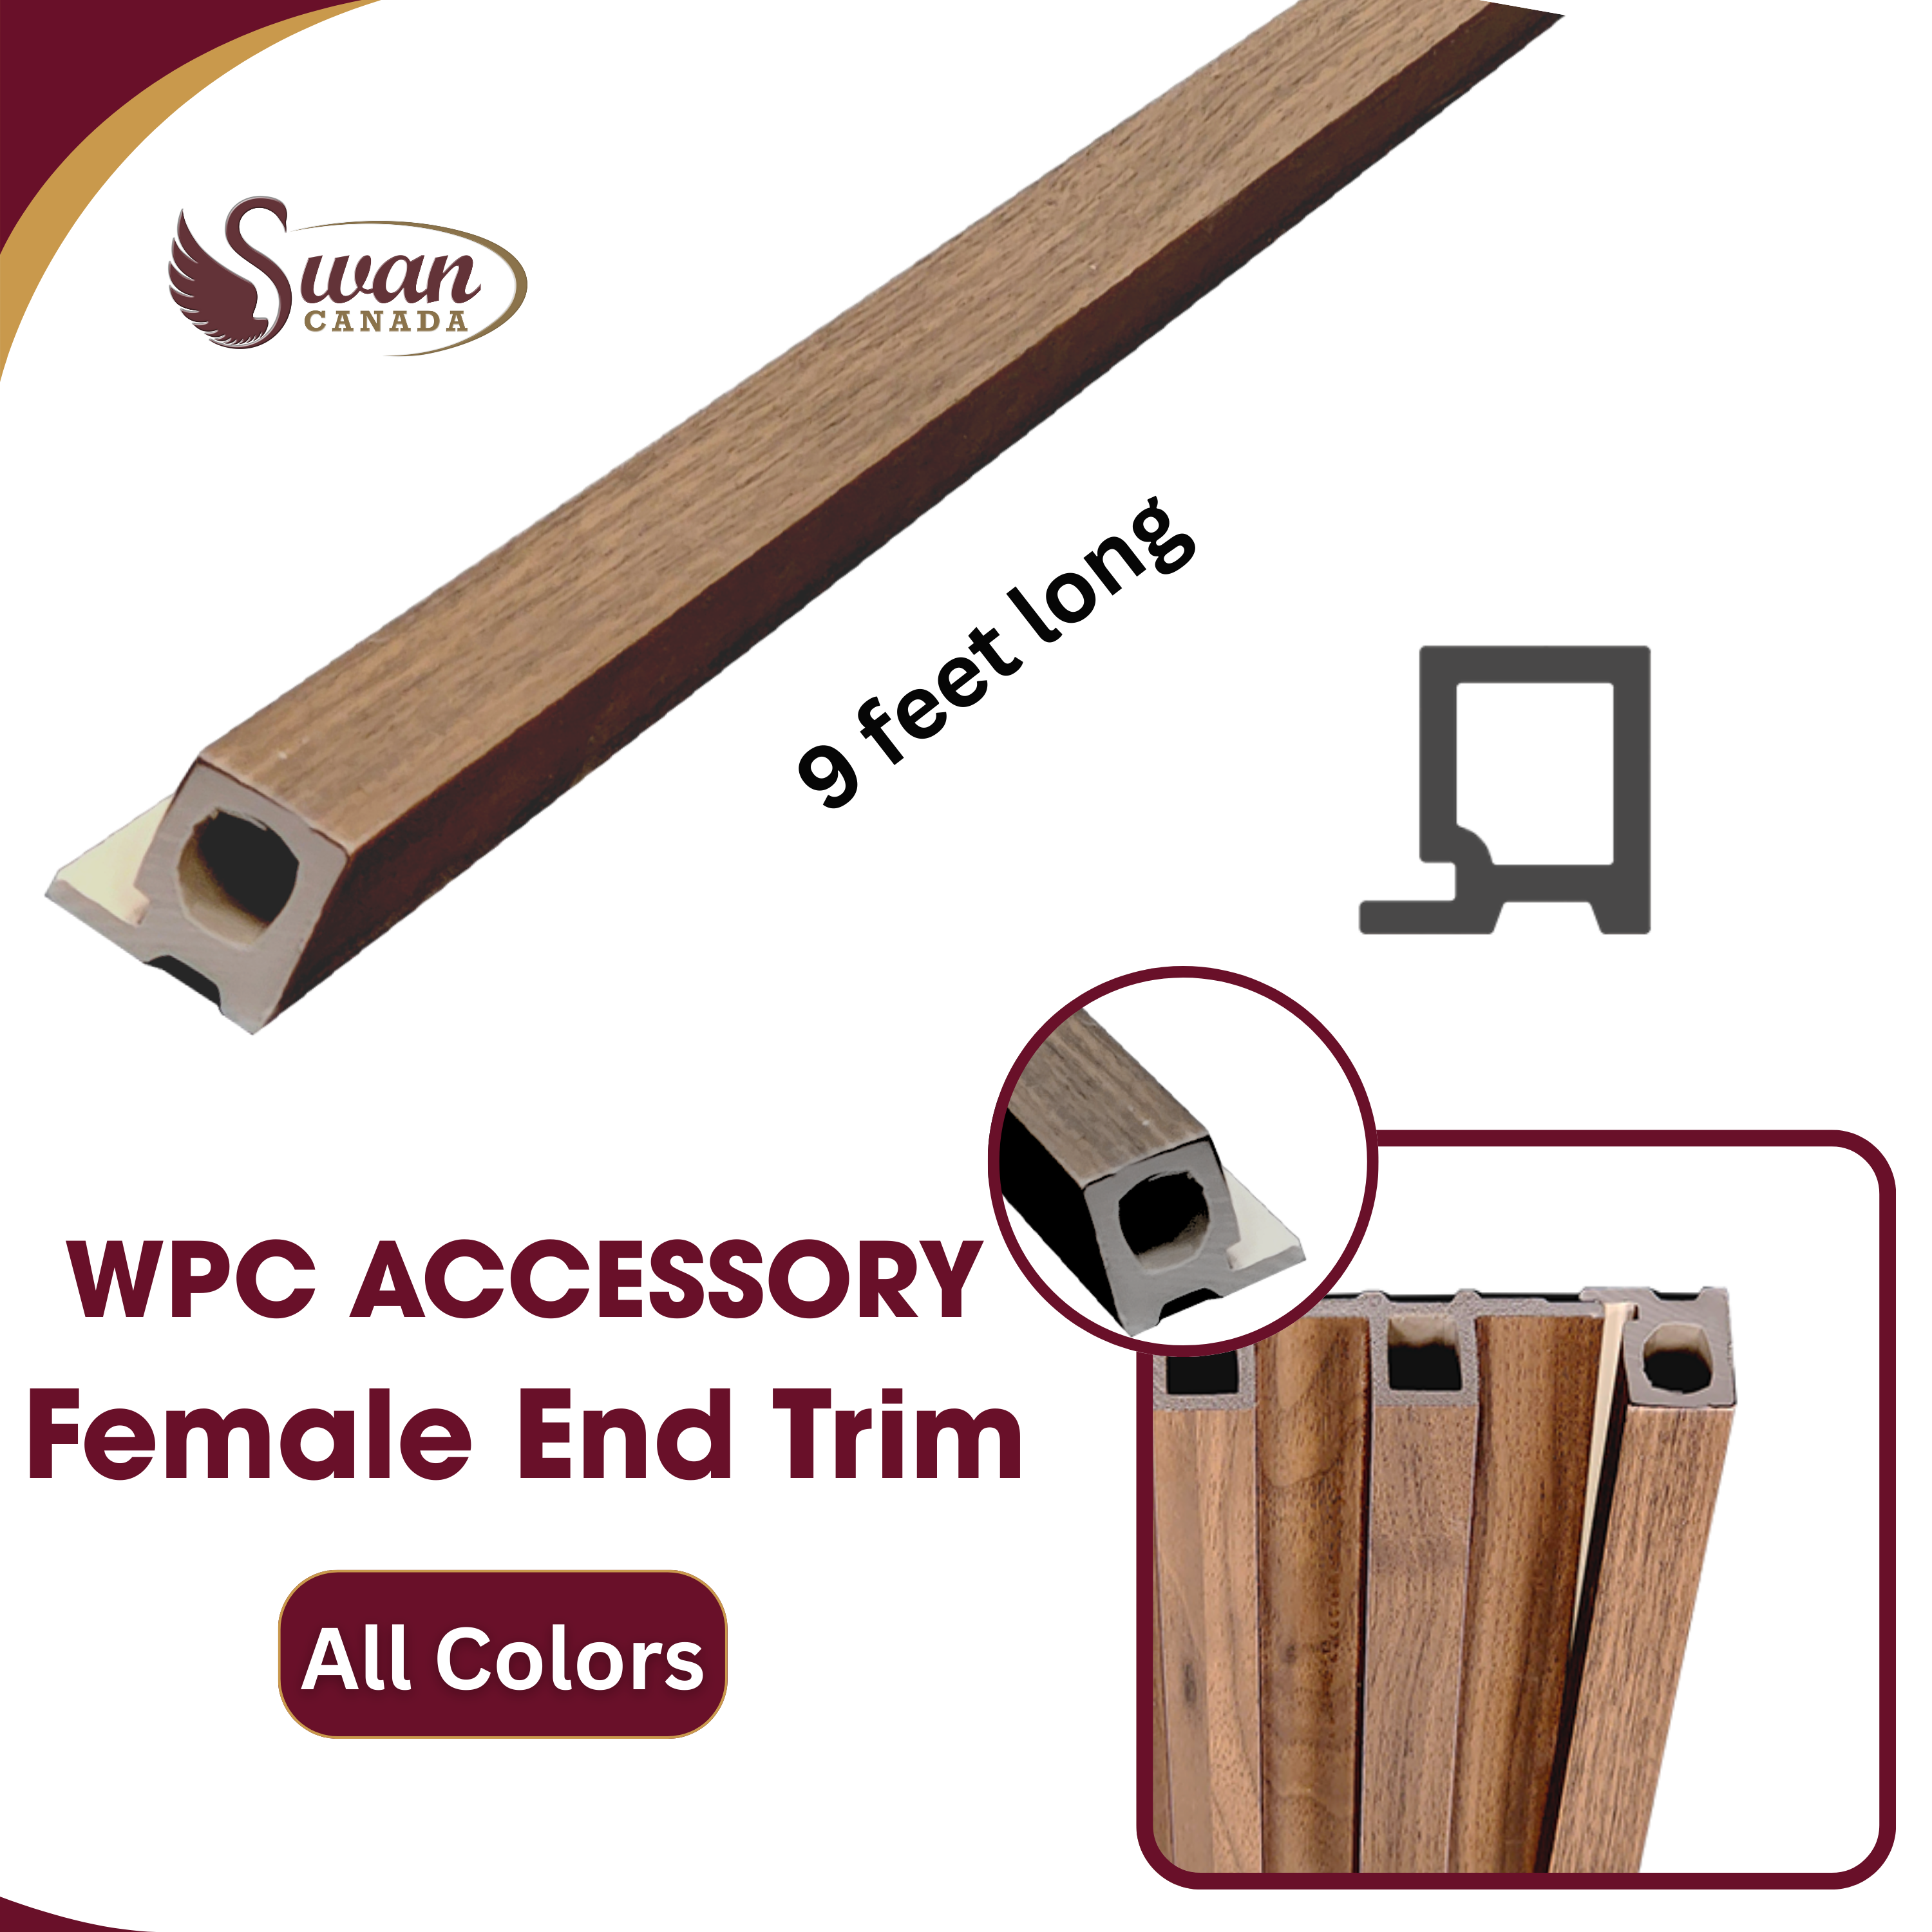
WPC Female Starter Trim
The female starter profile creates an organized beginning and helps position the first panel correctly.
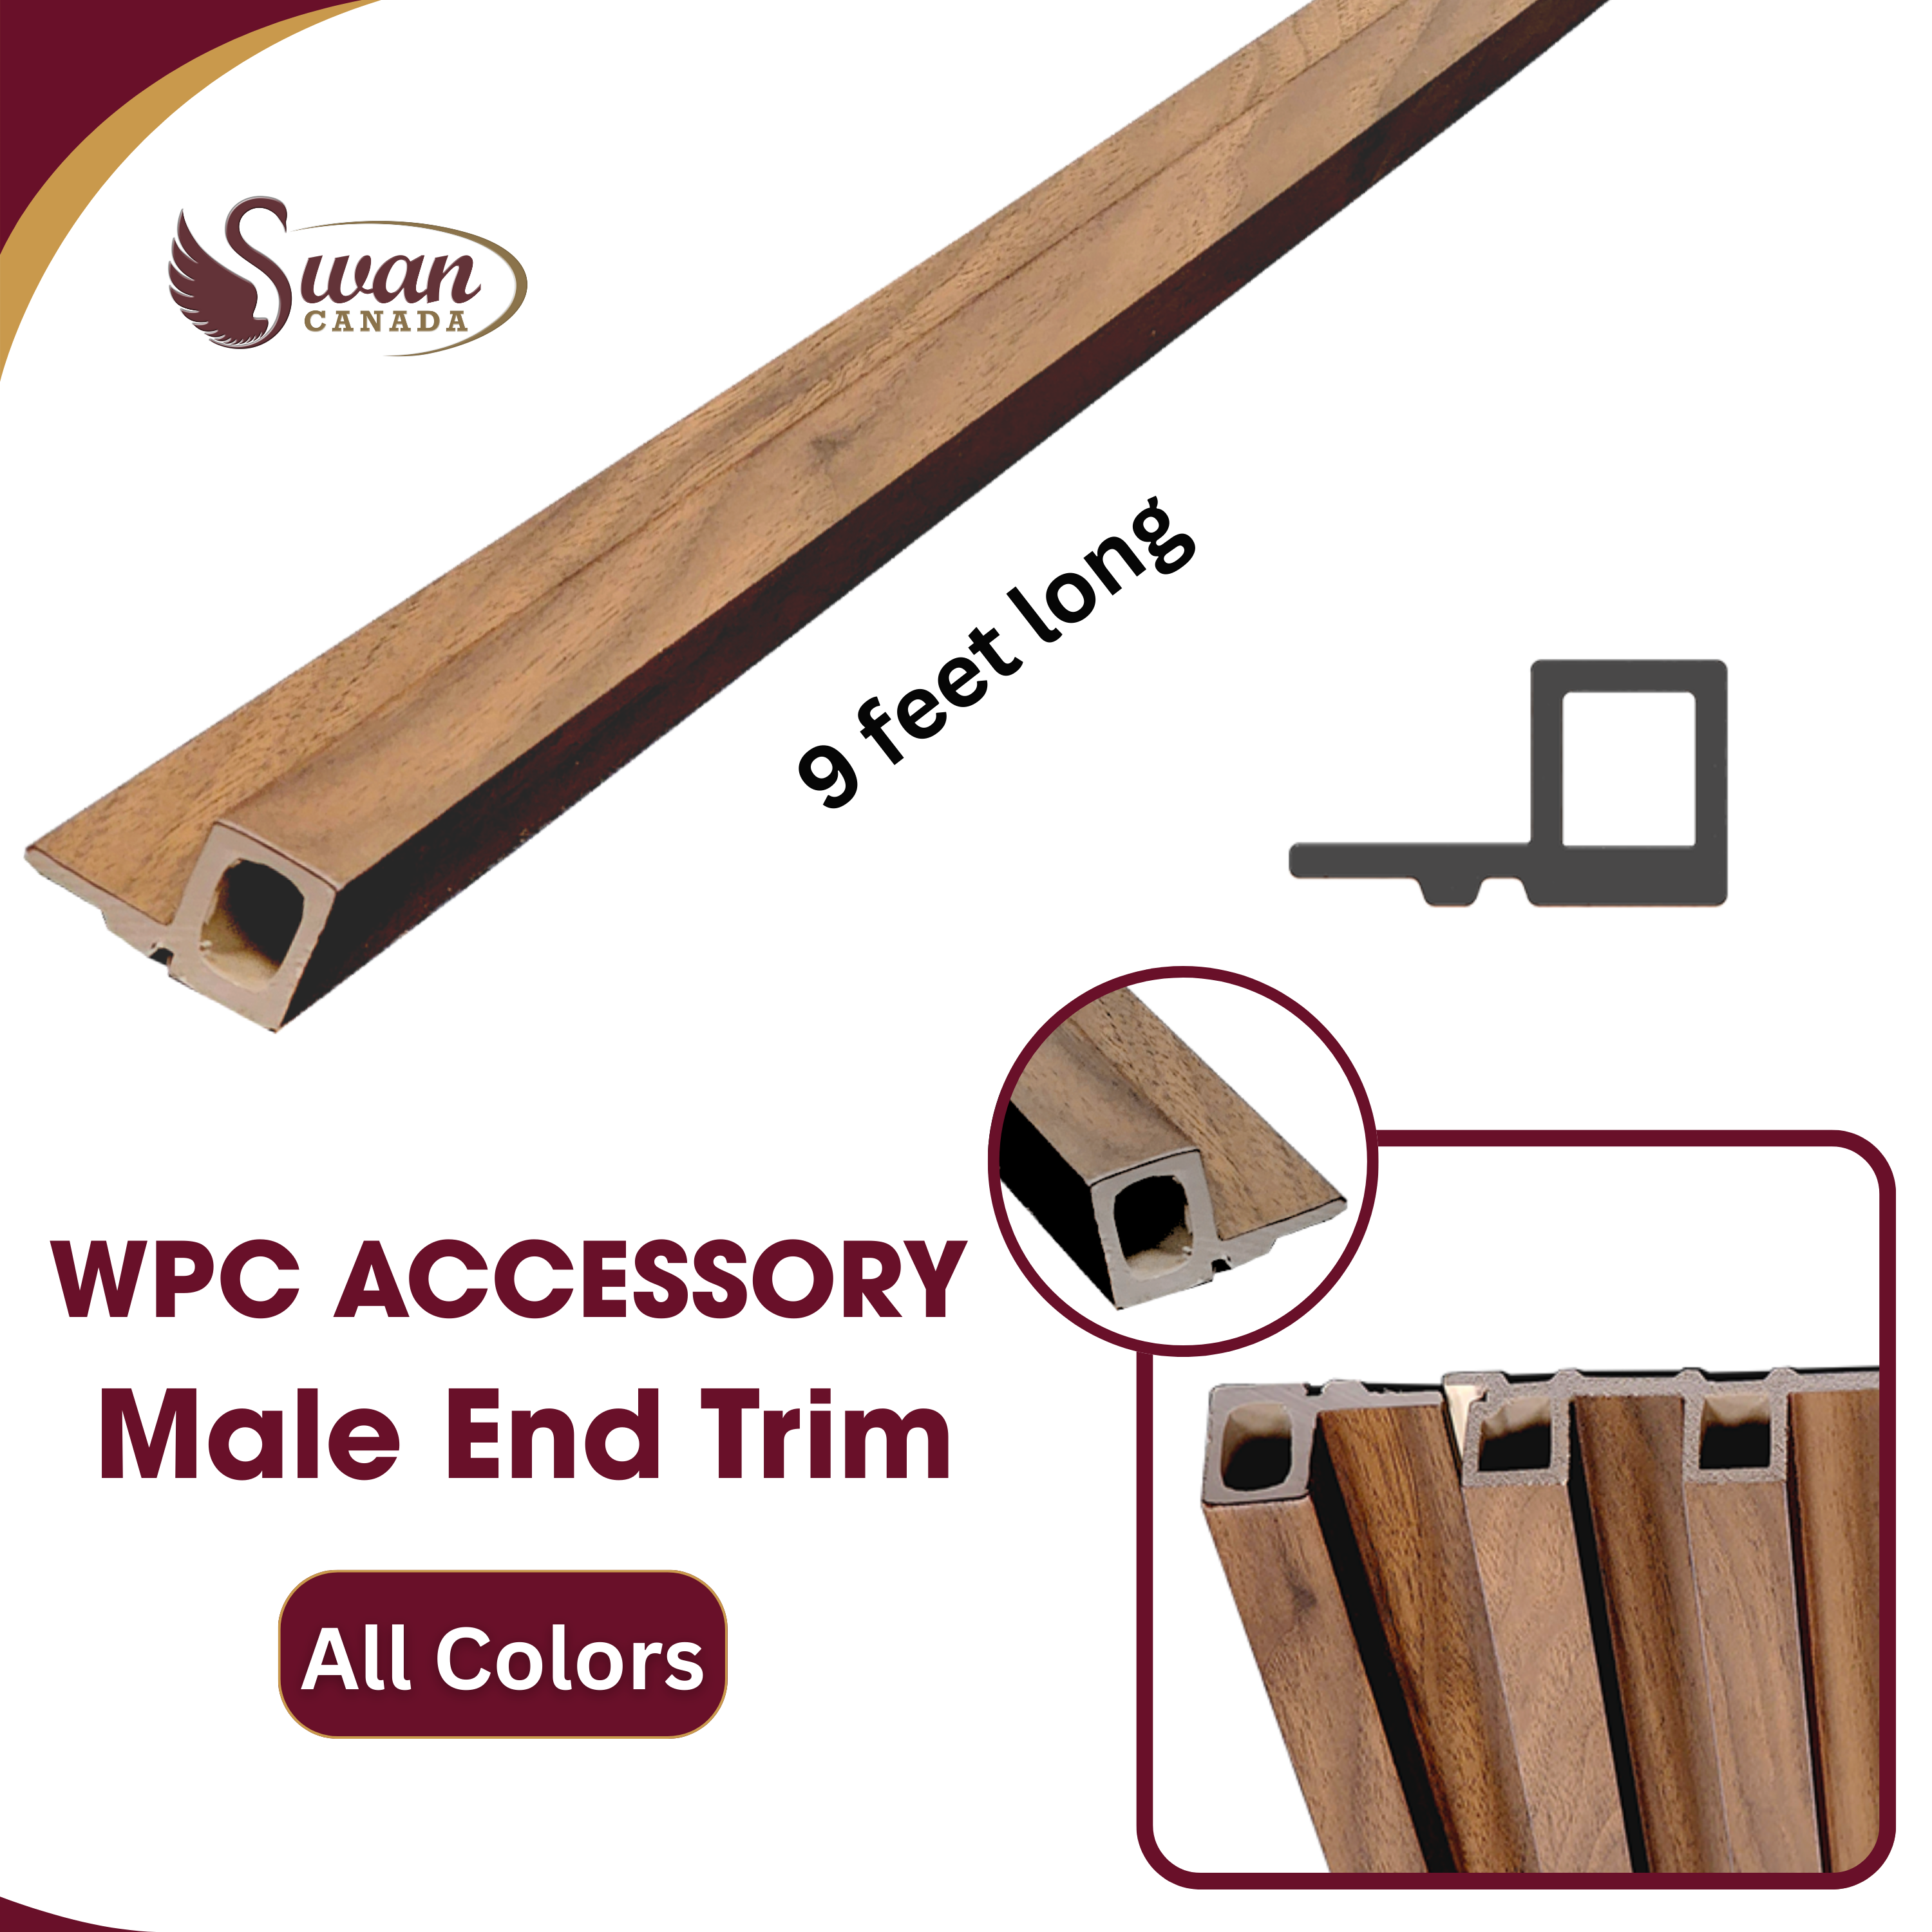
WPC Male End Trim
The male end profile closes the final exposed side and gives the panel system a clean, deliberate ending.
Secure the Panels
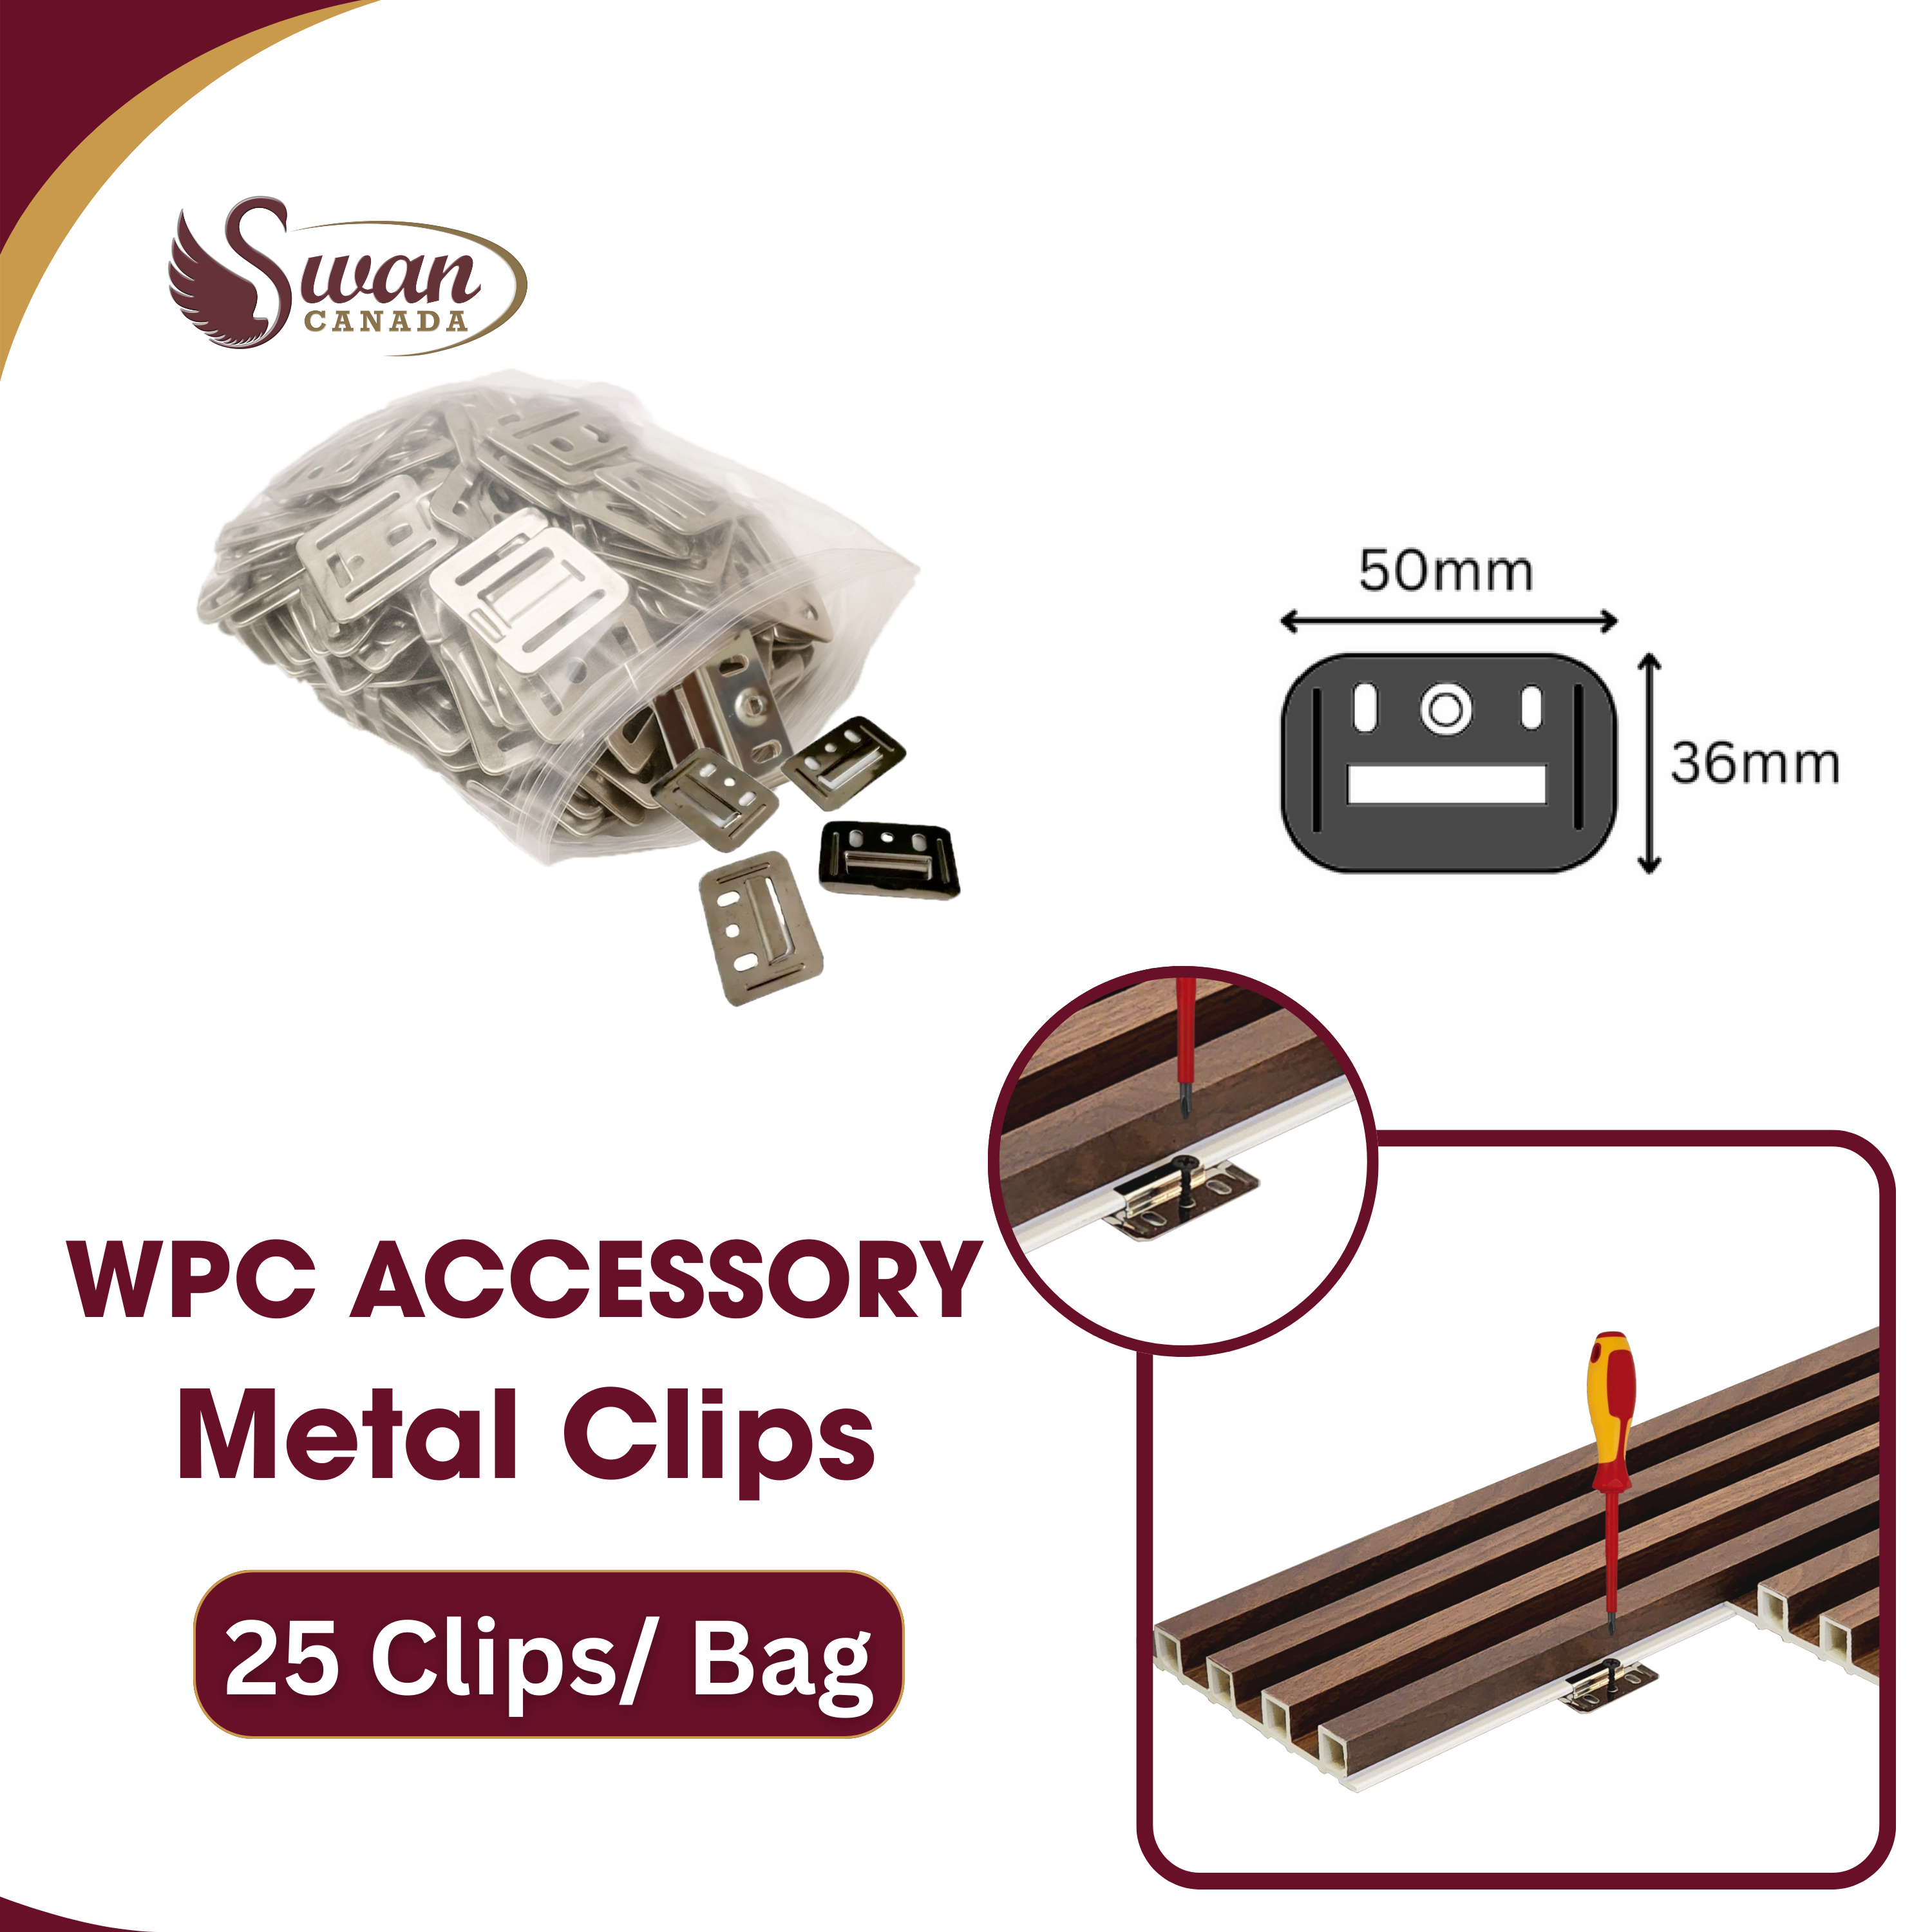
WPC Metal Installation Clips
Hidden clips help secure panels, maintain consistent spacing and reduce visible fasteners on the decorative surface.
Add Decorative Stainless Steel Details
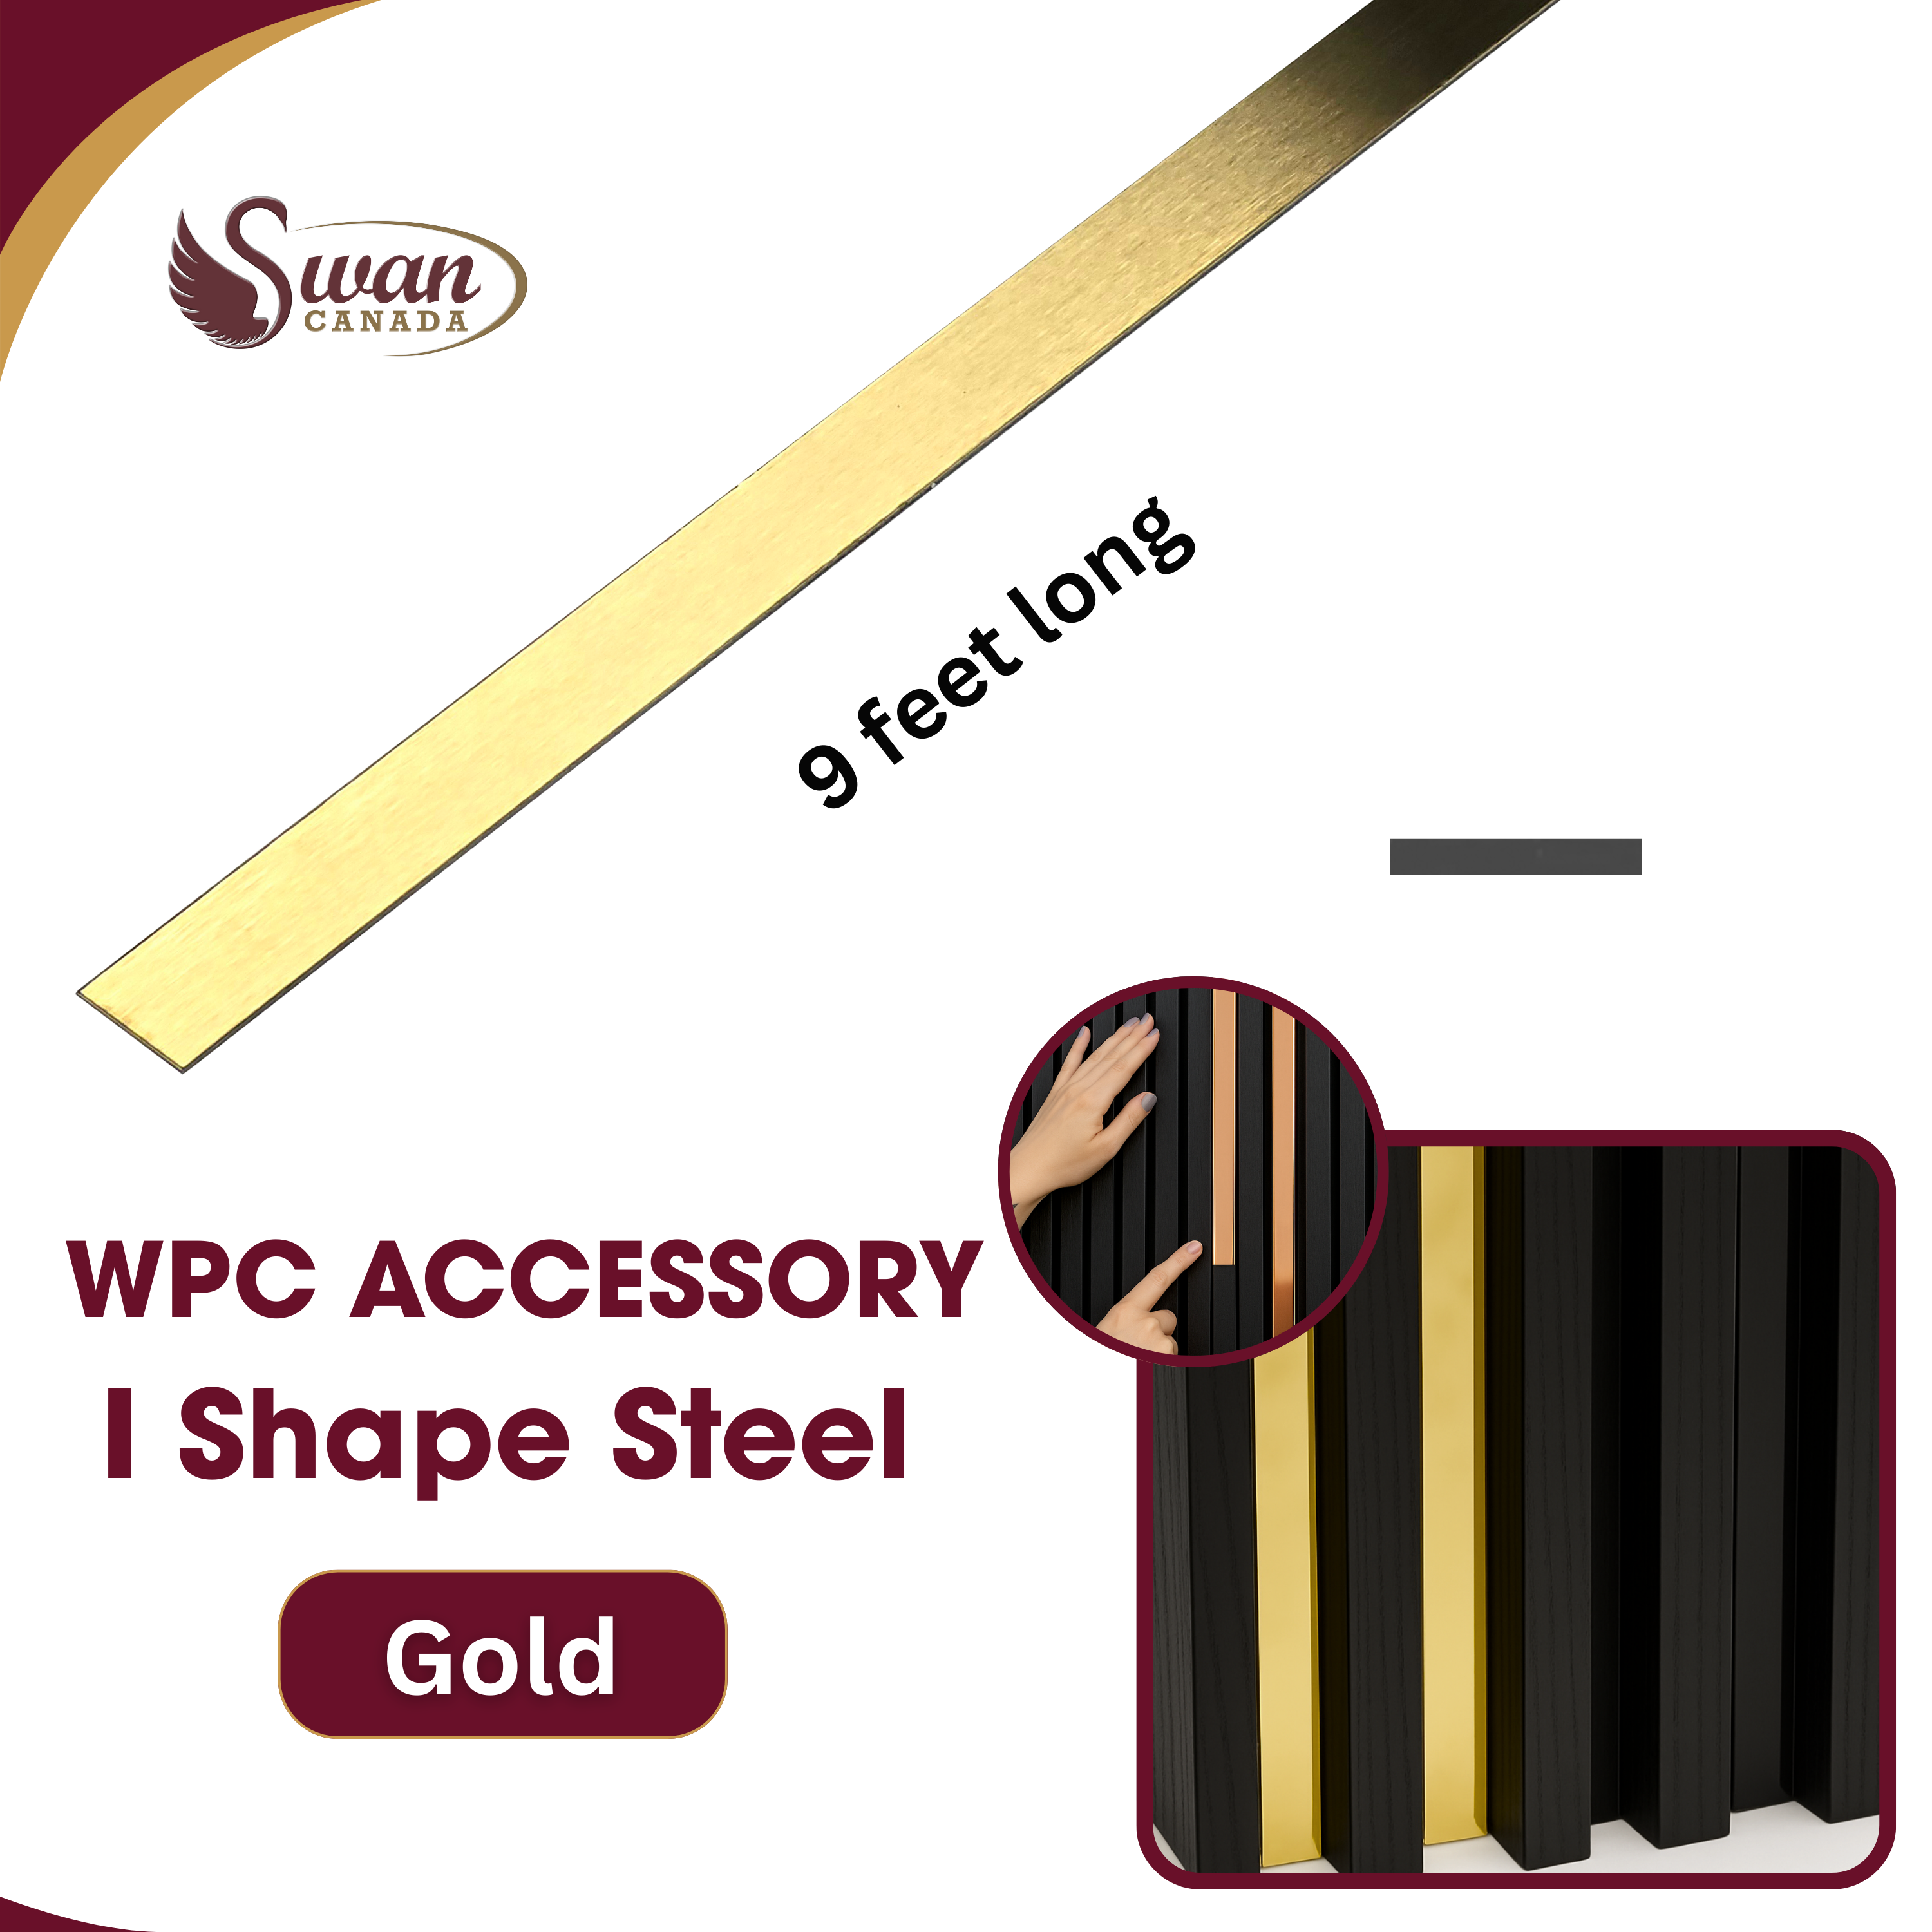
WPC I-Shape Stainless Steel Trim
An I-shape profile creates a straight metallic detail between panel sections and can divide colours or design zones.
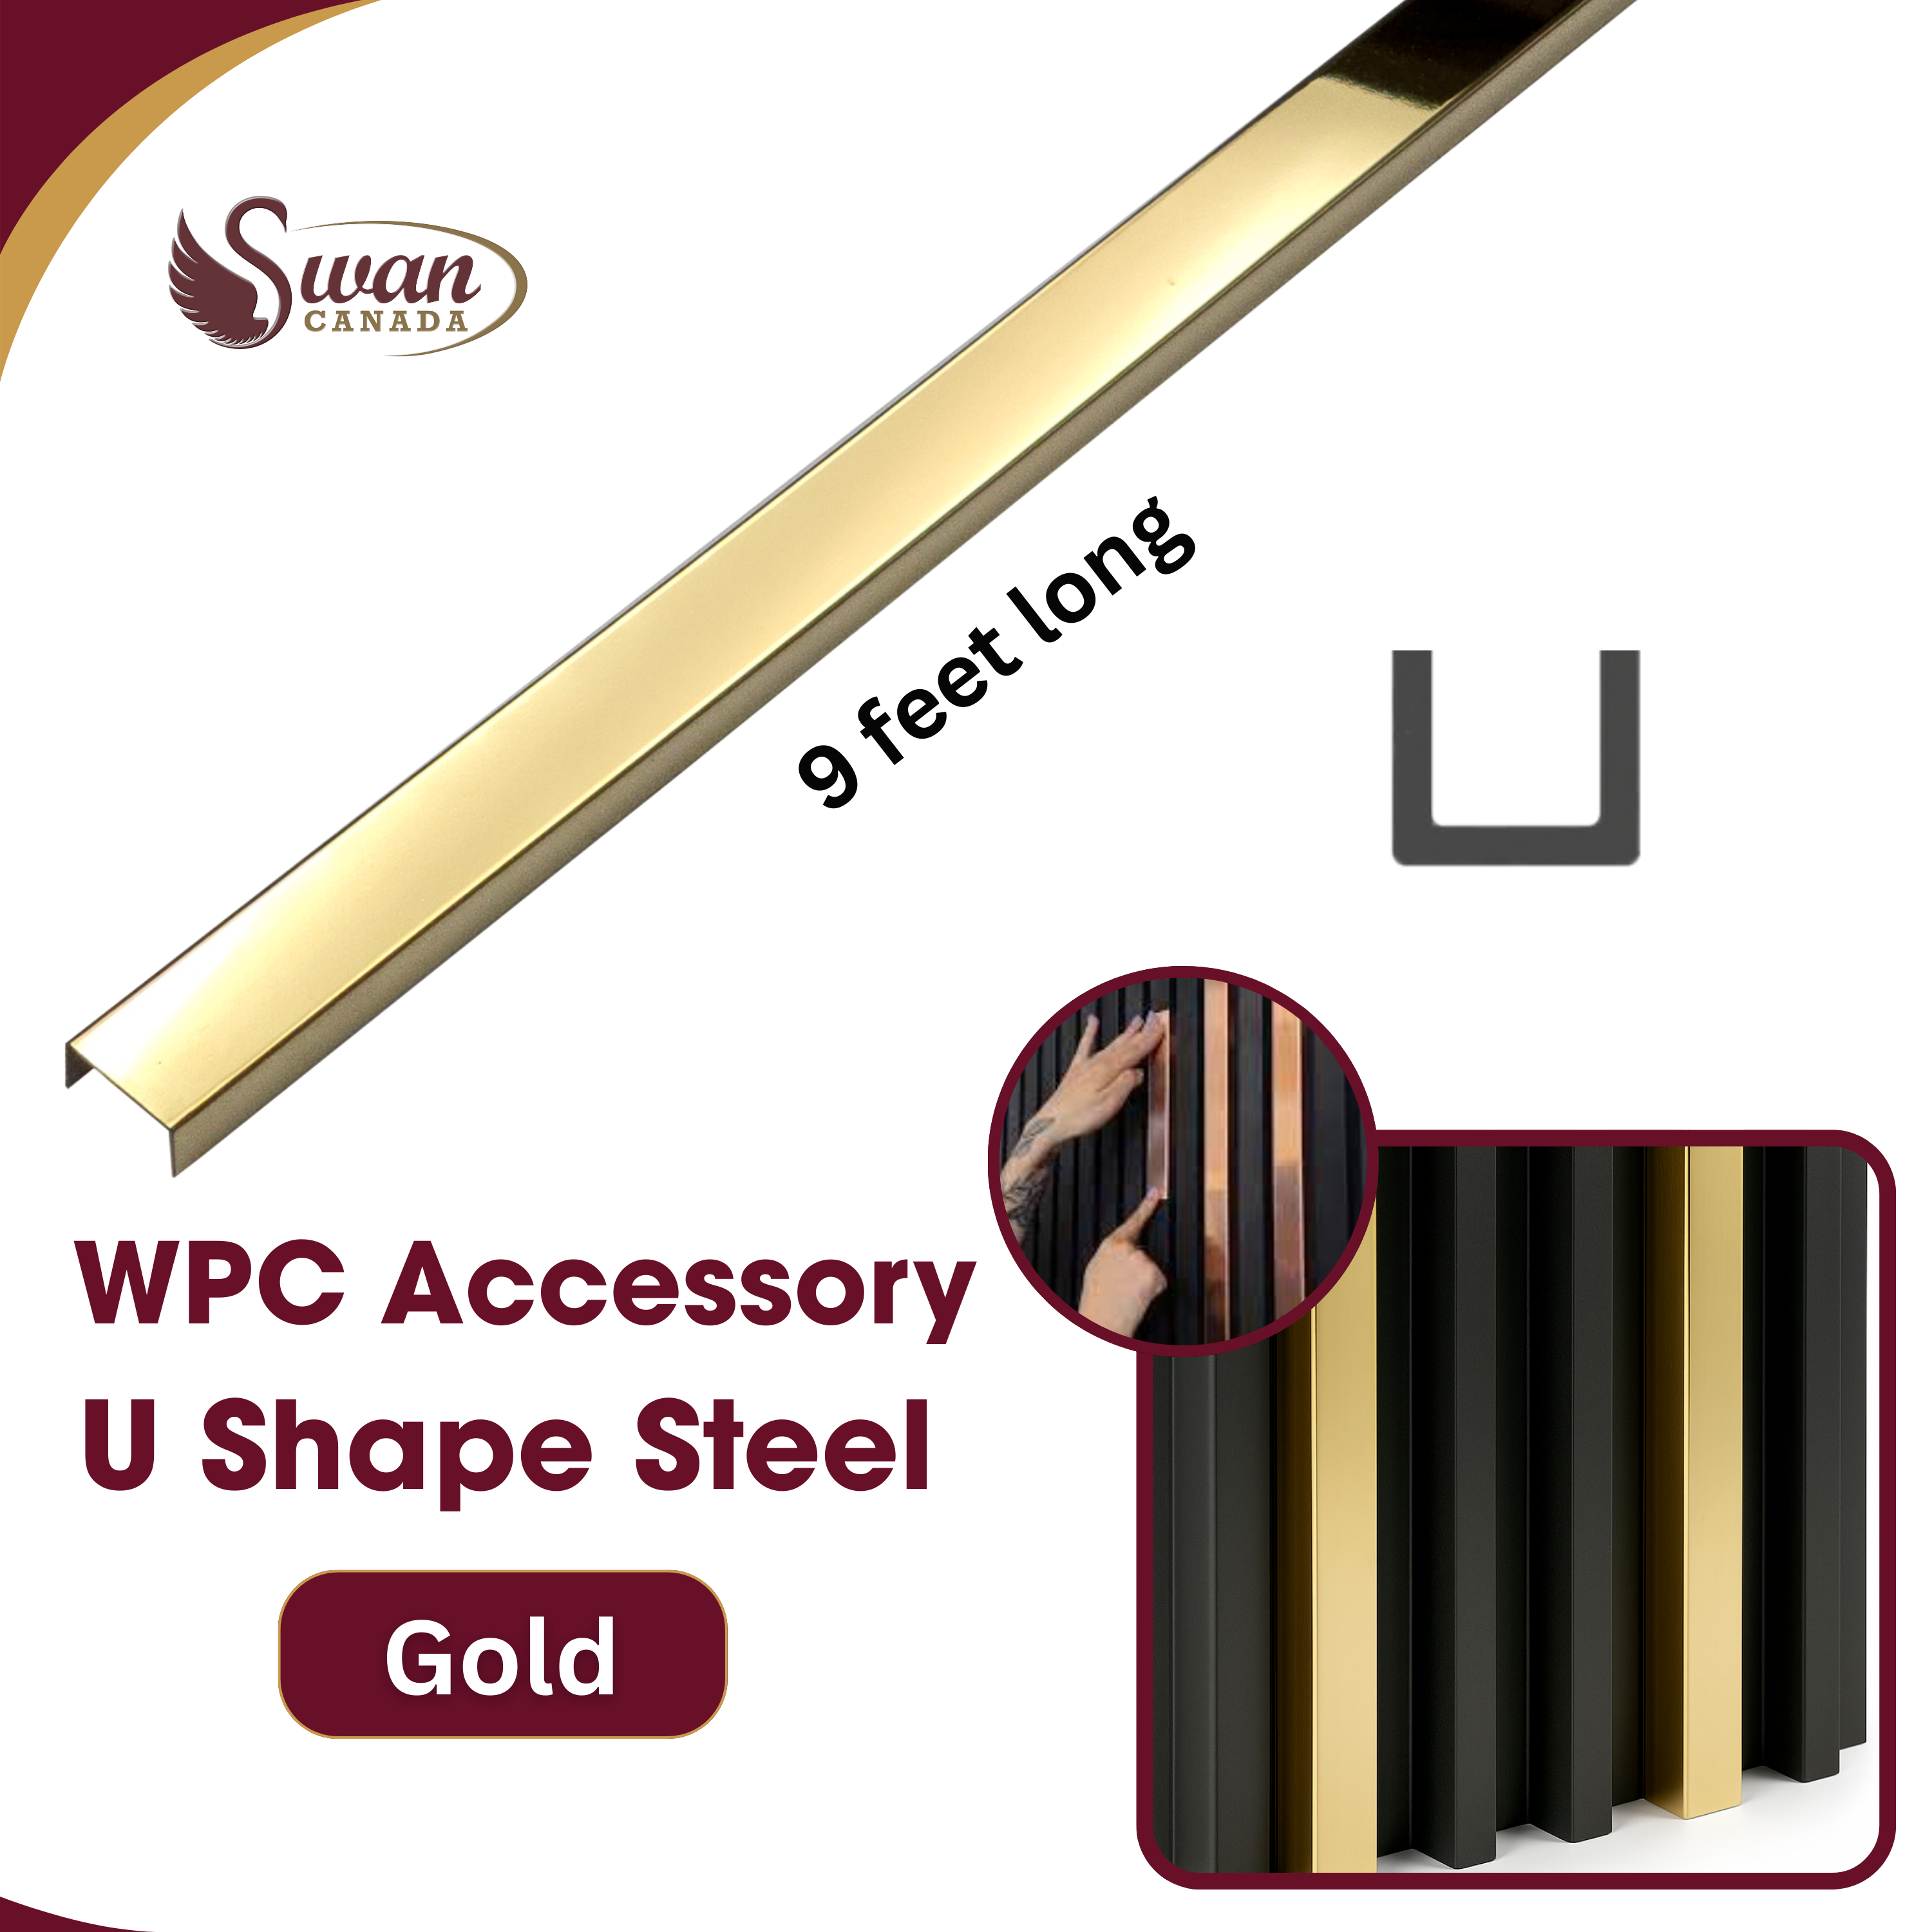
WPC U-Shape Stainless Steel Trim
A U-shape profile caps an exposed panel edge, frames a custom section and adds a modern metallic border.
Integrate Warm Feature Lighting
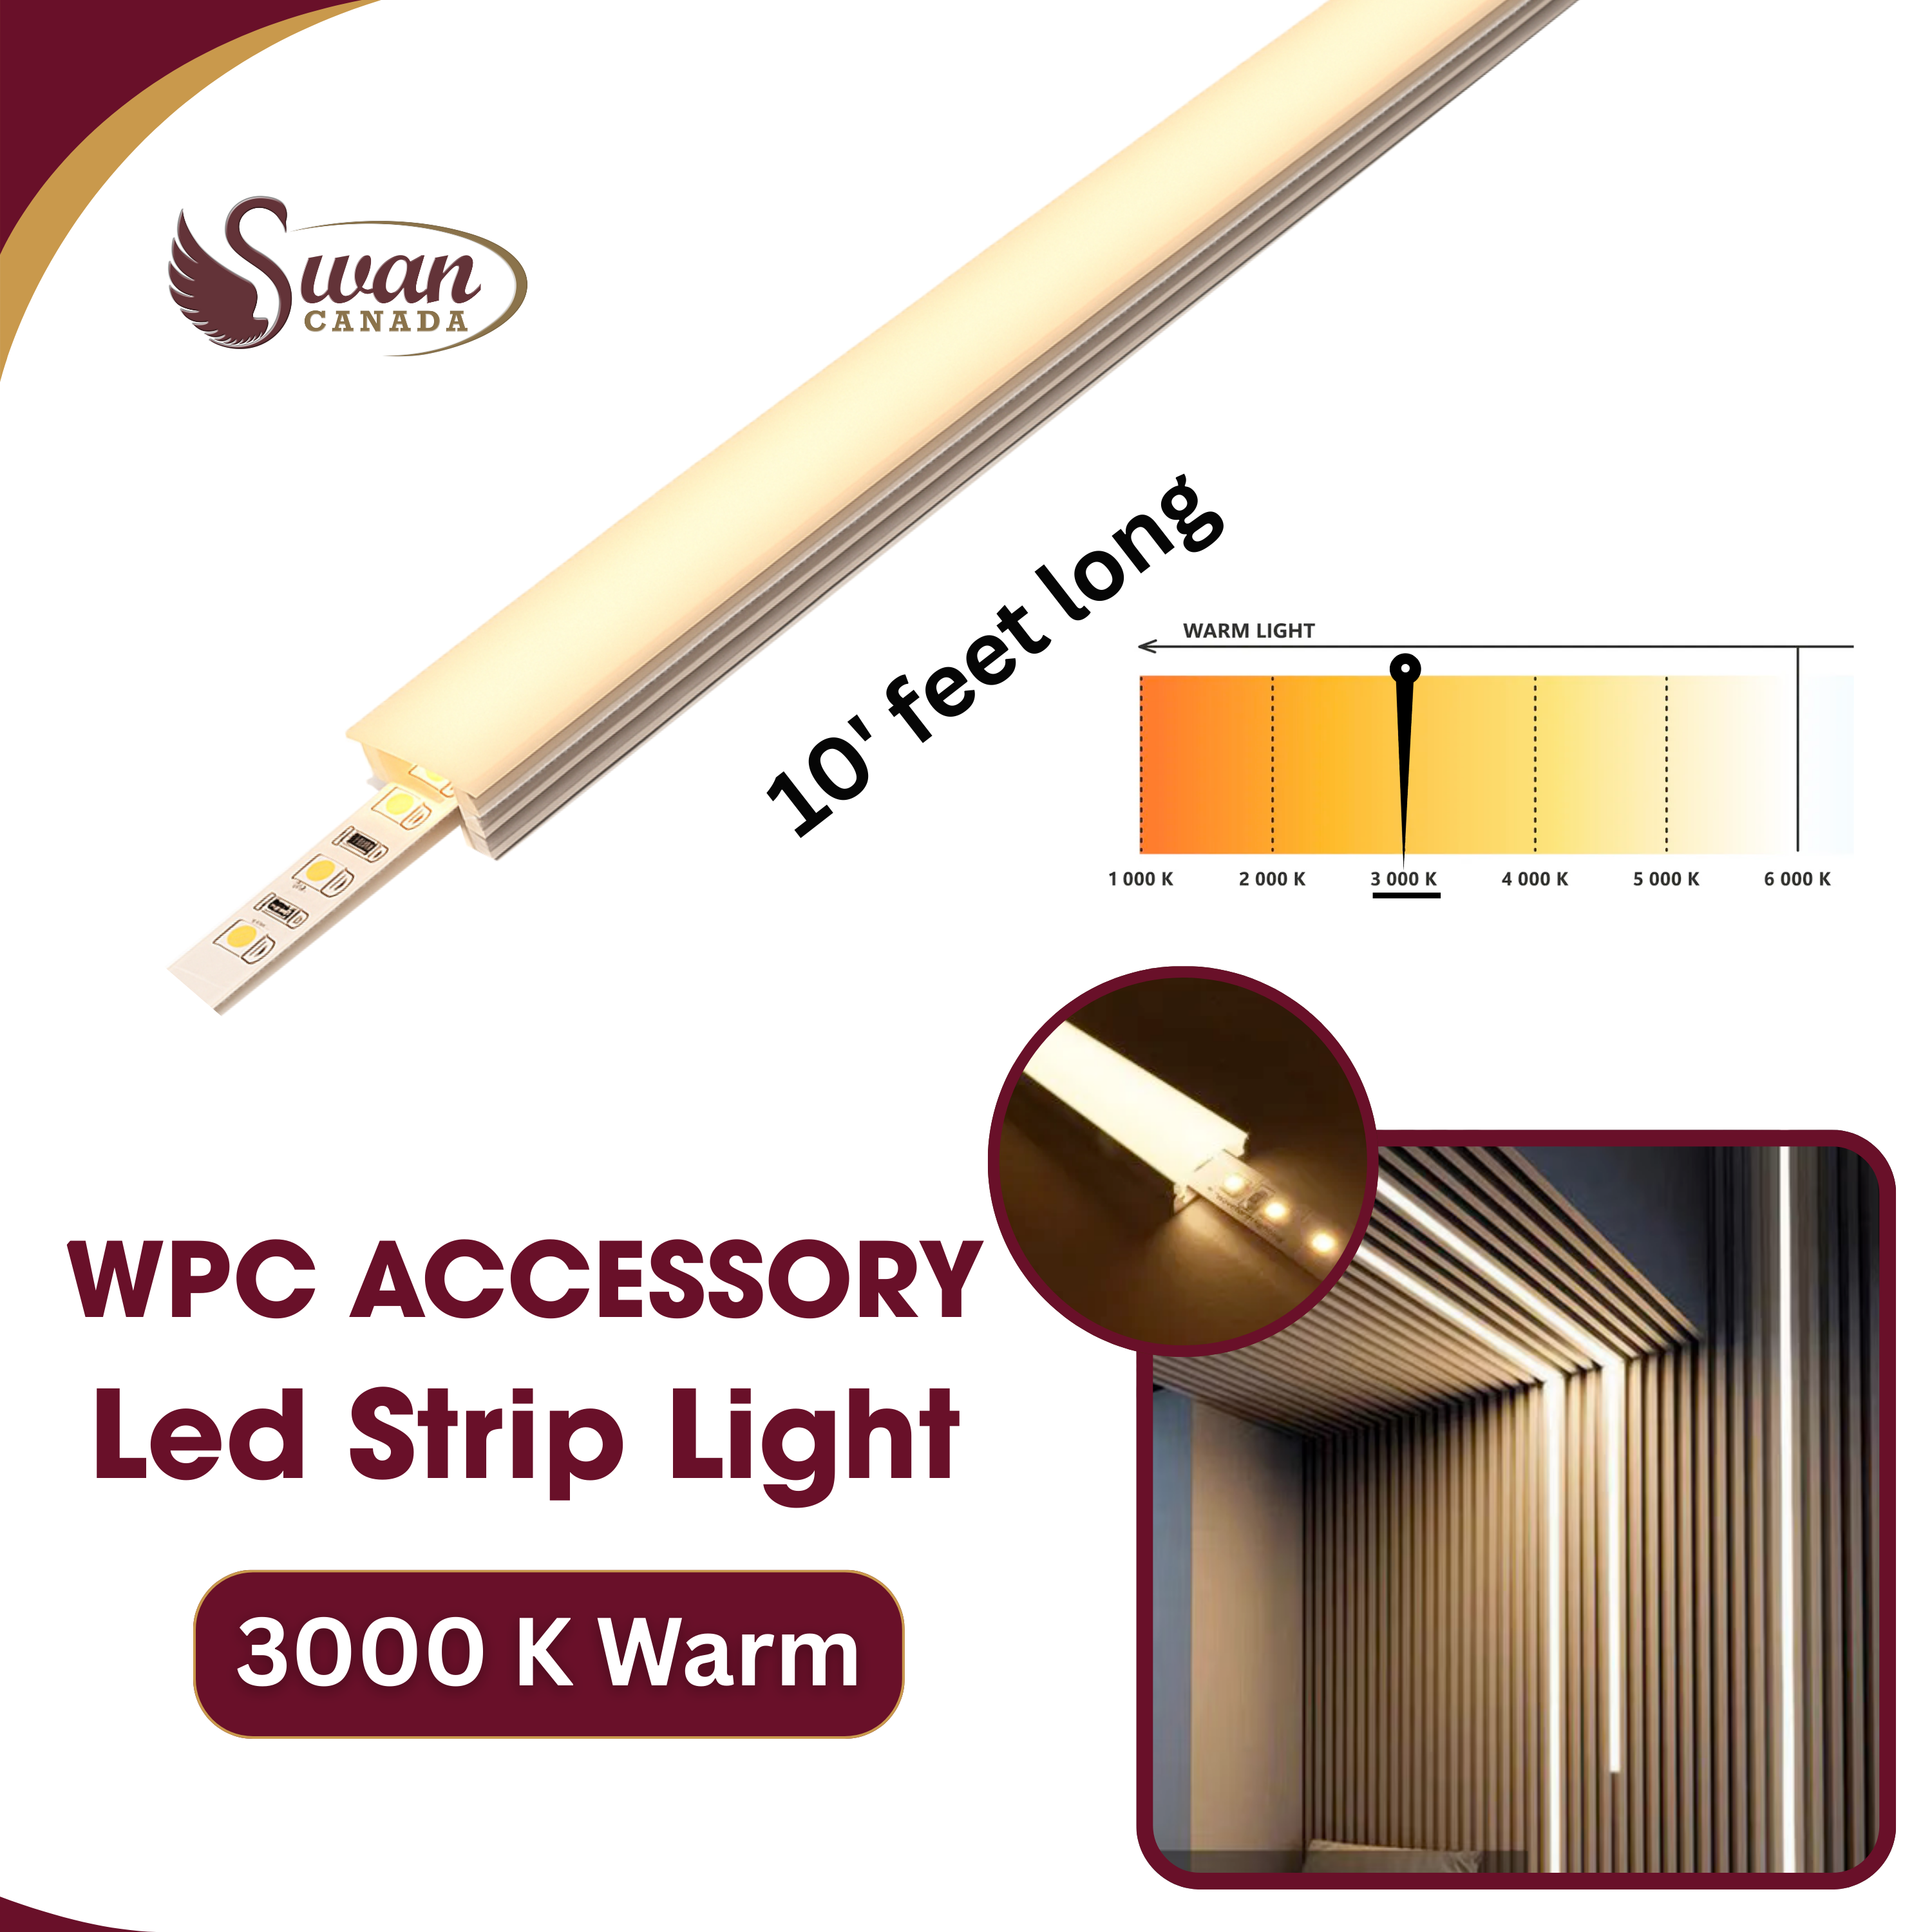
WPC LED Strip Light
A warm 3000K strip highlights the panel texture and adds depth, atmosphere and a premium feature-wall effect.
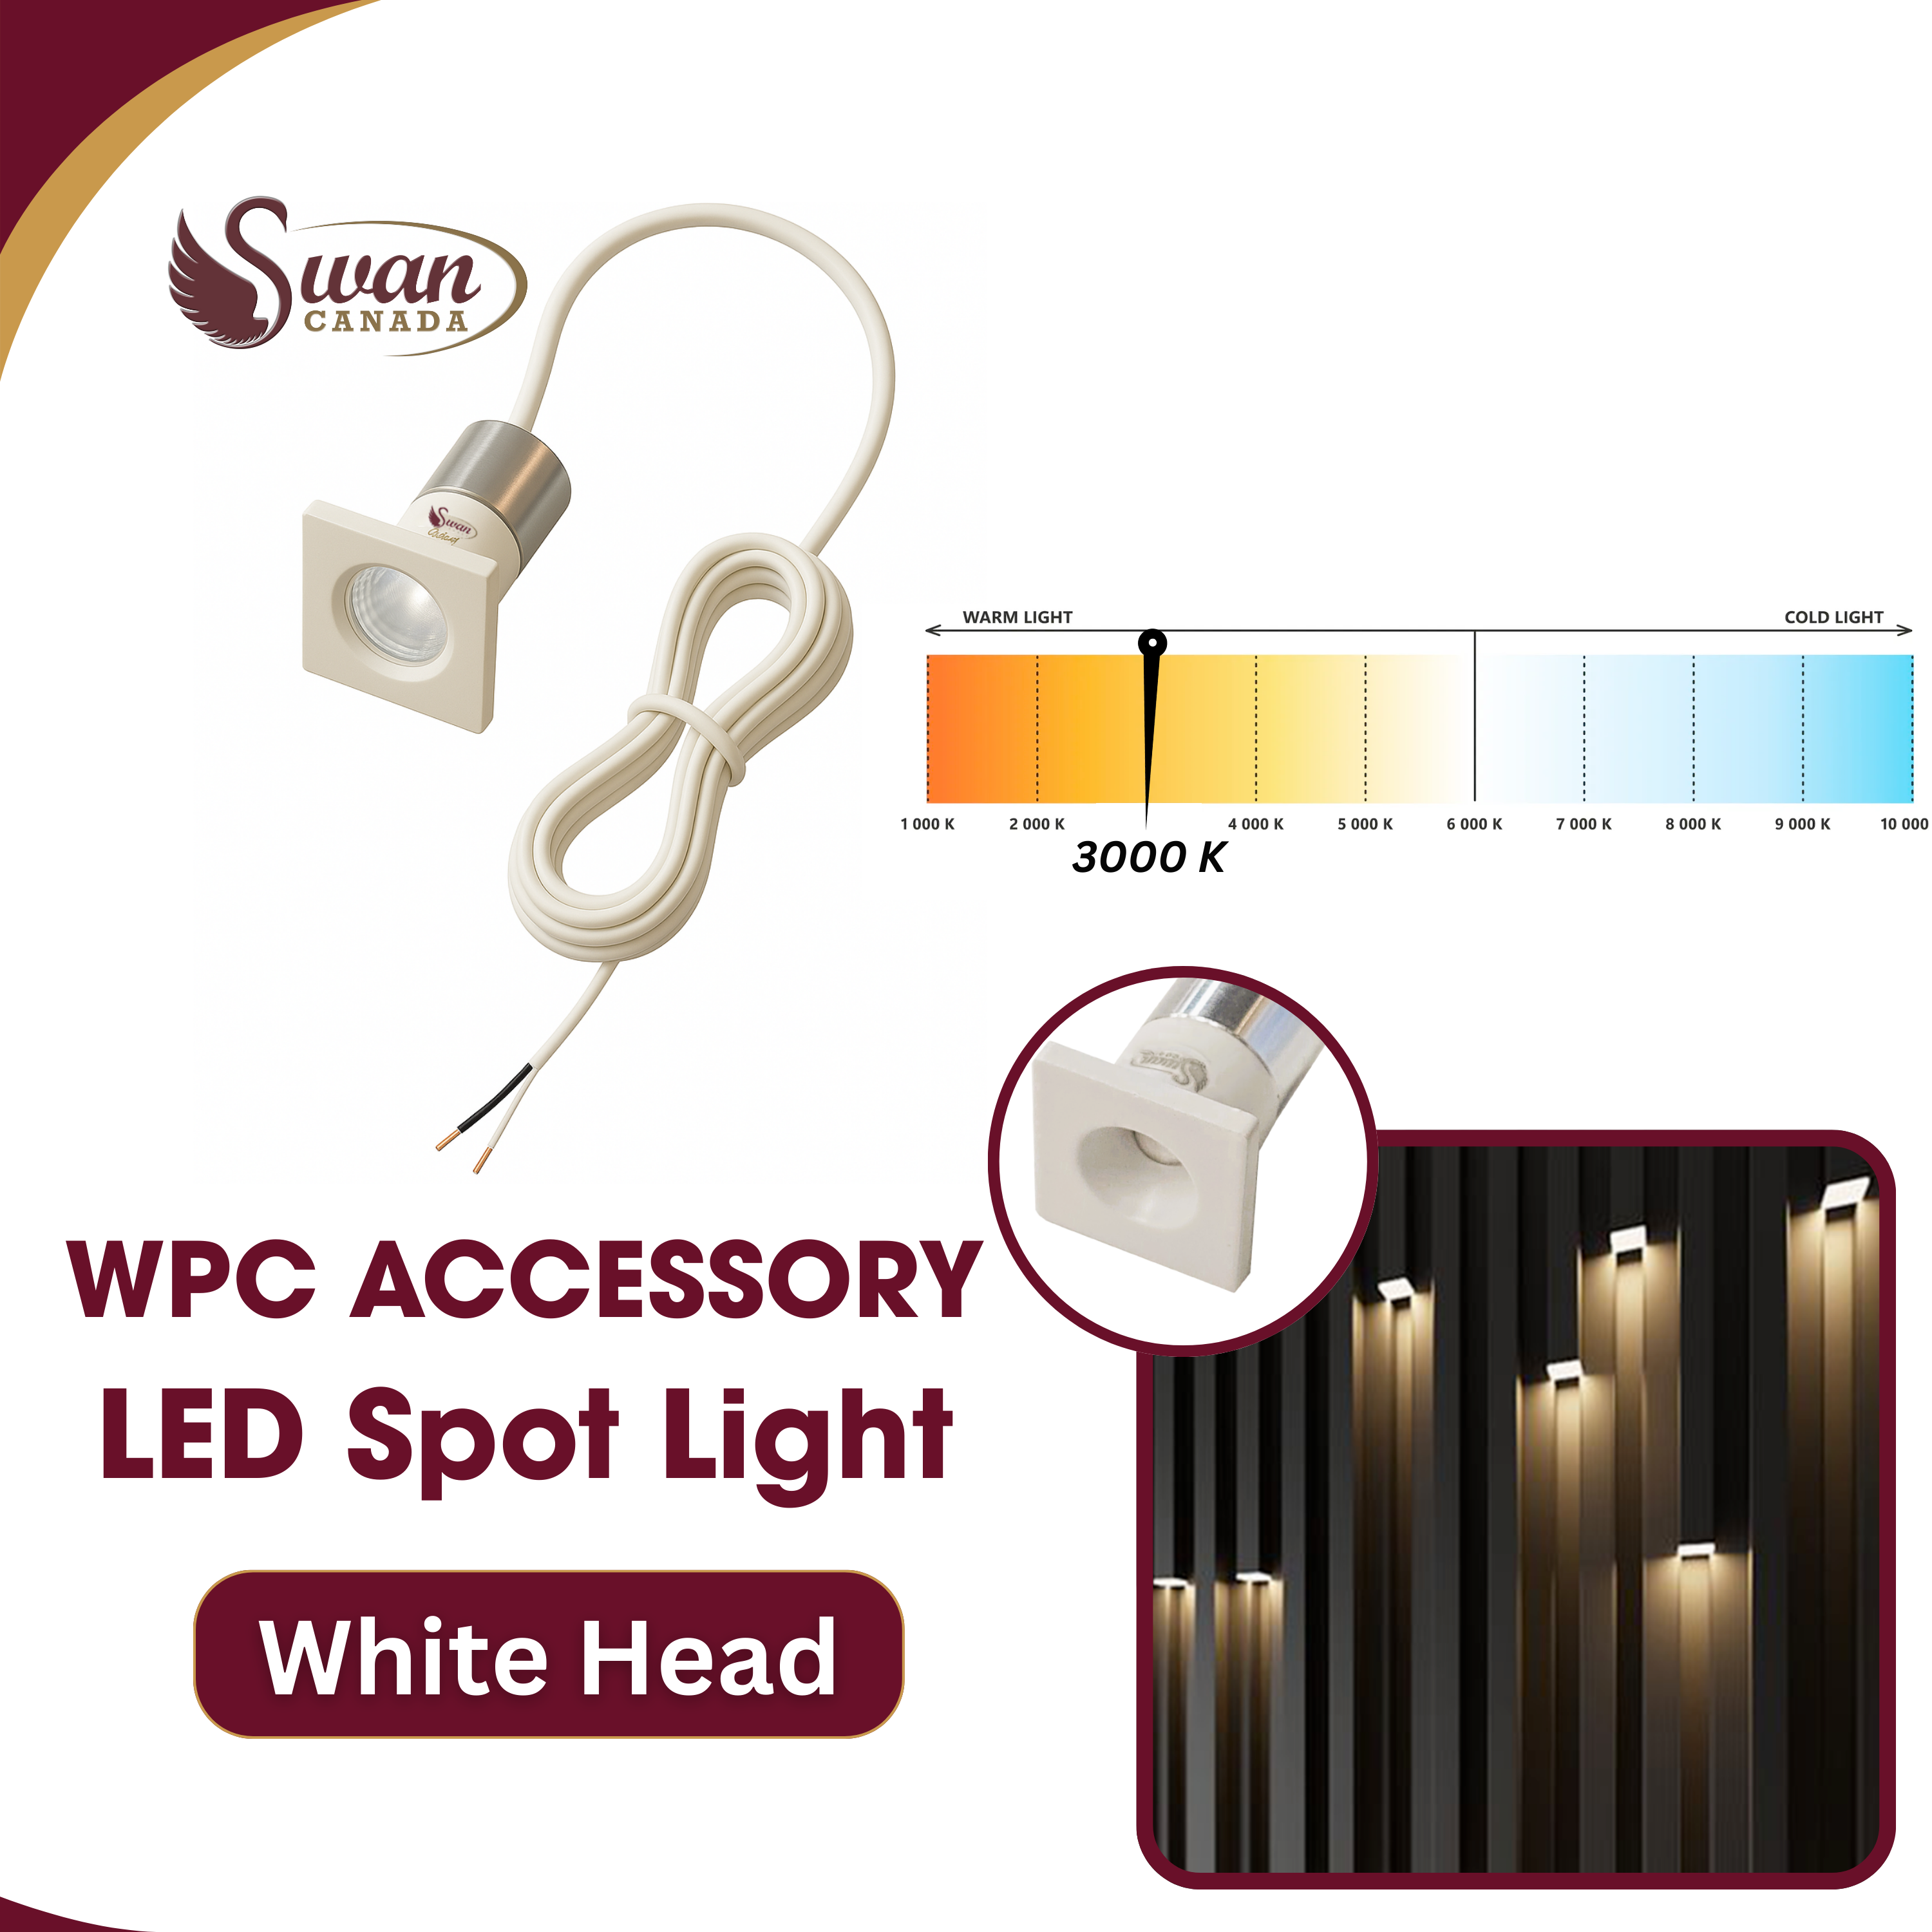
WPC LED Spot Light
A compact spot light can highlight artwork, shelves, fireplaces, televisions or selected panel details.
UV marble sheets
UV Marble Sheet Trims and Accessories
UV marble sheets have a smooth, polished appearance. The correct profile protects edges and keeps joints and corners from interrupting the refined marble look.
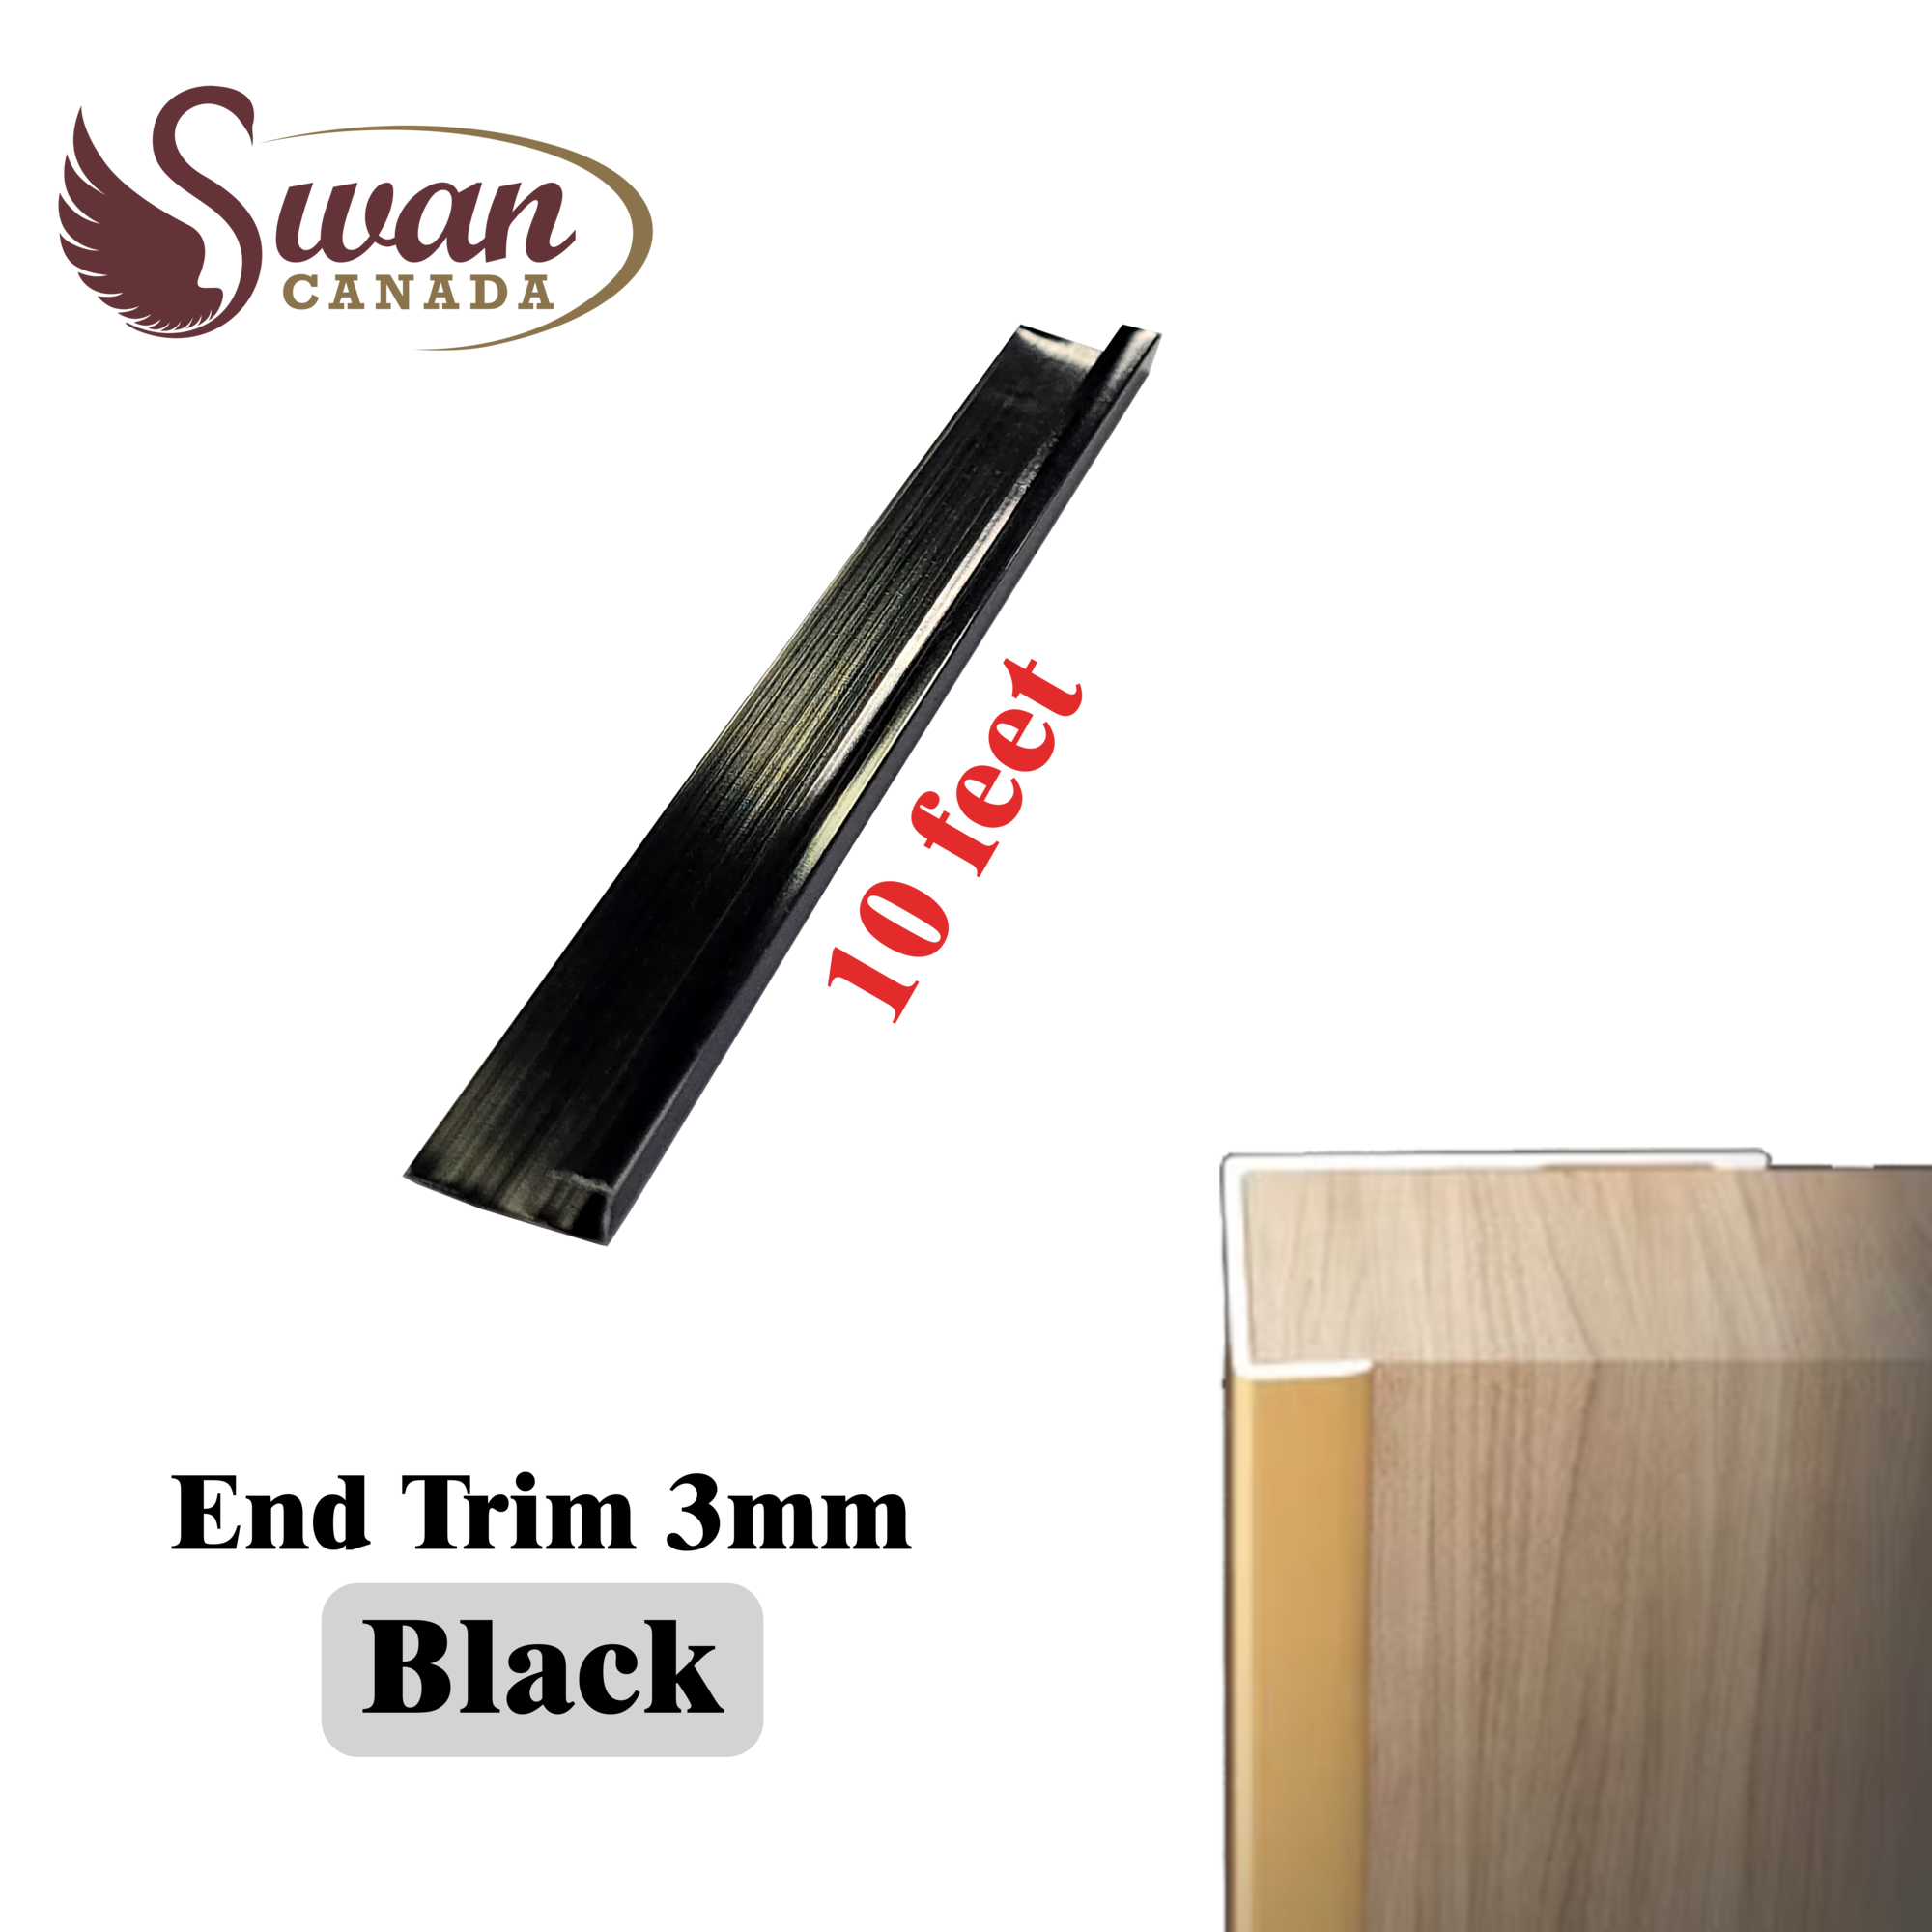
UV Marble End Trim
End trim conceals the cut side and creates a clean transition between the marble sheet and the surrounding wall.
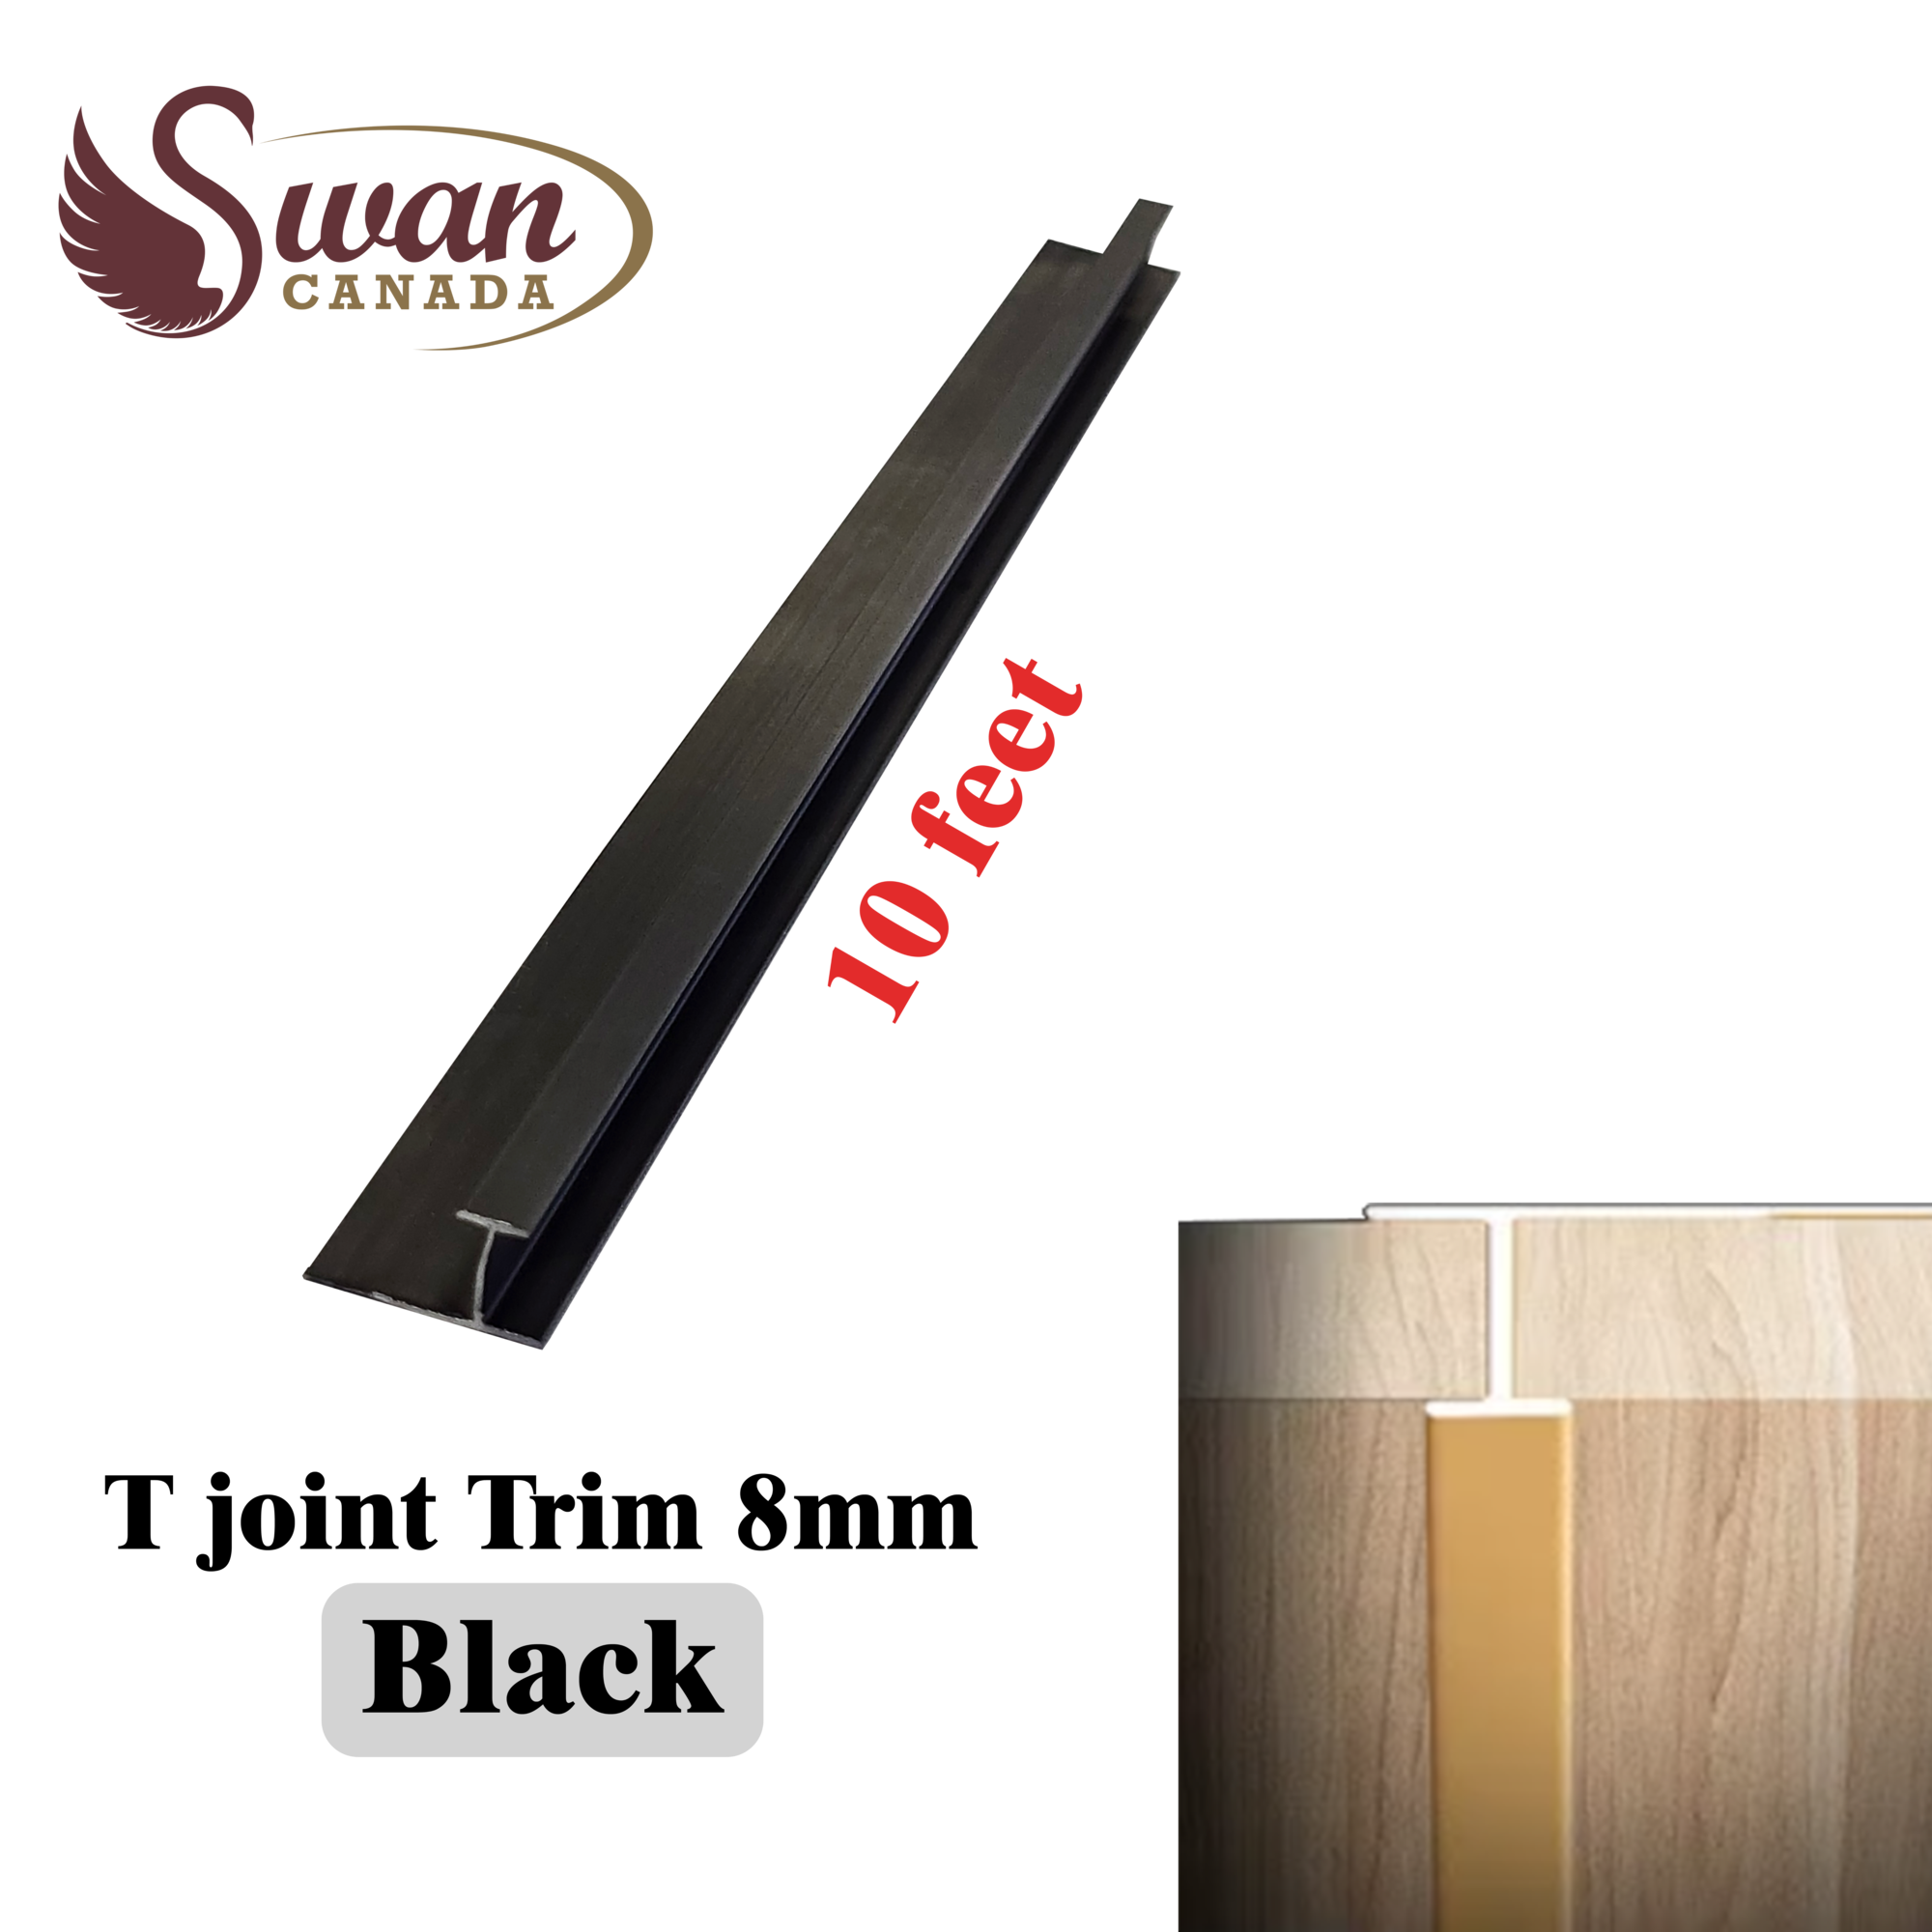
UV Marble T-Joint Trim
A T-joint profile covers the meeting line between two sheets and helps maintain a consistent connection across a larger wall.
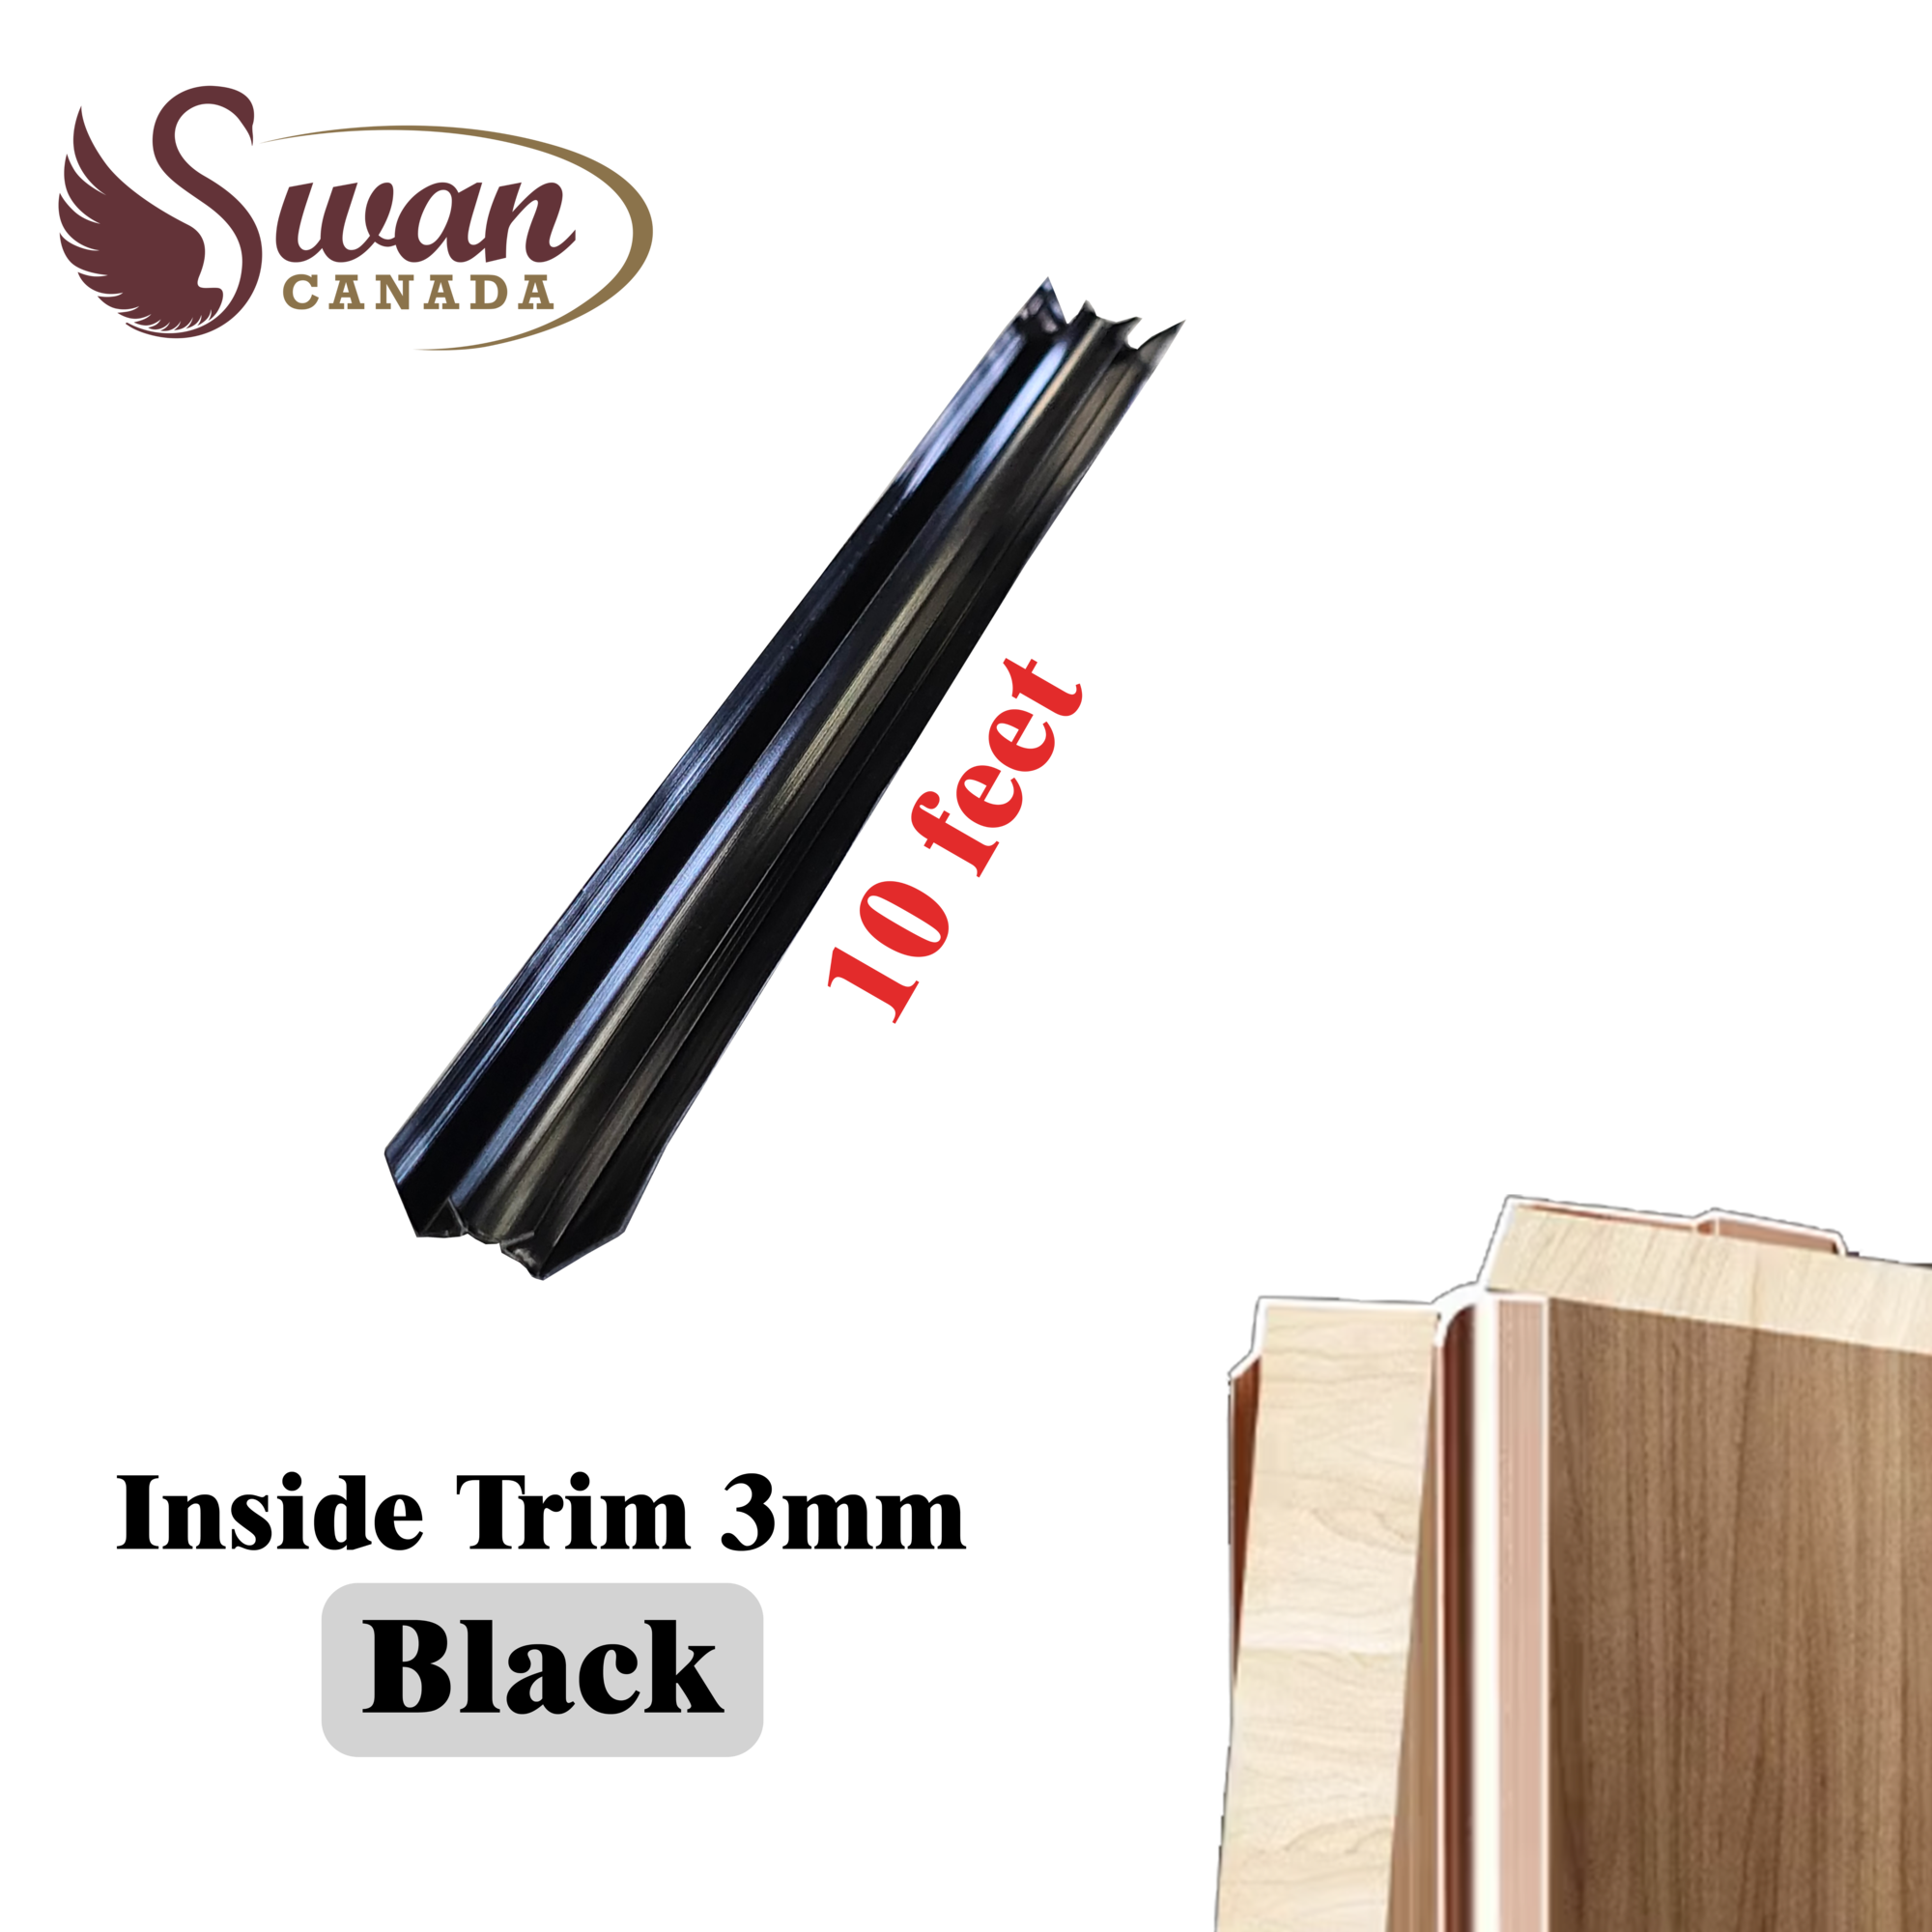
UV Marble Inside Corner Trim
Inside trim organizes the inward meeting point between two marble-sheet surfaces and helps conceal minor corner variations.

UV Marble Outside Corner Trim
Outside trim protects outward-facing corners and creates a controlled finish on columns, fireplaces and boxed features.
Decorative chipboard sheets
Chipboard Sheet Trims and Accessories
Decorative chipboard sheets can be used for walls, cabinetry, furniture and commercial displays. Compatible profiles help conceal the exposed core, align sheet connections and protect corners.
Chipboard T-Joint Trim
The T-joint trim helps align two sheets, reduces the appearance of the joint and creates a more cohesive surface.

Chipboard End Trim
End trim conceals the inner material, creates a clean boundary and protects the exposed side from everyday wear.

Chipboard Inside Corner Trim
Inside trim creates a cleaner inward connection and reduces the visibility of small installation gaps.
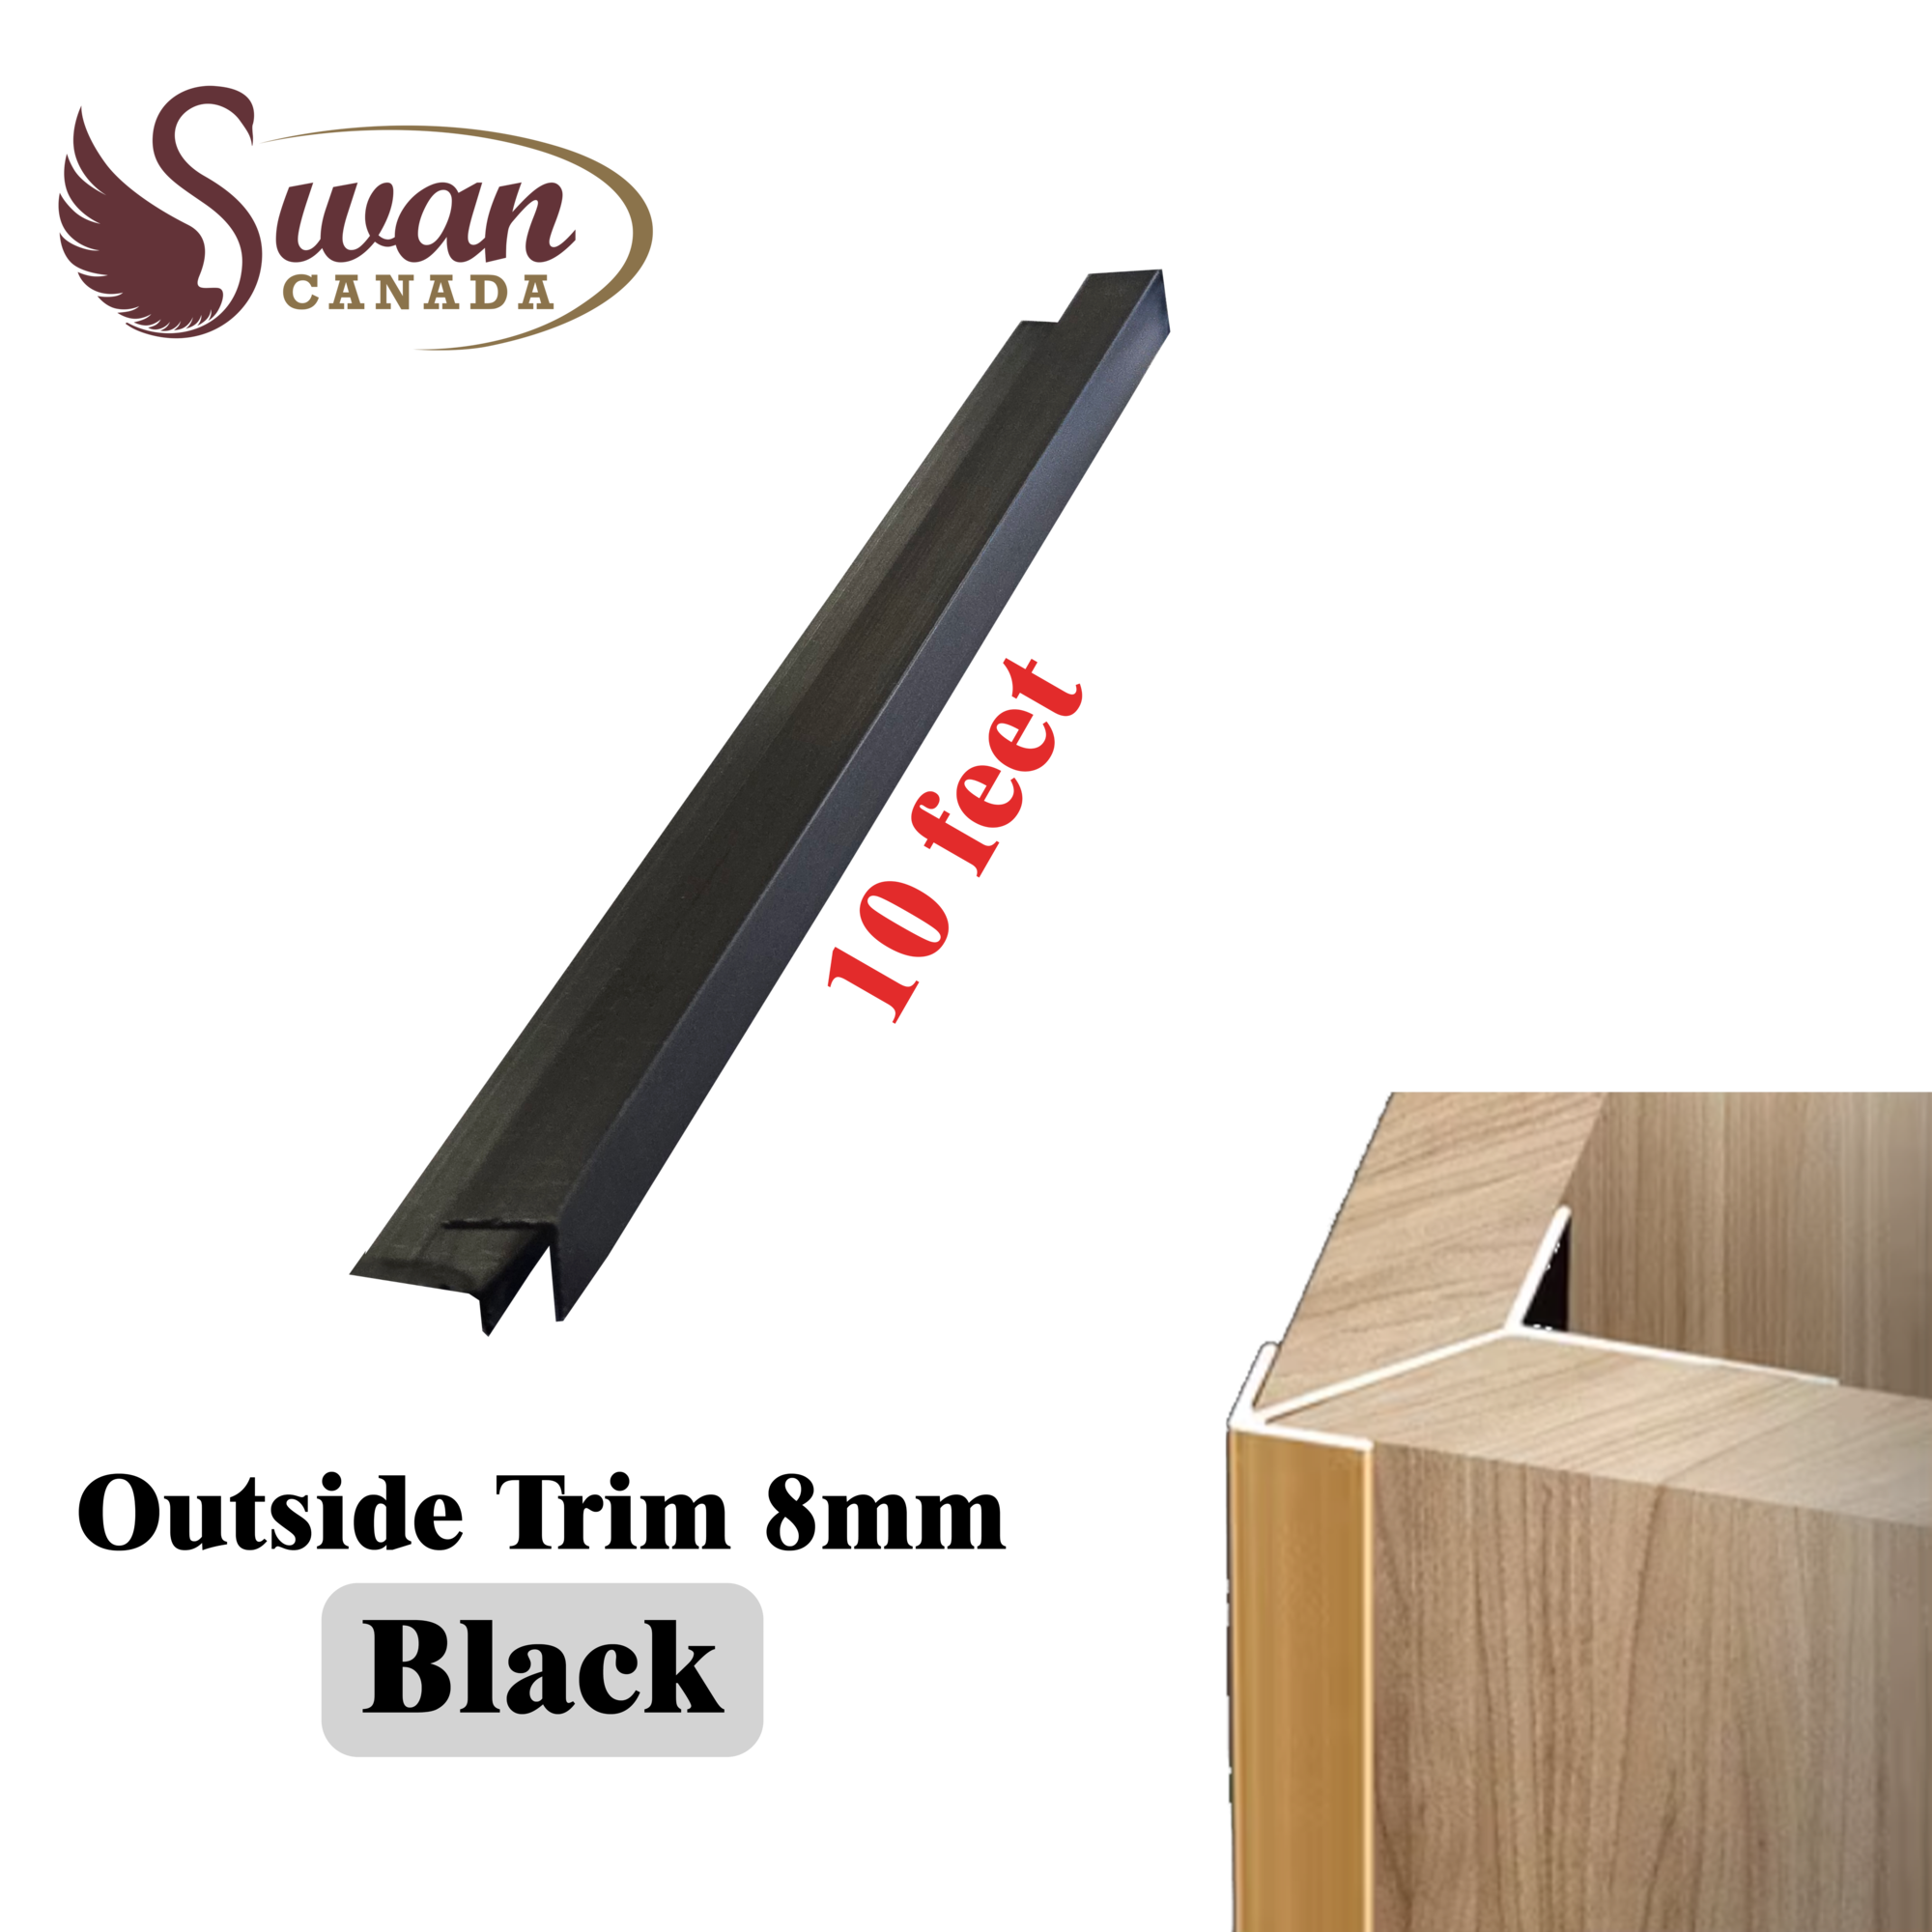
Chipboard Outside Corner Trim
Outside trim protects outward-facing corners while creating a straight decorative finish.
Choose by application
Wall Panel Trim Selection Guide
Identify whether the installation needs a starting point, exposed-edge finish, corner solution, sheet connection, hidden fastener or lighting detail.
Plan before cutting
Plan the Accessories Before Installation
Selecting the profiles before panels are cut and mounted reduces waste, prevents installation delays and keeps the intended design consistent.
- Measure the complete wall and identify every exposed edge, corner and sheet joint.
- Confirm the panel thickness and trim dimensions before ordering.
- Mark where each panel begins, ends or changes direction.
- Choose trim colours that match or intentionally contrast the panel finish.
- Dry-fit panels and trims before applying permanent adhesive or fasteners.
- Use suitable cutting tools to create straight, clean edges.
- Plan LED positions, wiring, drivers and maintenance access before closing the wall.
- Add a reasonable allowance for cuts, waste and installation adjustments.
- Use adhesives, clips and fasteners suitable for the specific panel and wall surface.
- Consult an experienced installer for complex corners, fireplaces, lighting systems and commercial work.
Common customer questions
Frequently Asked Questions
Are wall panel trims required?
Not every project requires every trim, but trims are strongly recommended wherever panel edges, sheet joints or corners remain visible.
Can trim hide an uneven panel cut?
Trim may conceal minor variations, but it should not replace accurate measurement and proper cutting. Large gaps should be corrected.
Can the same trim fit WPC, UV marble and chipboard?
These products may have different thicknesses and profiles. Choose an accessory designed to fit the specific panel or sheet.
Should trim be installed before or after the panel?
The order depends on the profile. Starter and joining trims are often installed before or during panel installation.
Can LED lighting be added later?
It may be possible, but planning wiring, channels, drivers and access before installation usually creates a cleaner result.
How much trim should I order?
Measure every edge, corner and joint, then add an allowance for cuts, waste and installation adjustments.
The finishing details complete the wall
Choose the panels and finishing system together
Swan Canada offers wall panels, compatible trims, corner profiles, installation accessories and lighting solutions for residential and commercial projects.
Swan Canada · Mississauga, Ontario · (905) 629-4373 · swancanada.ca