Swan Canada installation guide
UV Marble Sheets
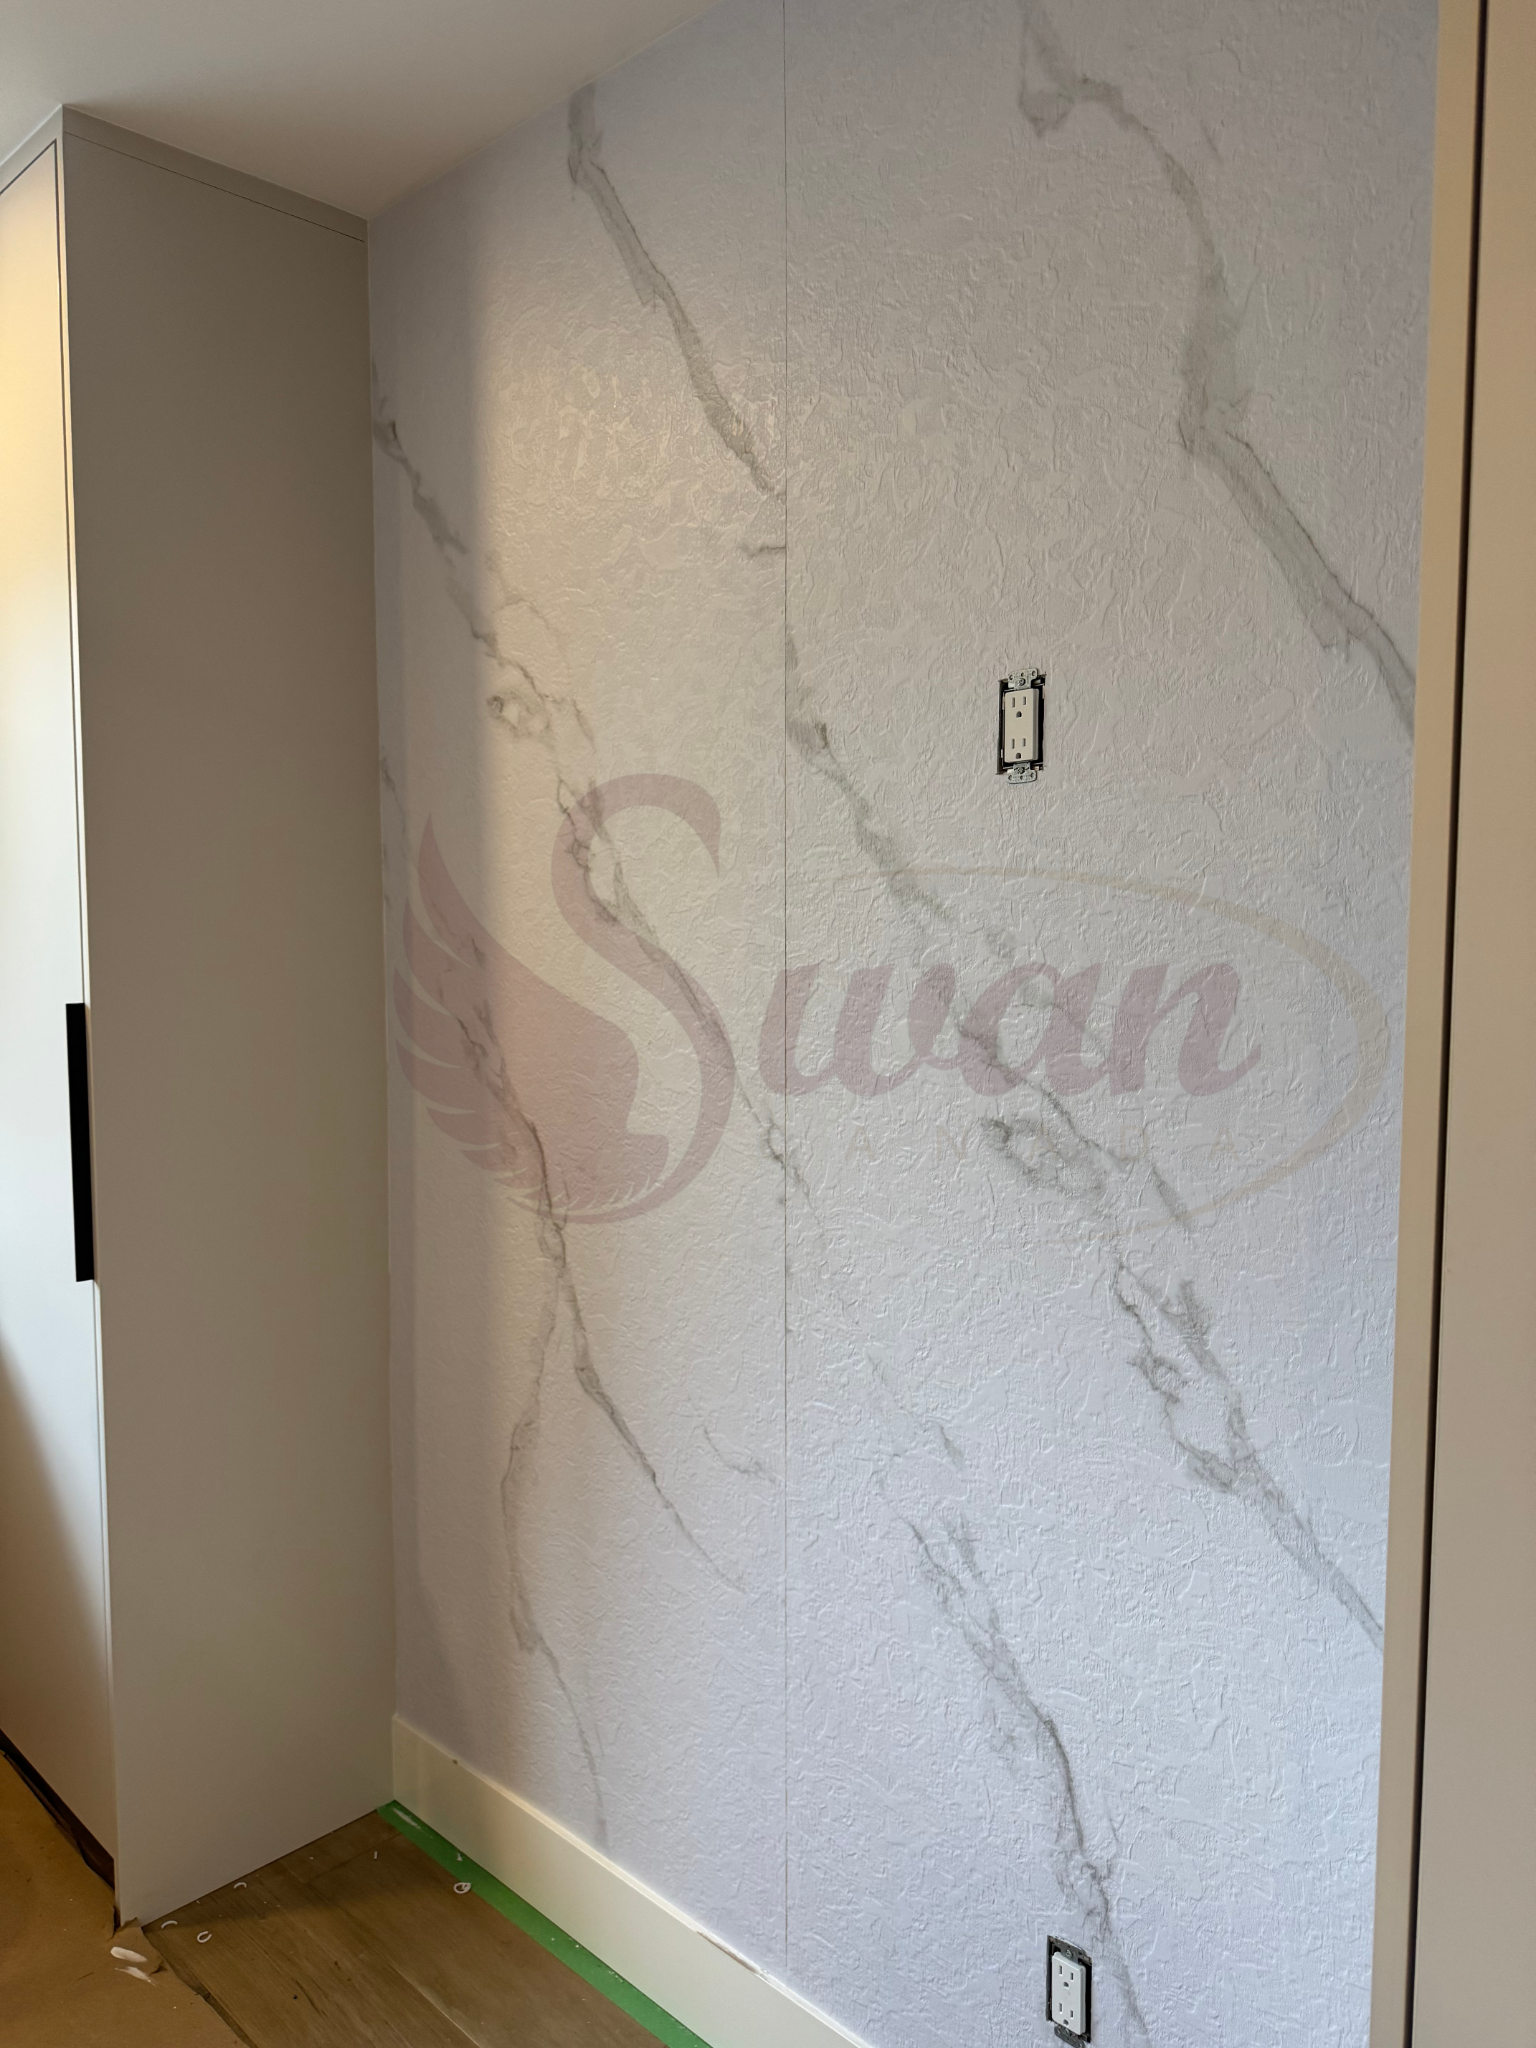
UV marble sheets require careful measuring, flat support and full, even adhesion. Plan sheet joints and openings before cutting, especially in bathrooms or around fixtures.
Tools & materials
Tape measure, straightedge and level
Fine-tooth circular saw or track saw
Hole saw or jigsaw for openings
Compatible panel adhesive
Neutral-cure silicone where required
PPE and protective work surface
Before you begin
The substrate must be flat, clean and structurally sound. In wet areas, use an approved waterproof wall system and seal penetrations and edges; the decorative sheet is not a substitute for waterproofing.
Follow these installation steps
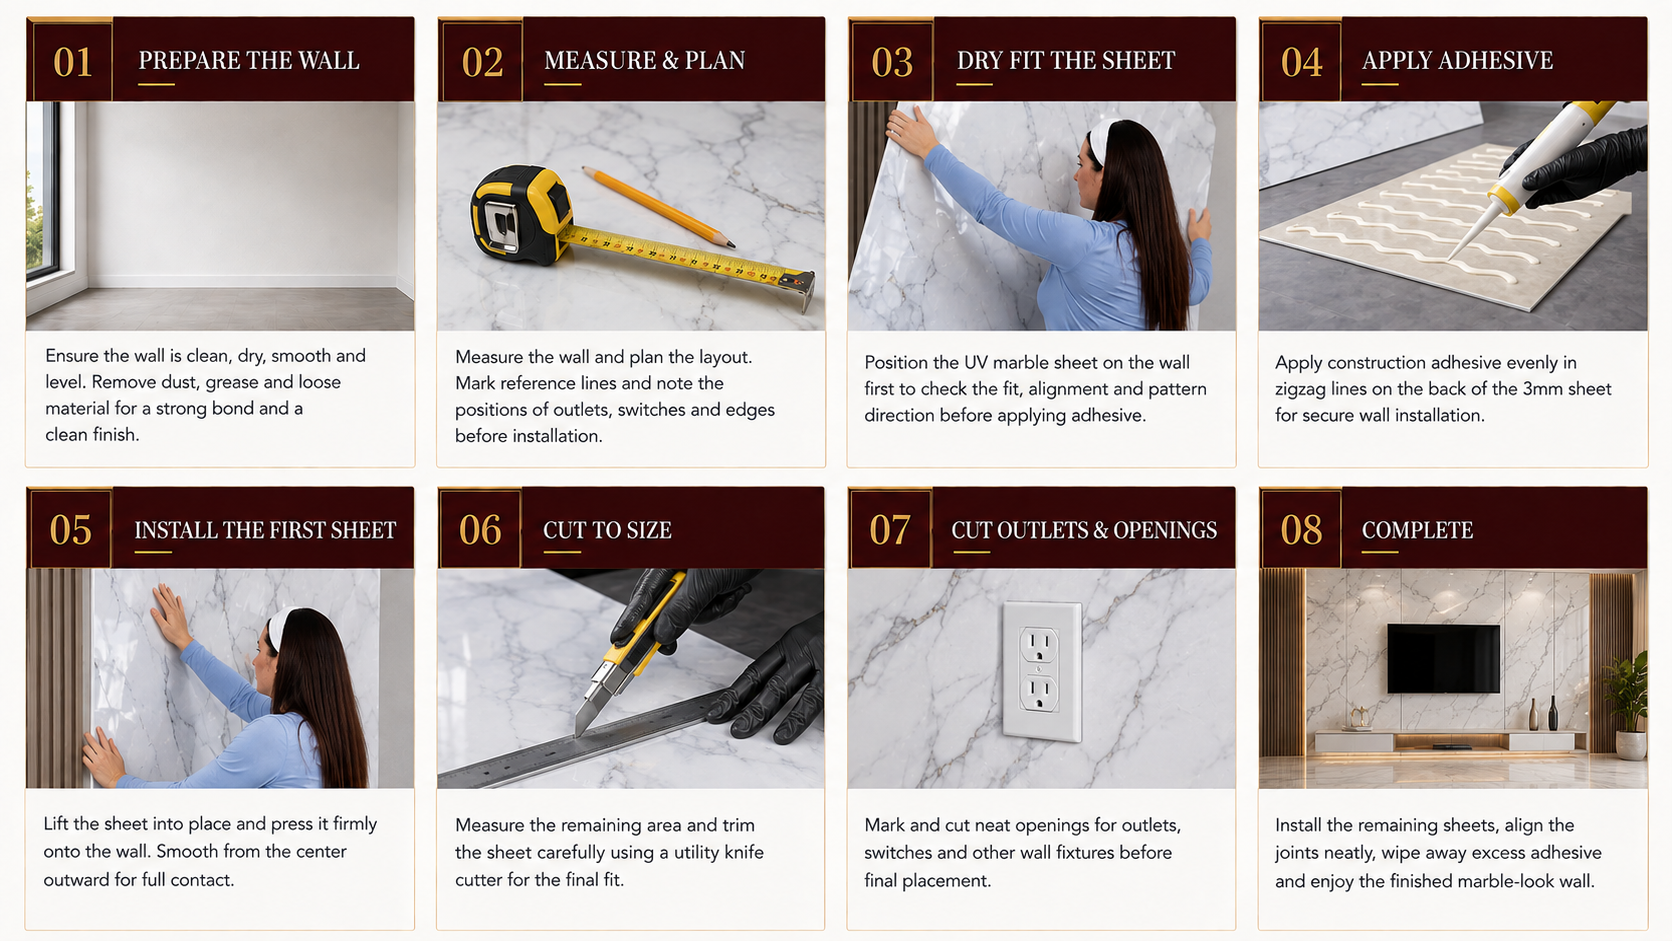
Watch the installation process
Common questions about UV Marble Sheets
How smooth must the wall be for UV marble sheets?
The wall should be clean, dry, stable and very flat. Large glossy sheets can reveal high spots and uneven seams, so repair damaged areas and remove loose paint before installation.
What tool should I use to cut a UV marble sheet?
Use a fine-tooth blade or cutting method approved for the sheet material. Support the full sheet, protect the finished face and test the blade on an offcut before making a visible cut.
Which adhesive is suitable for UV marble sheets?
Choose an adhesive compatible with both the sheet backing and the substrate. Follow the adhesive manufacturer’s bead pattern, open time and curing instructions, and test compatibility when uncertain.
How can I keep the seams straight and clean?
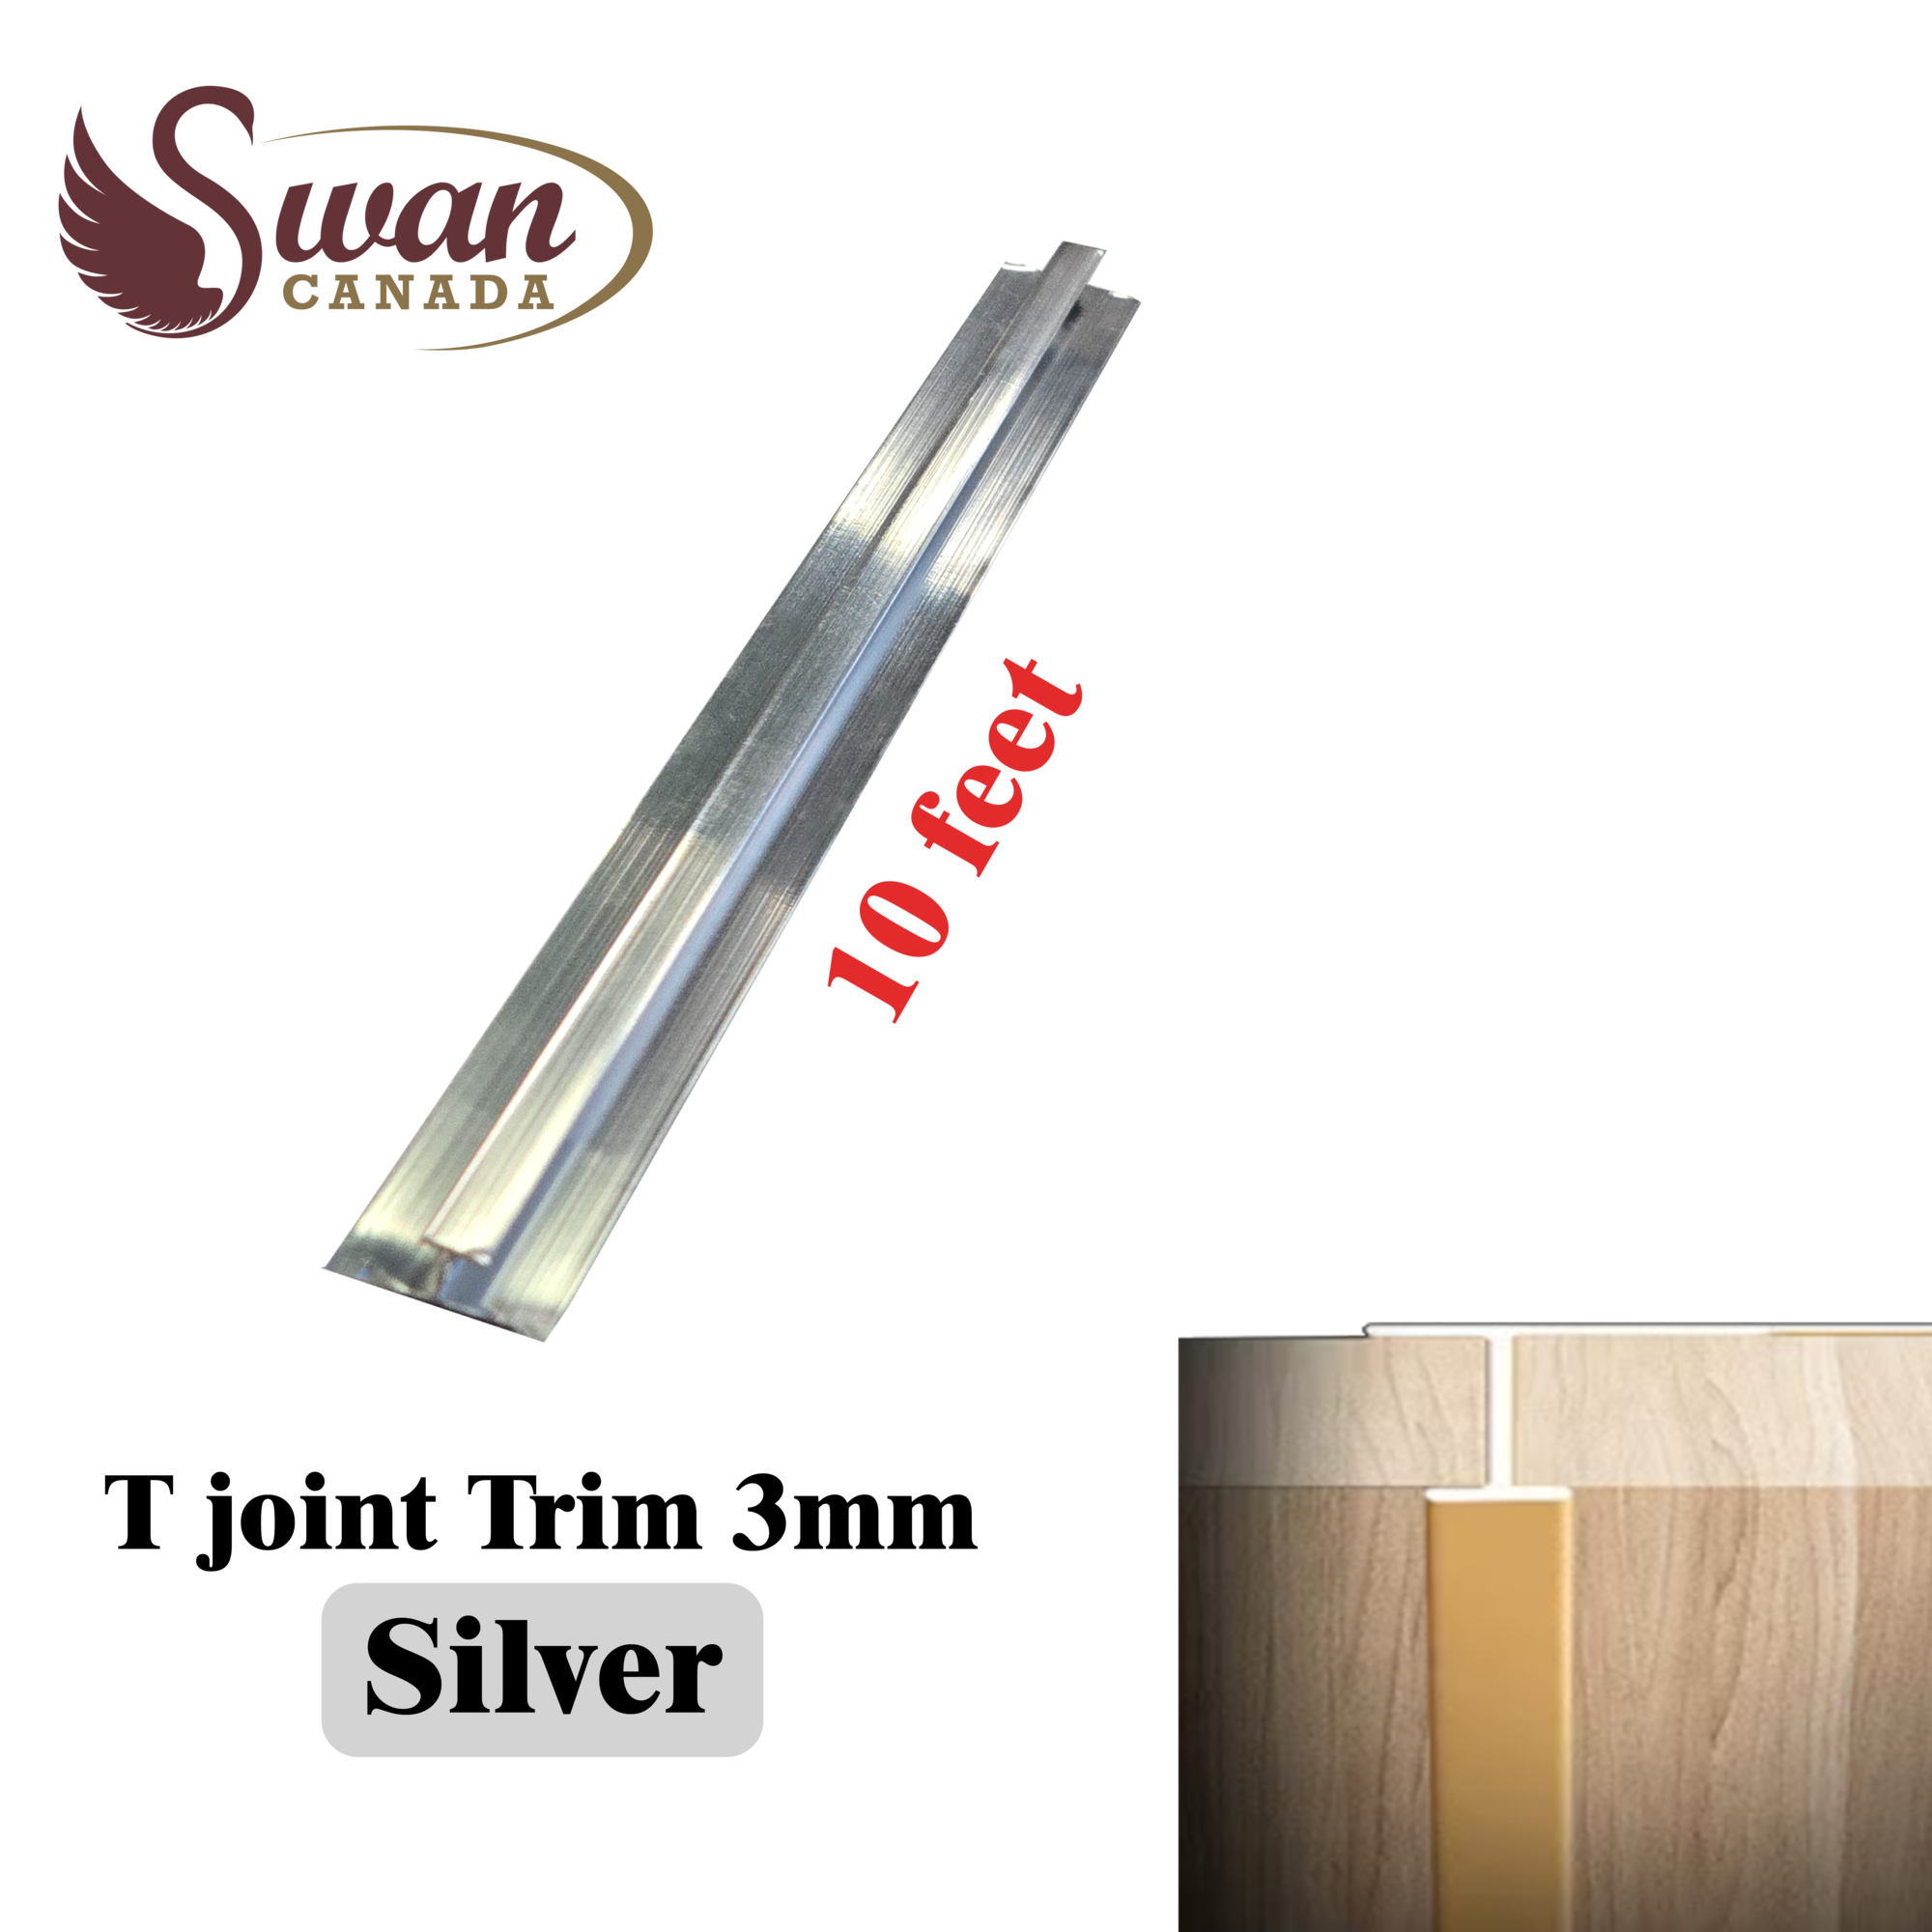
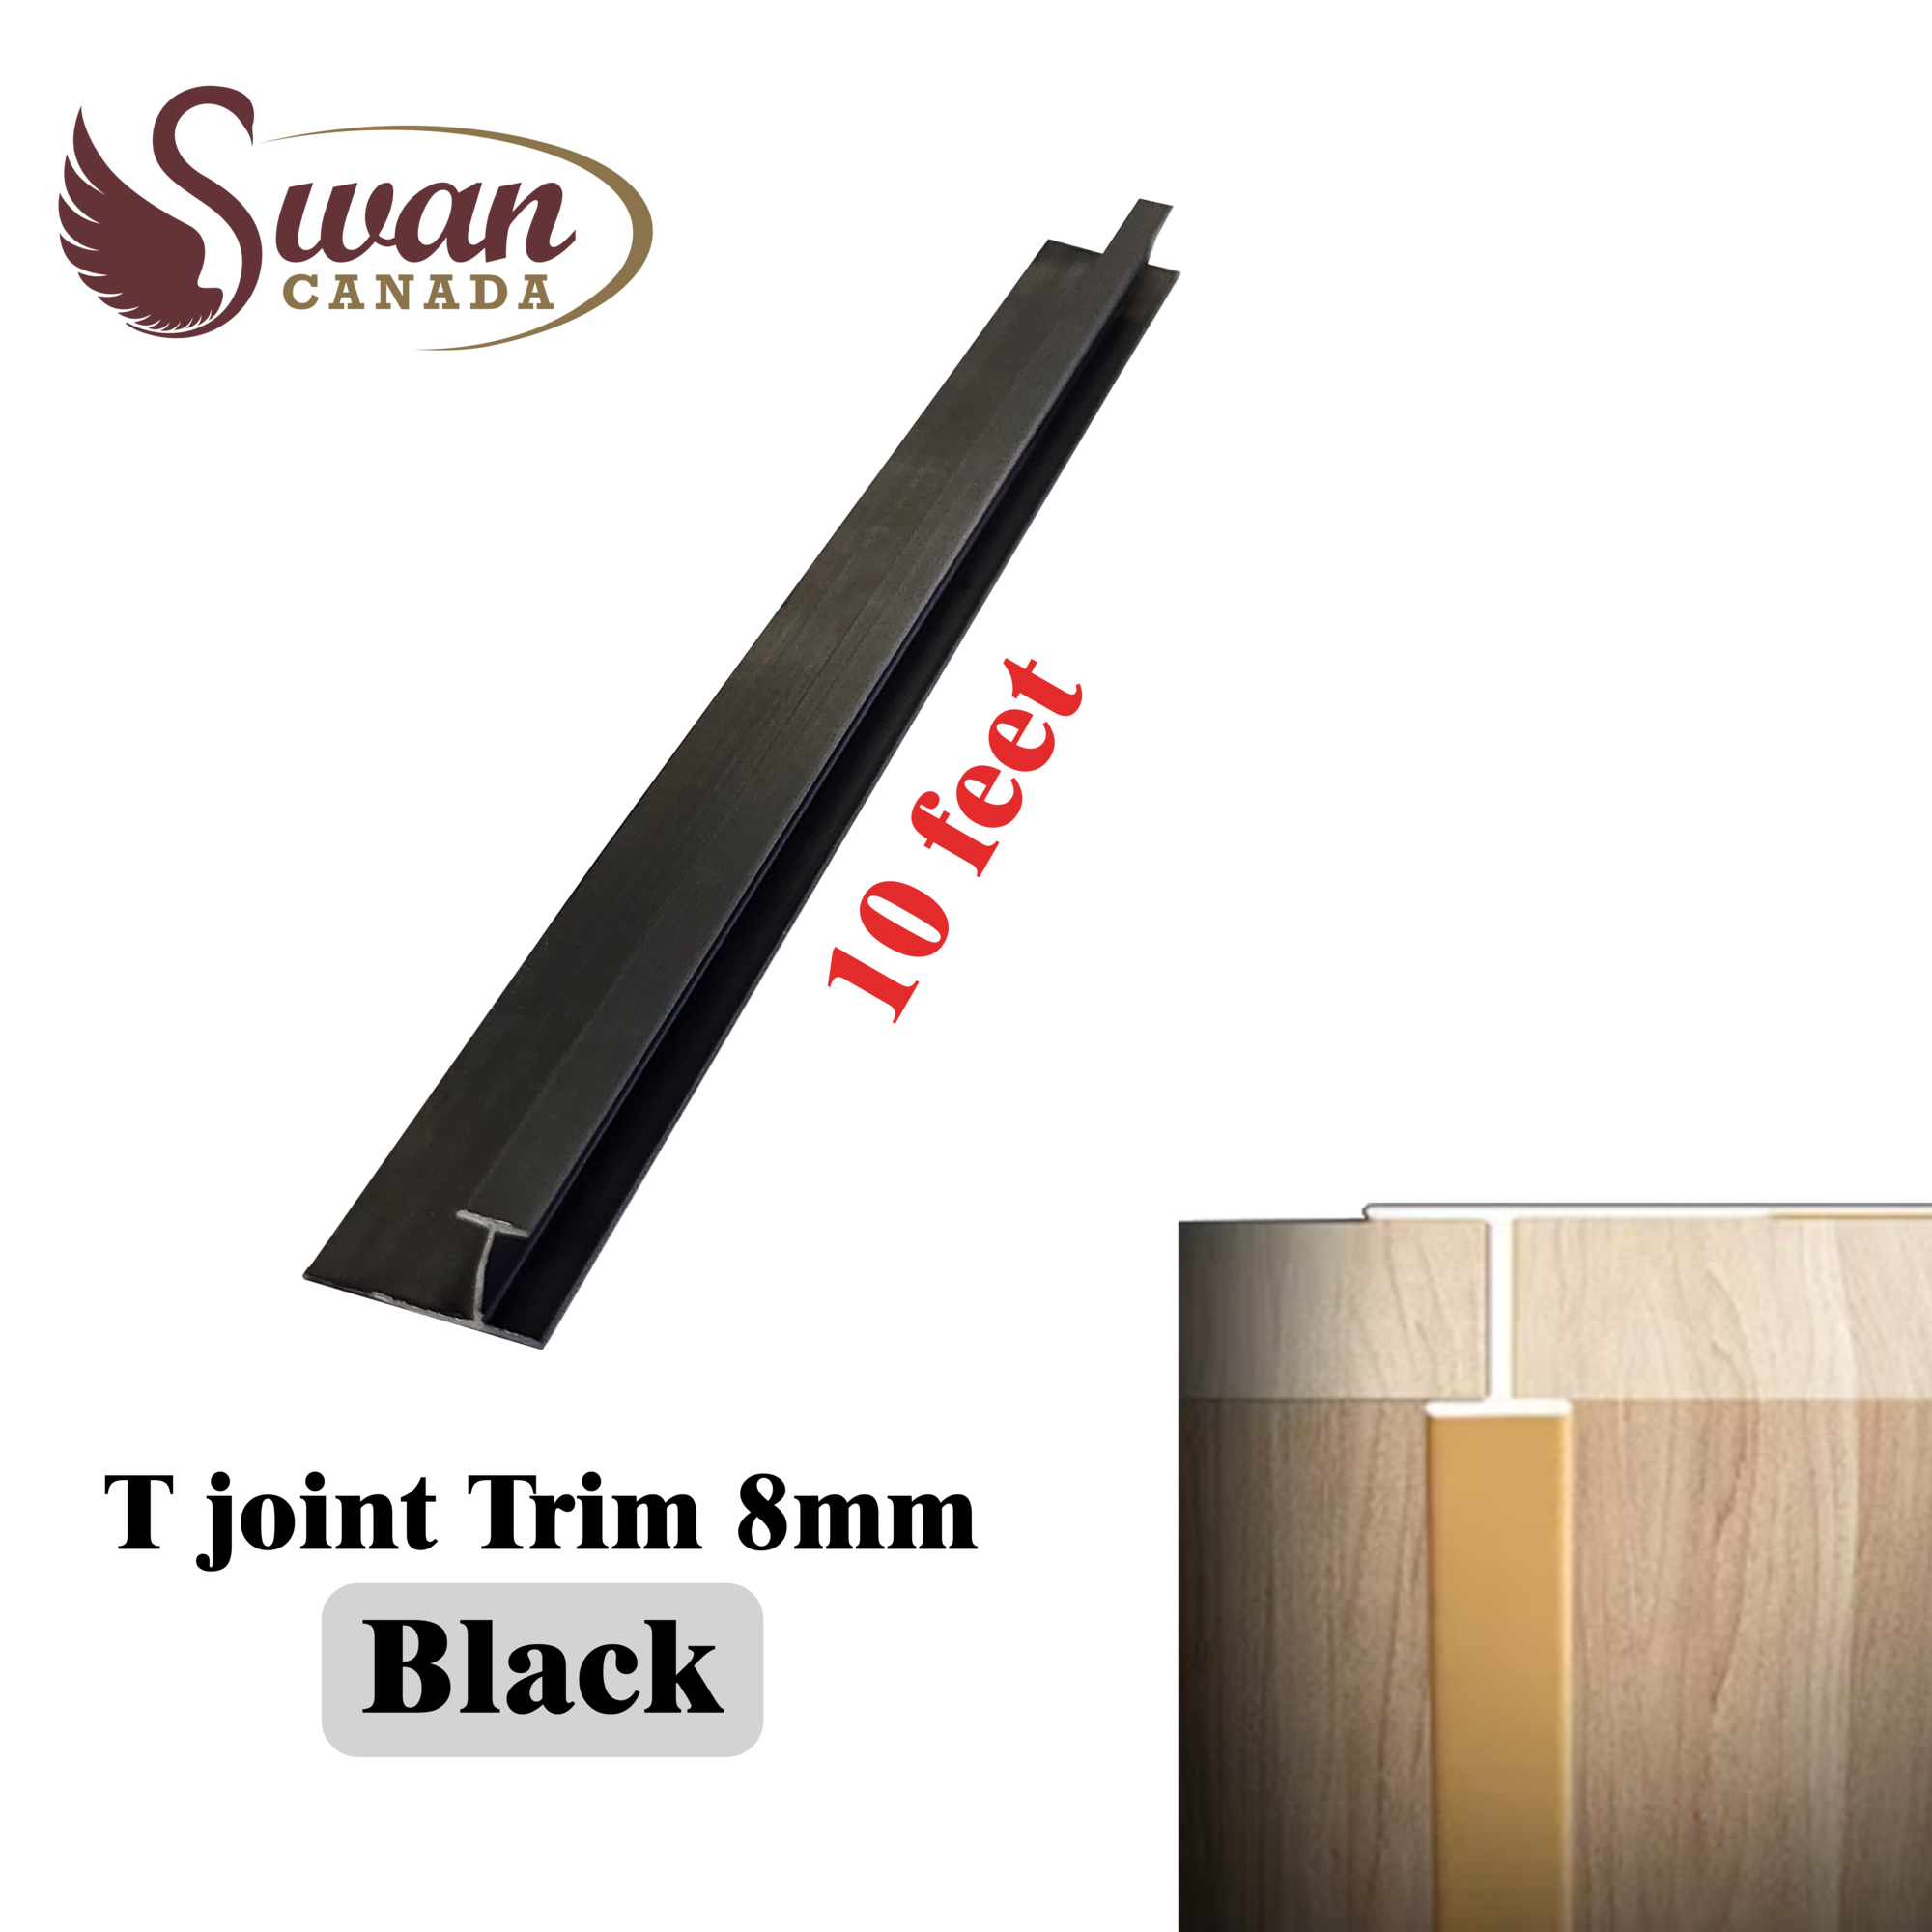
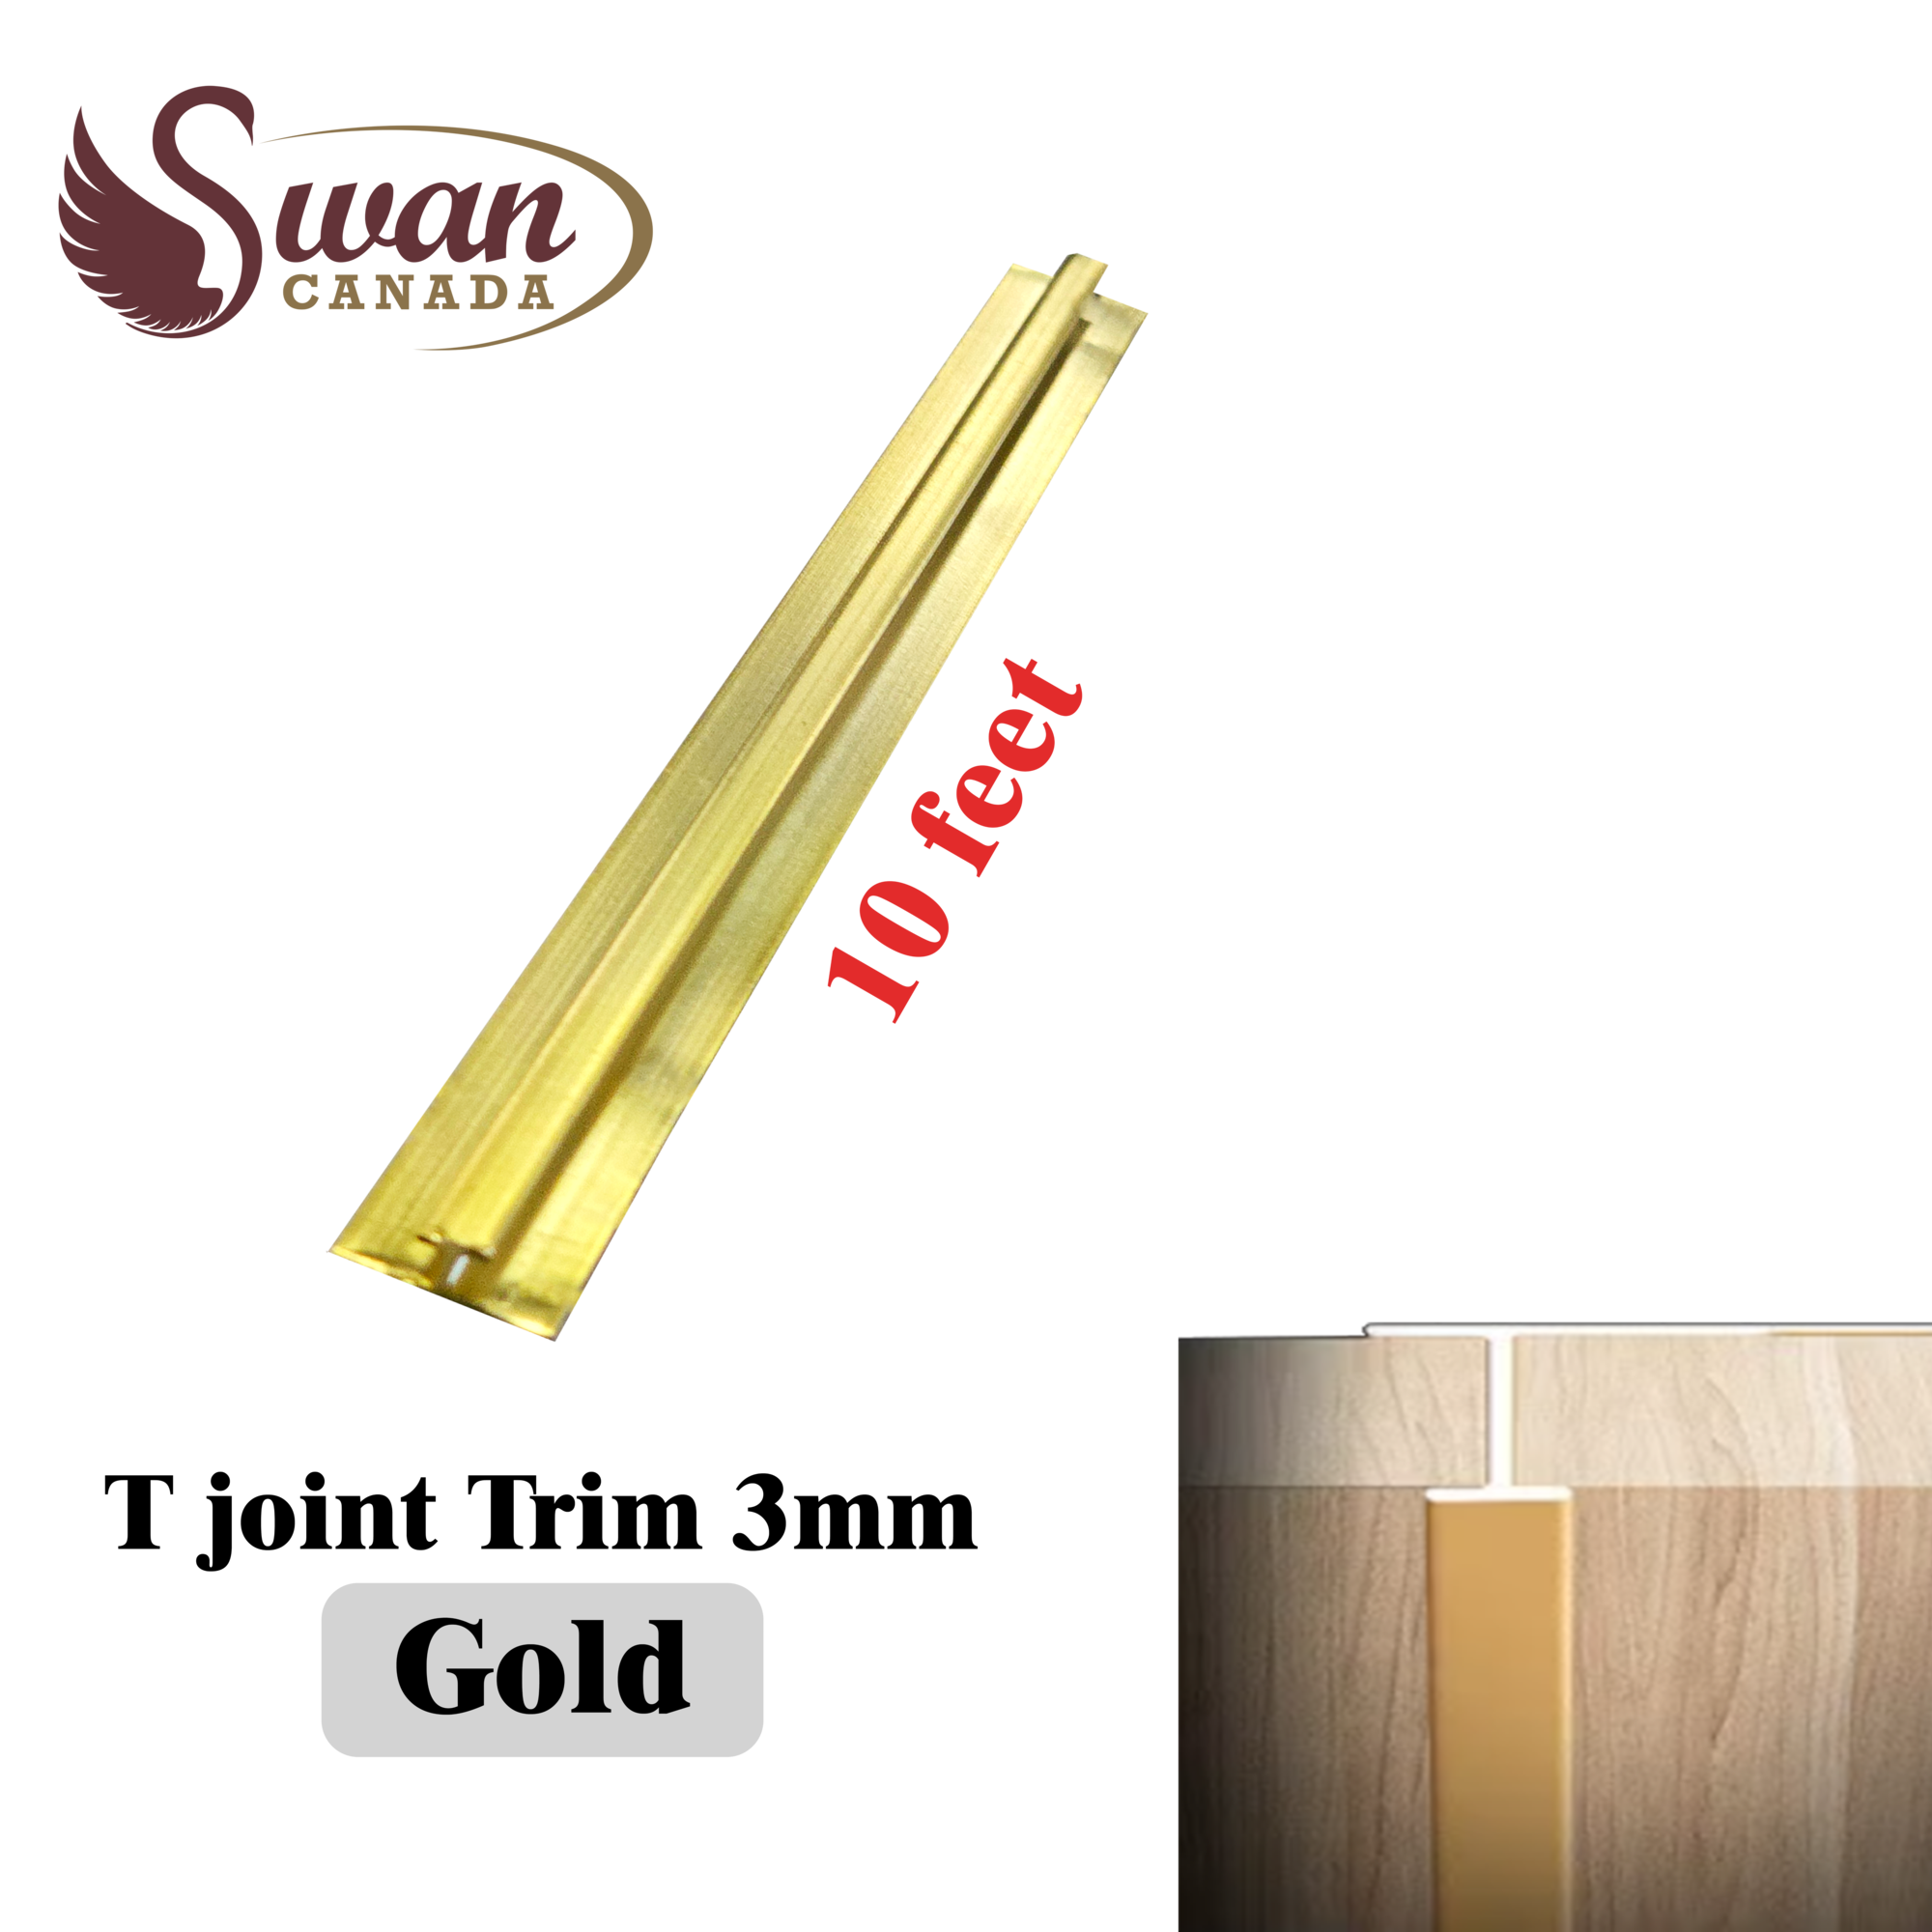
Lay out every sheet before installation, mark plumb reference lines and plan where seams will fall. Use the correct joining trim or approved seam method and clean adhesive residue before it cures.
How are outside corners and exposed edges finished?
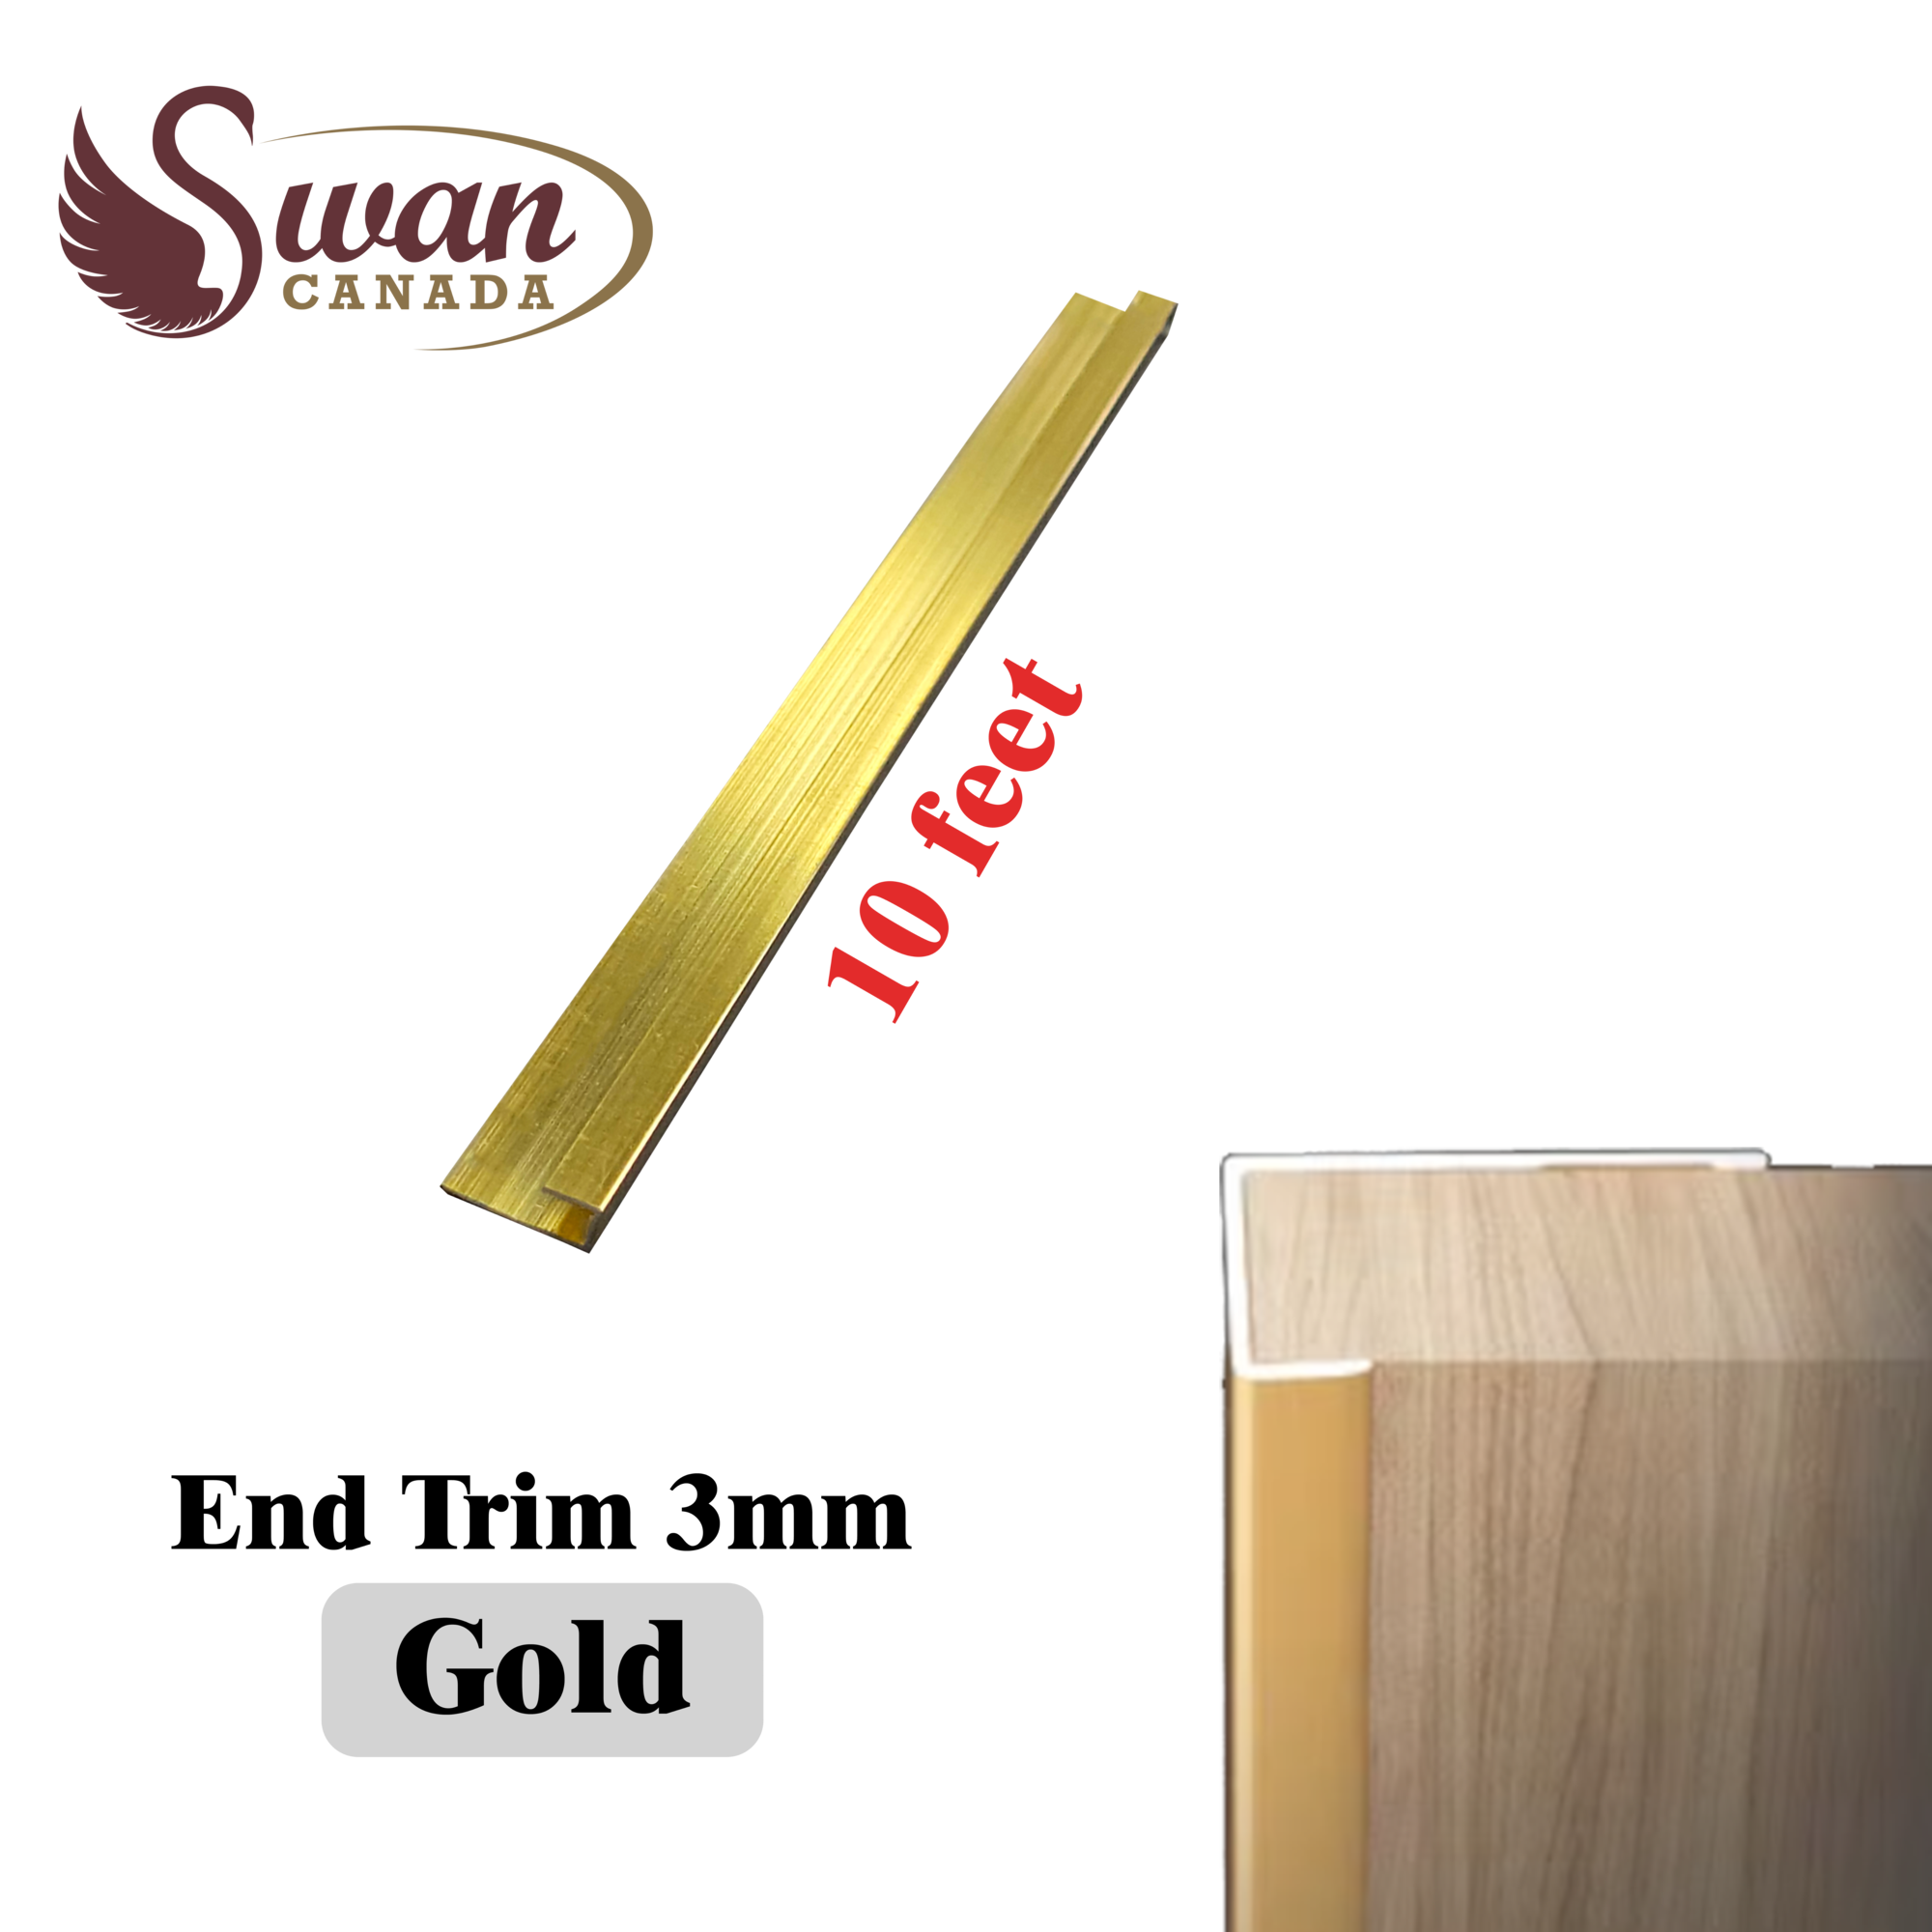
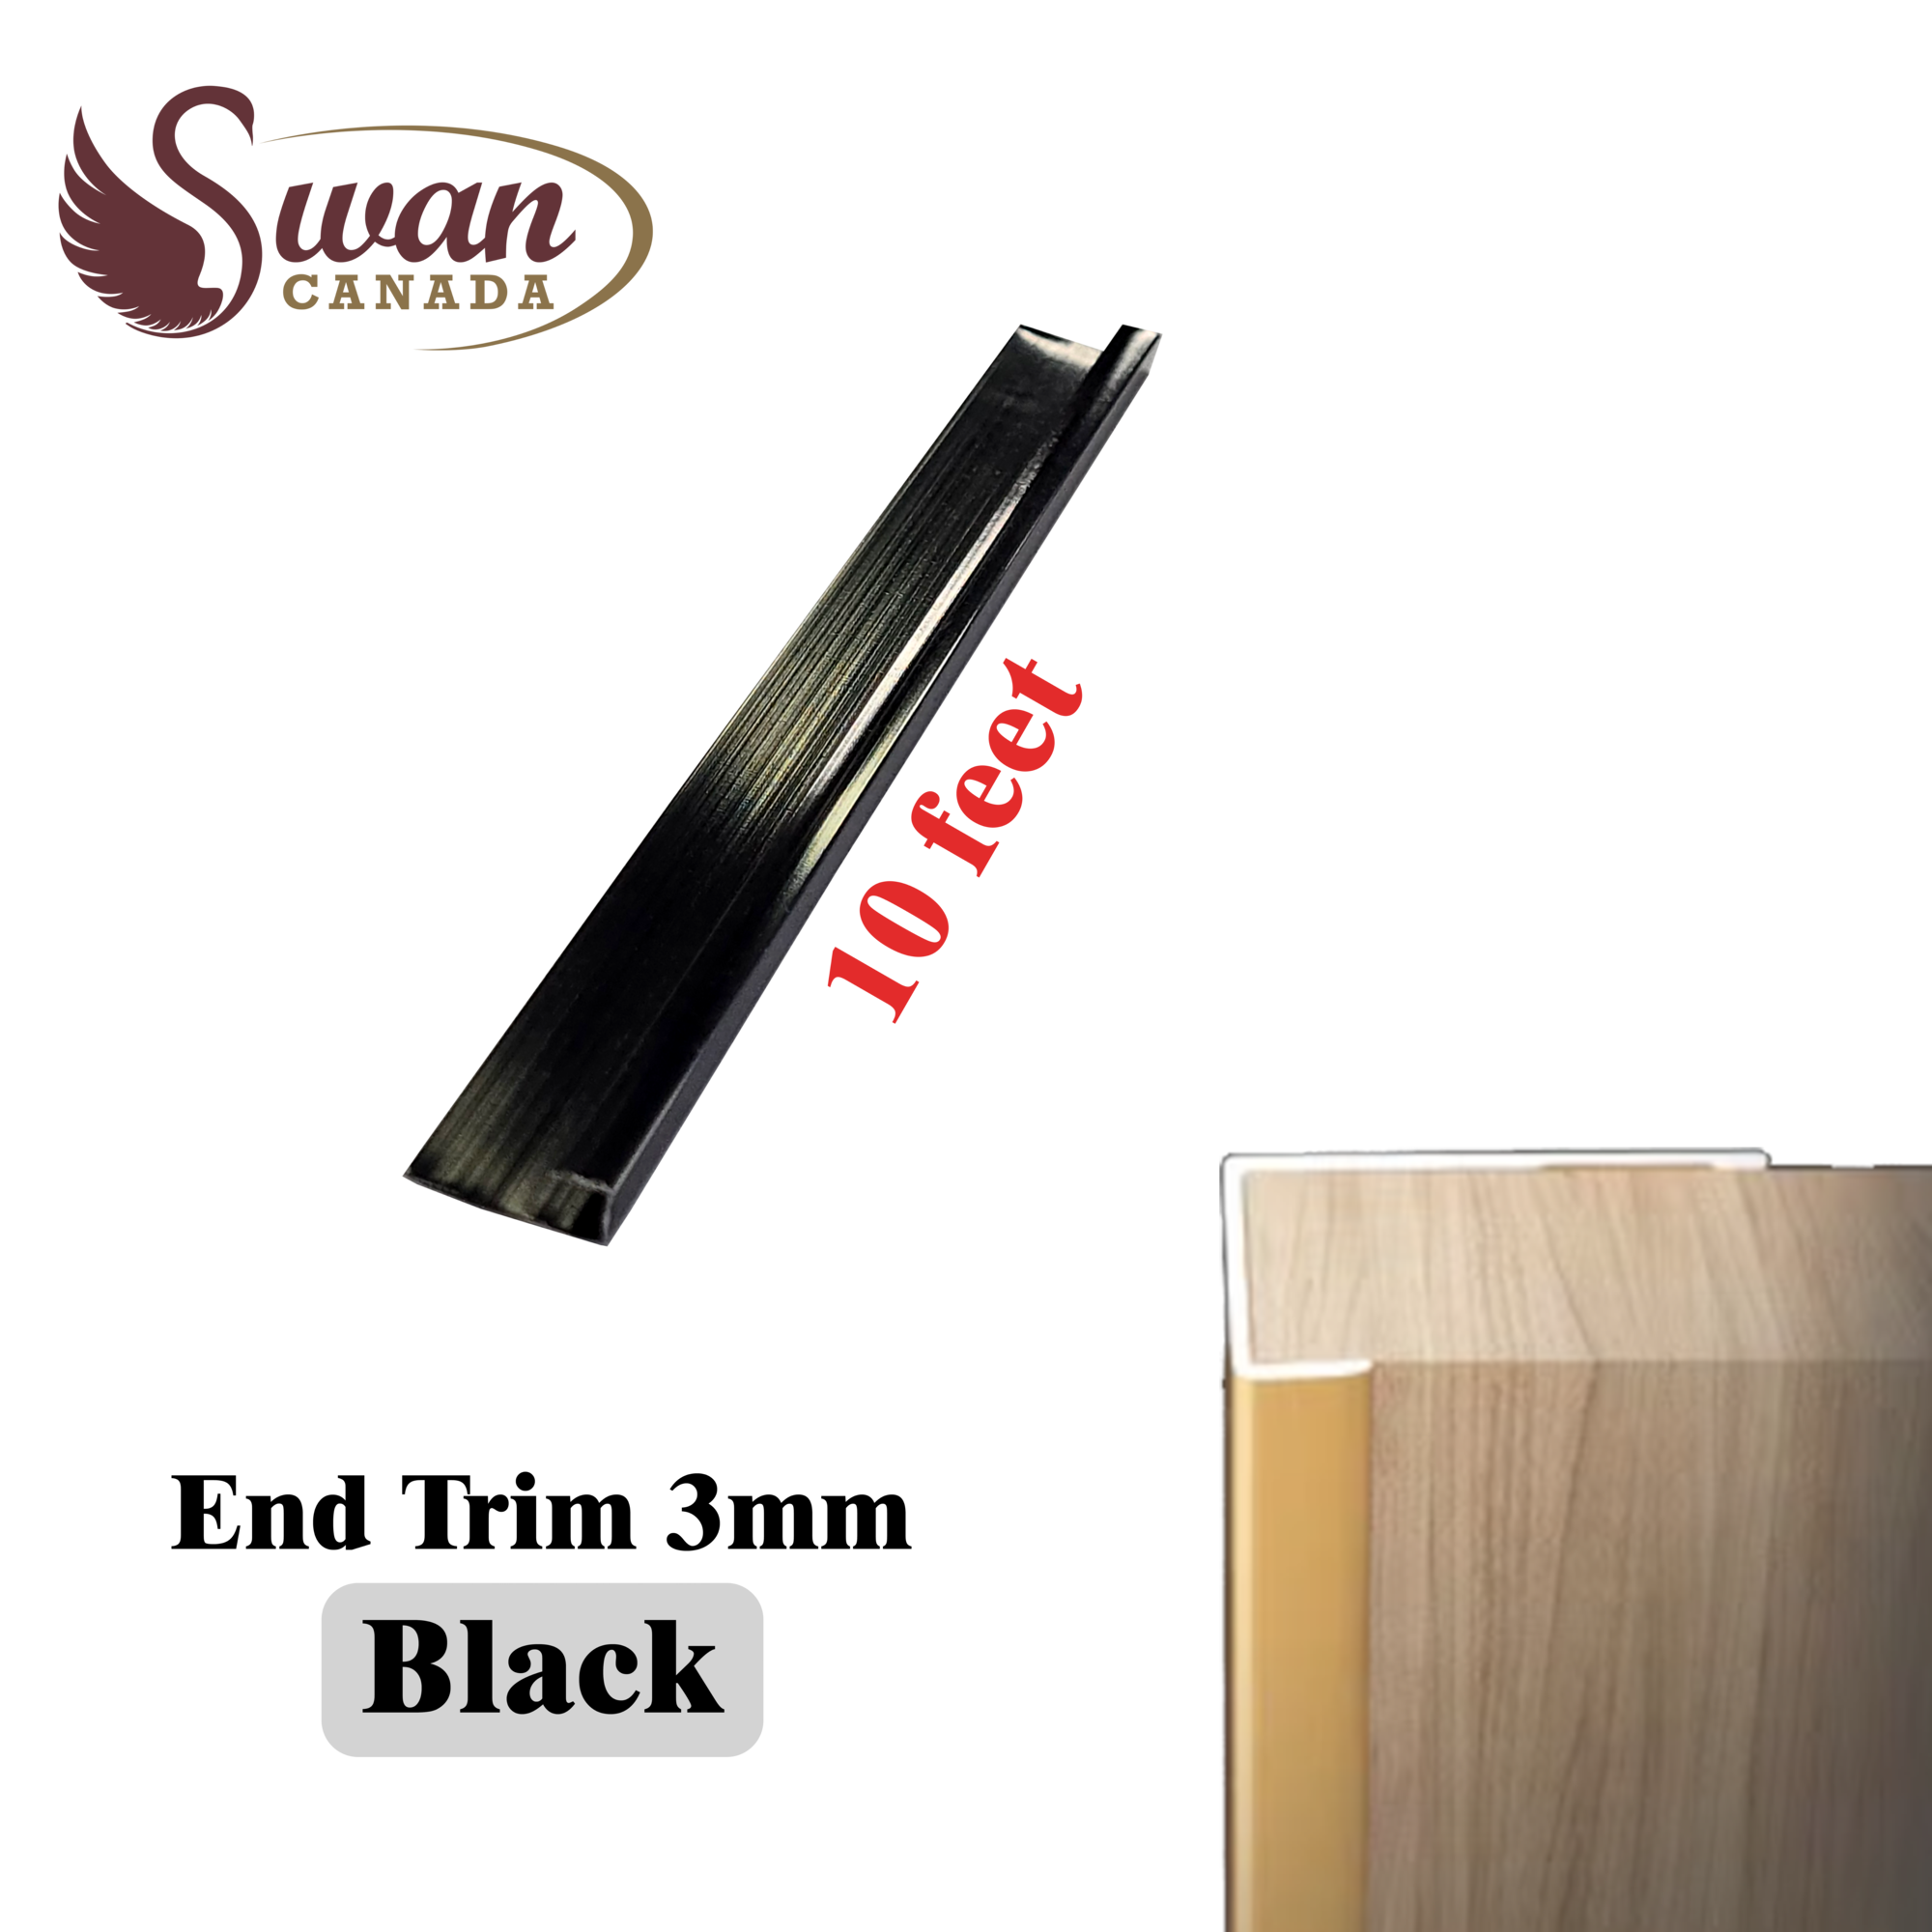
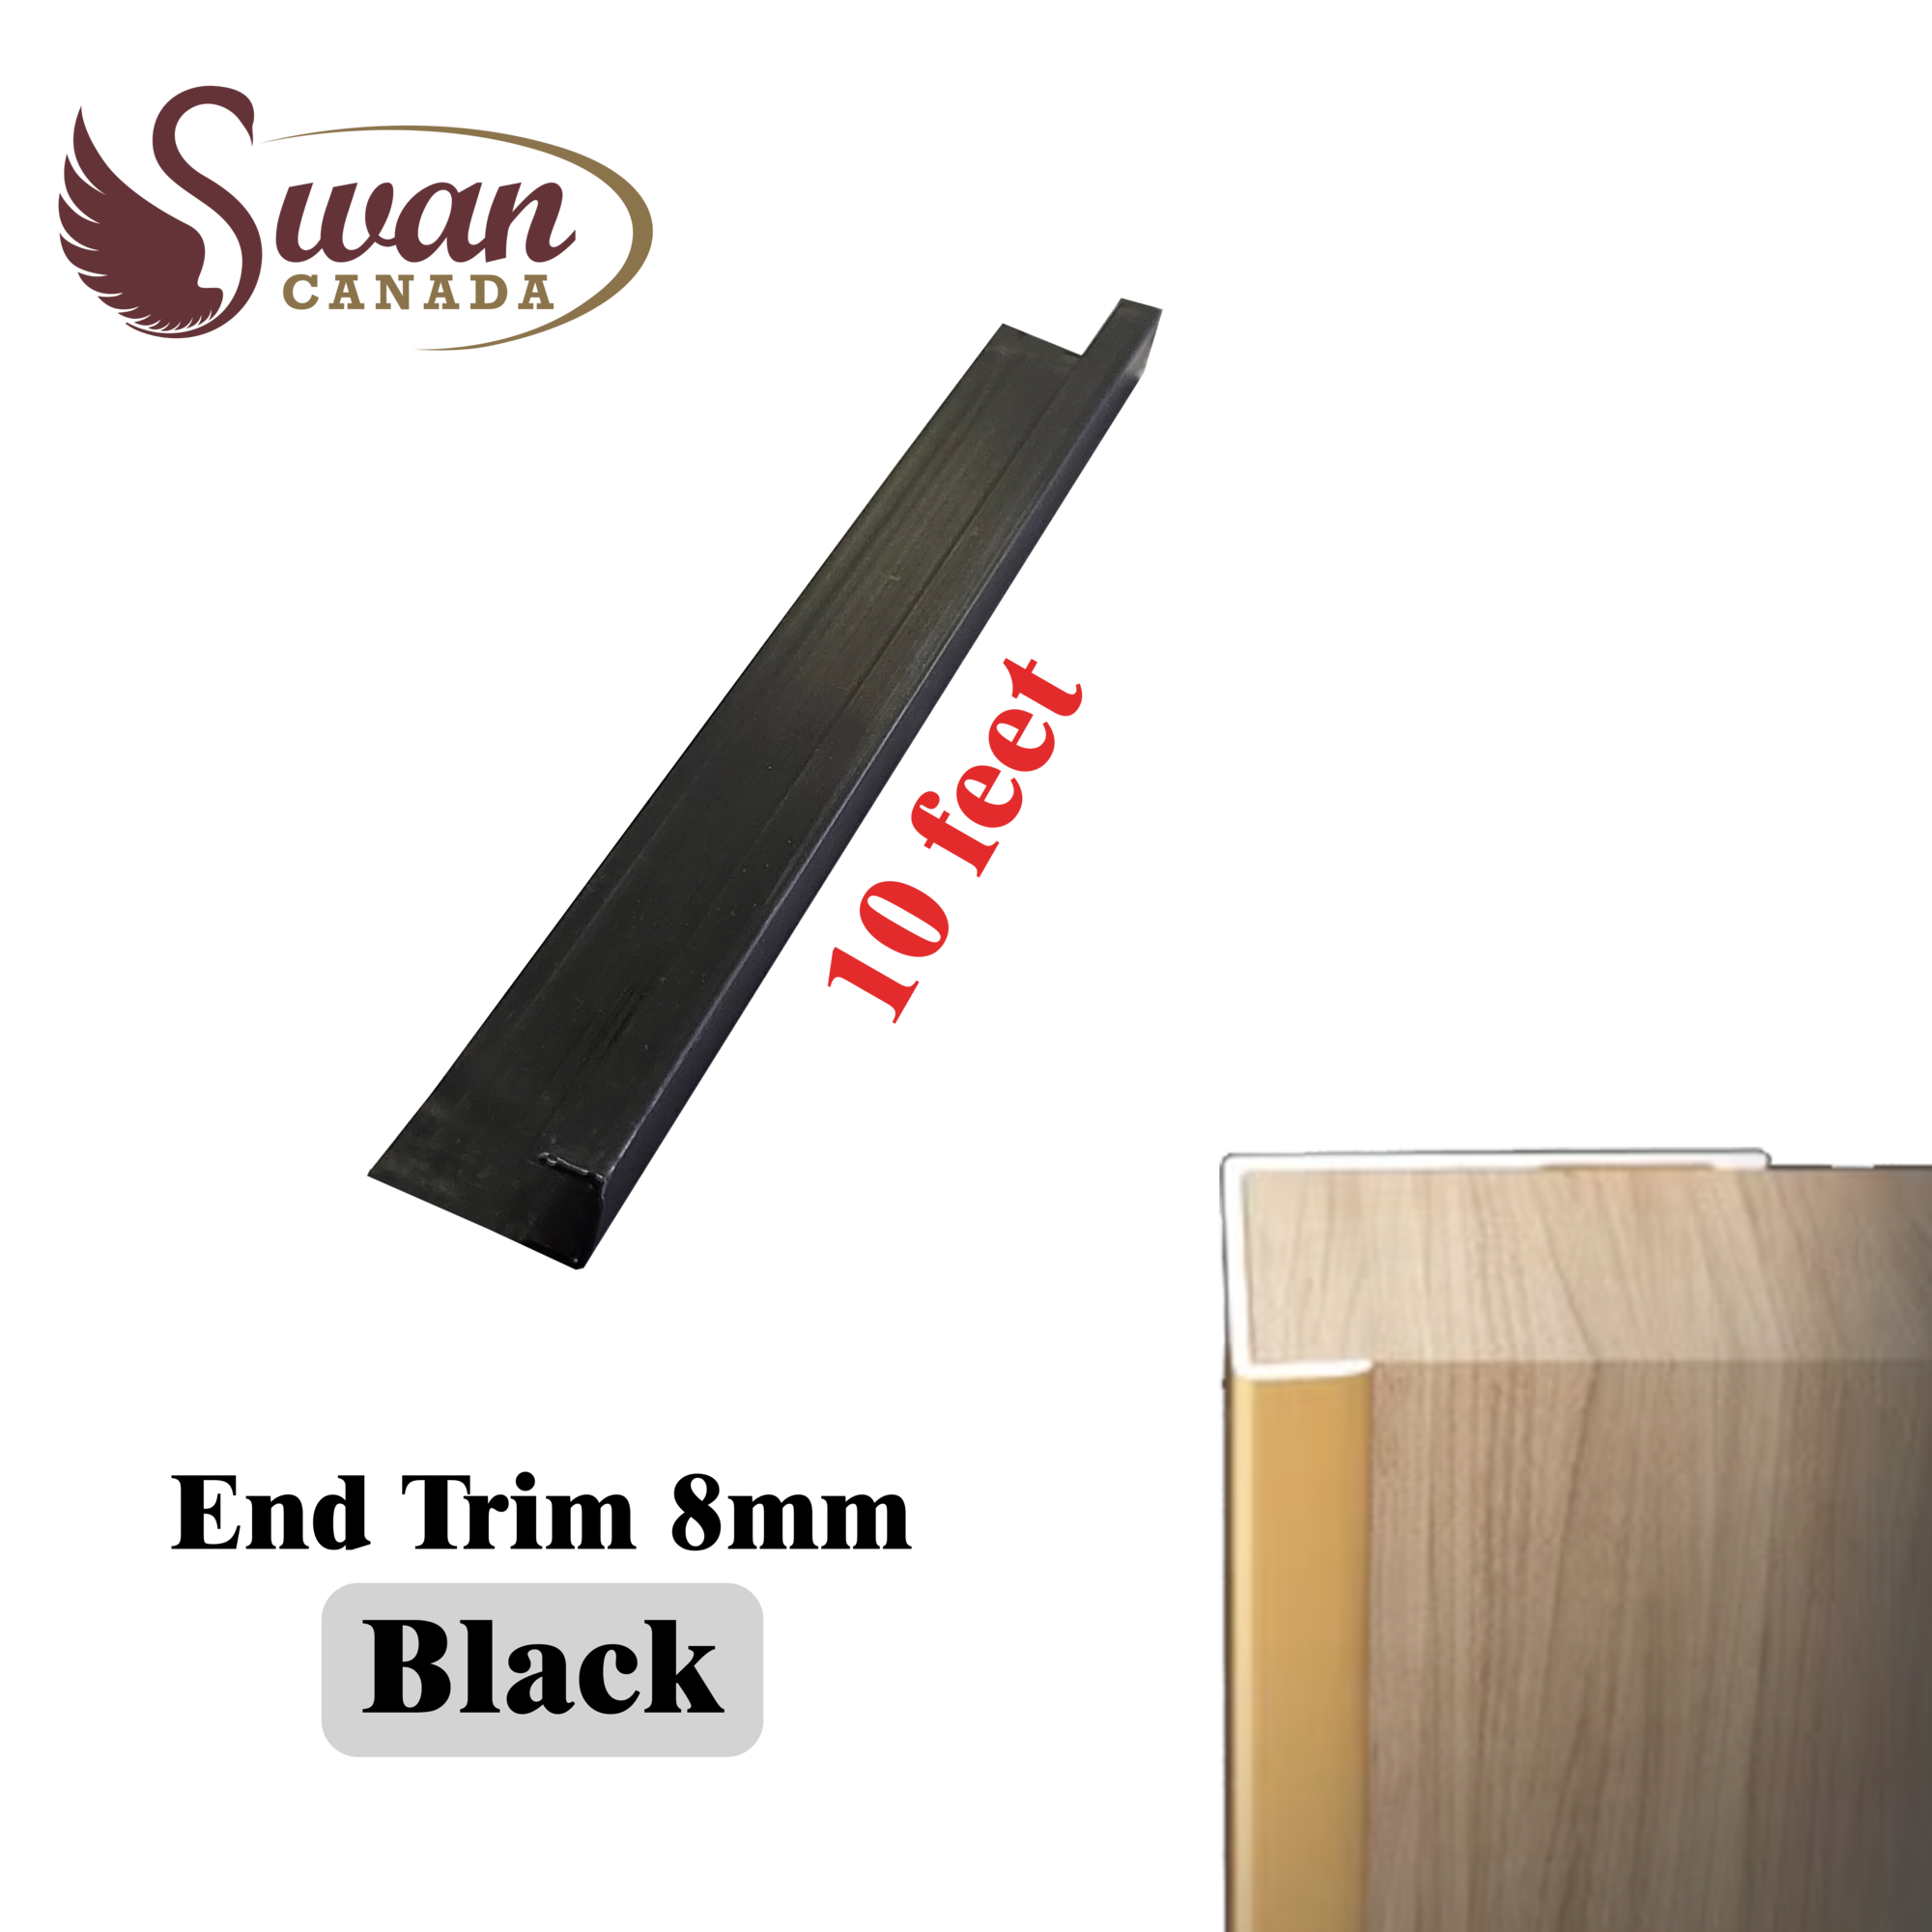
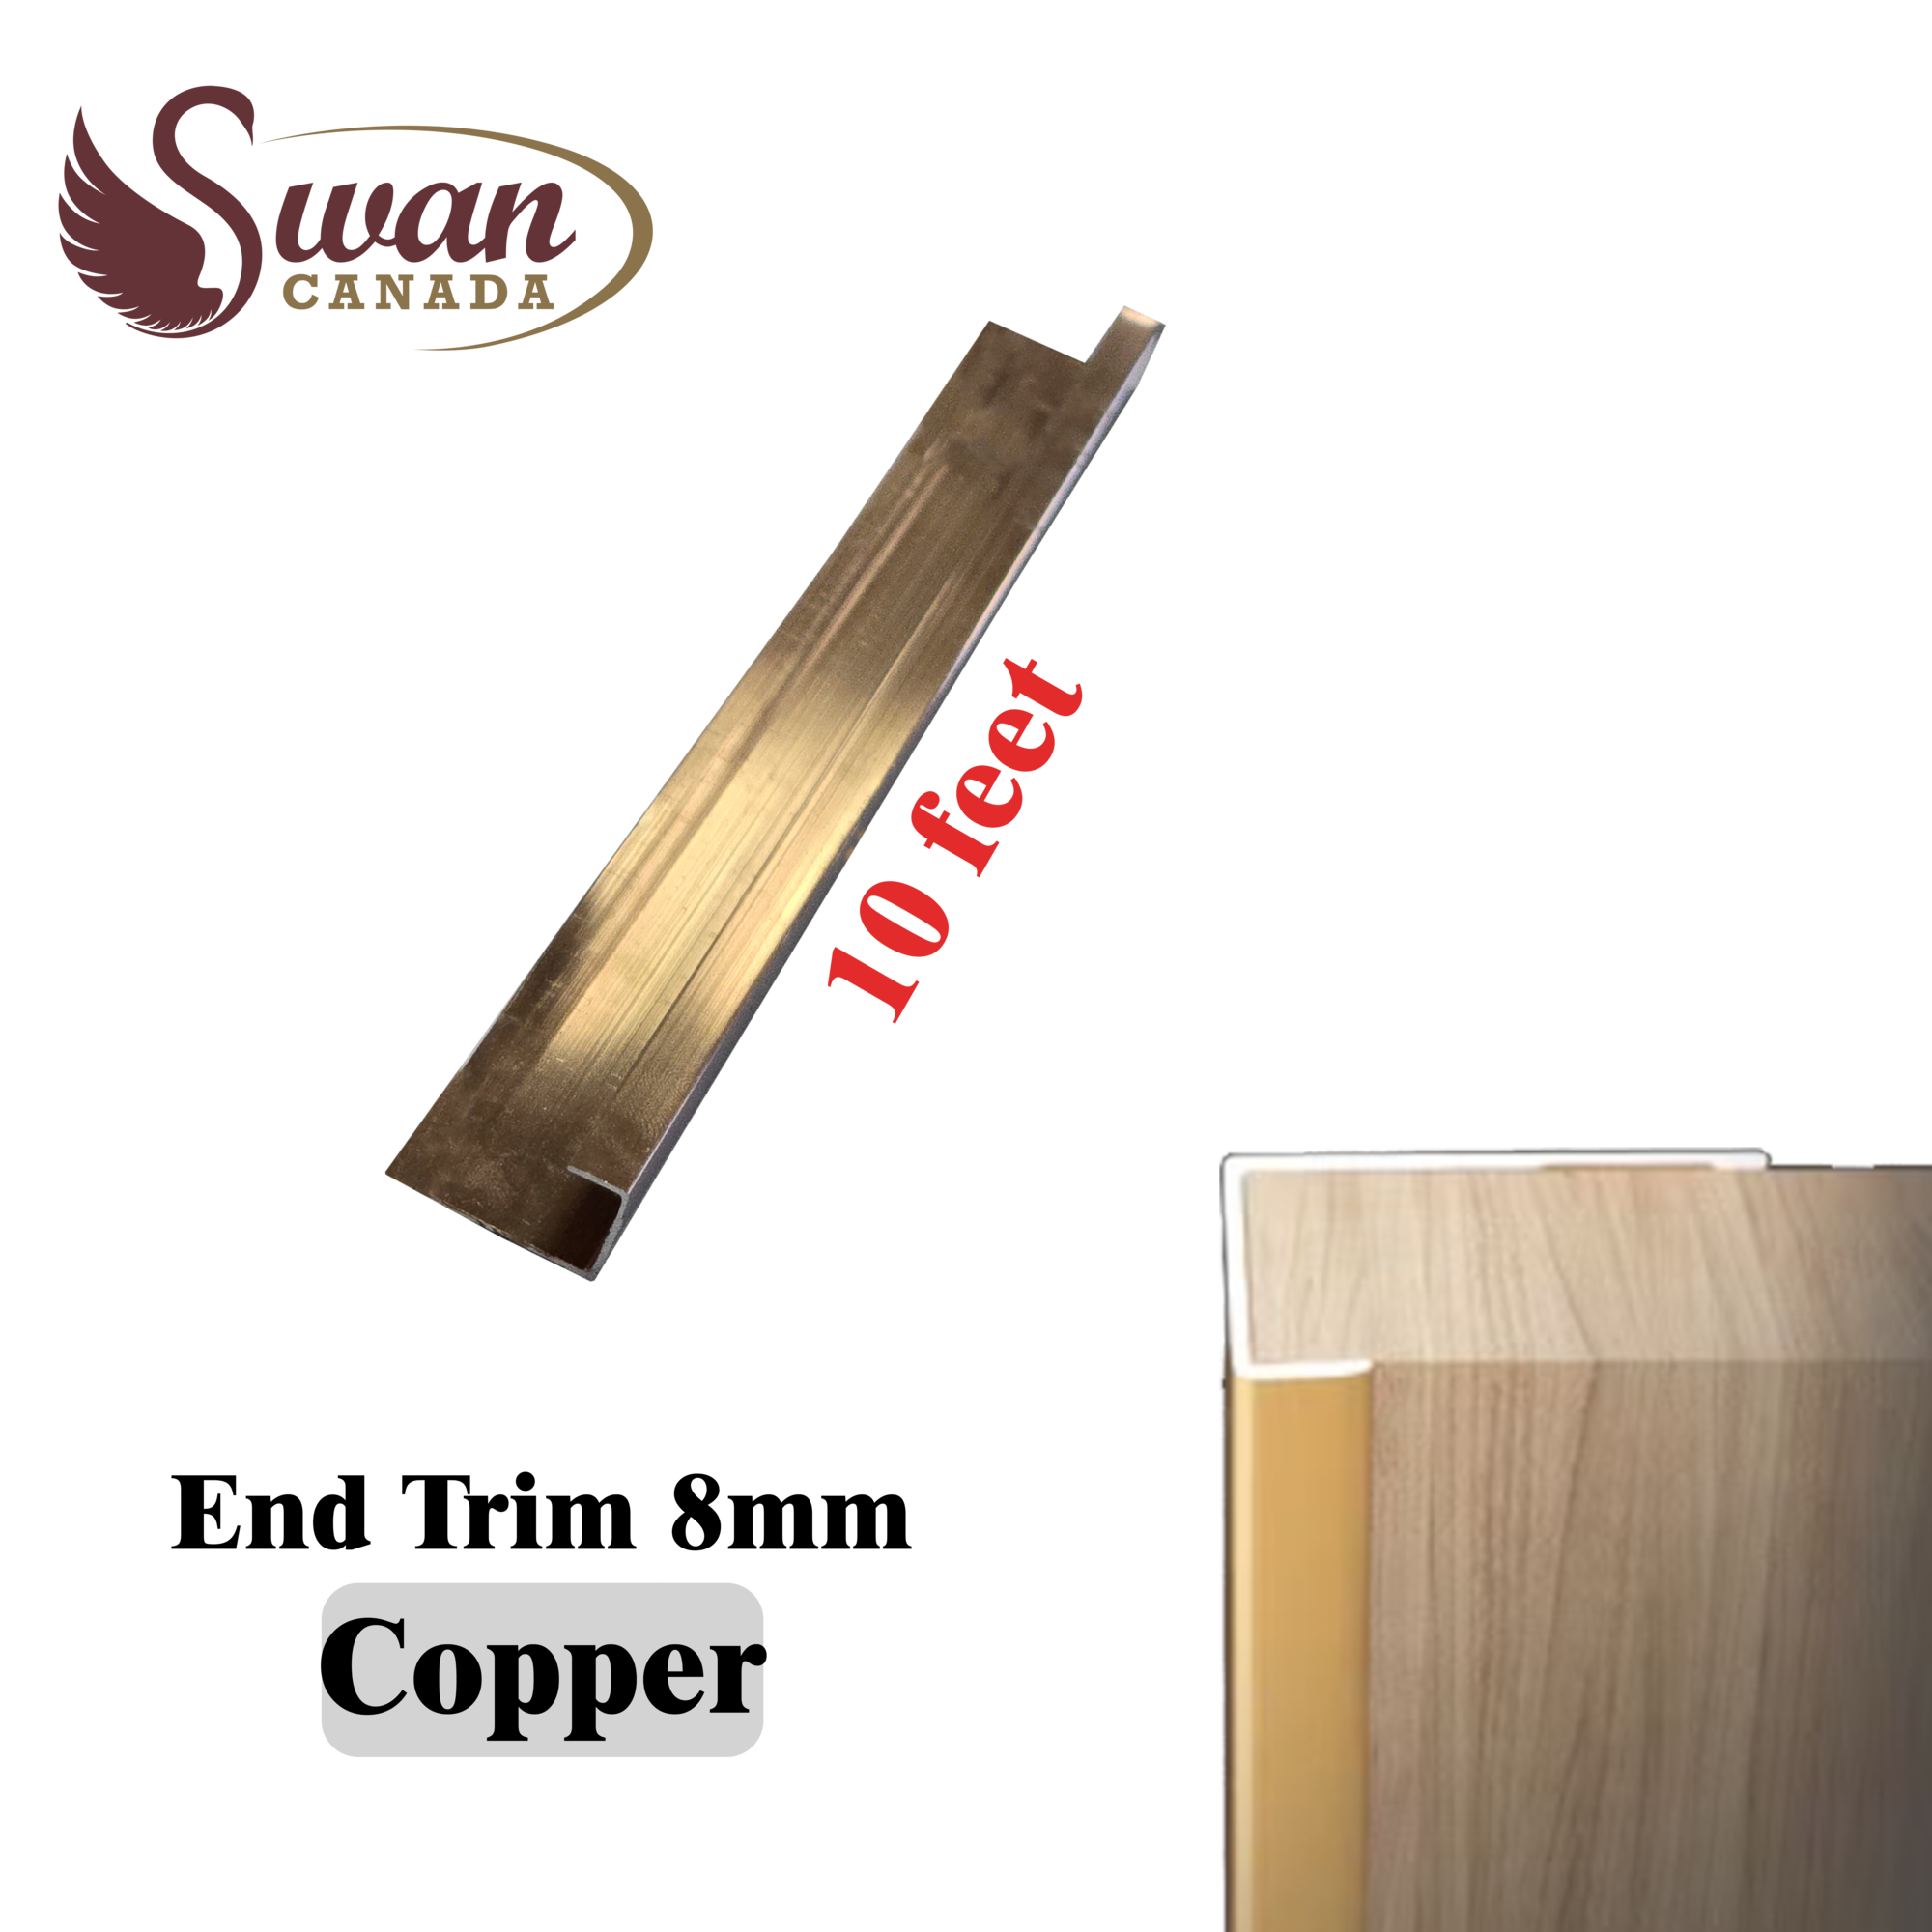
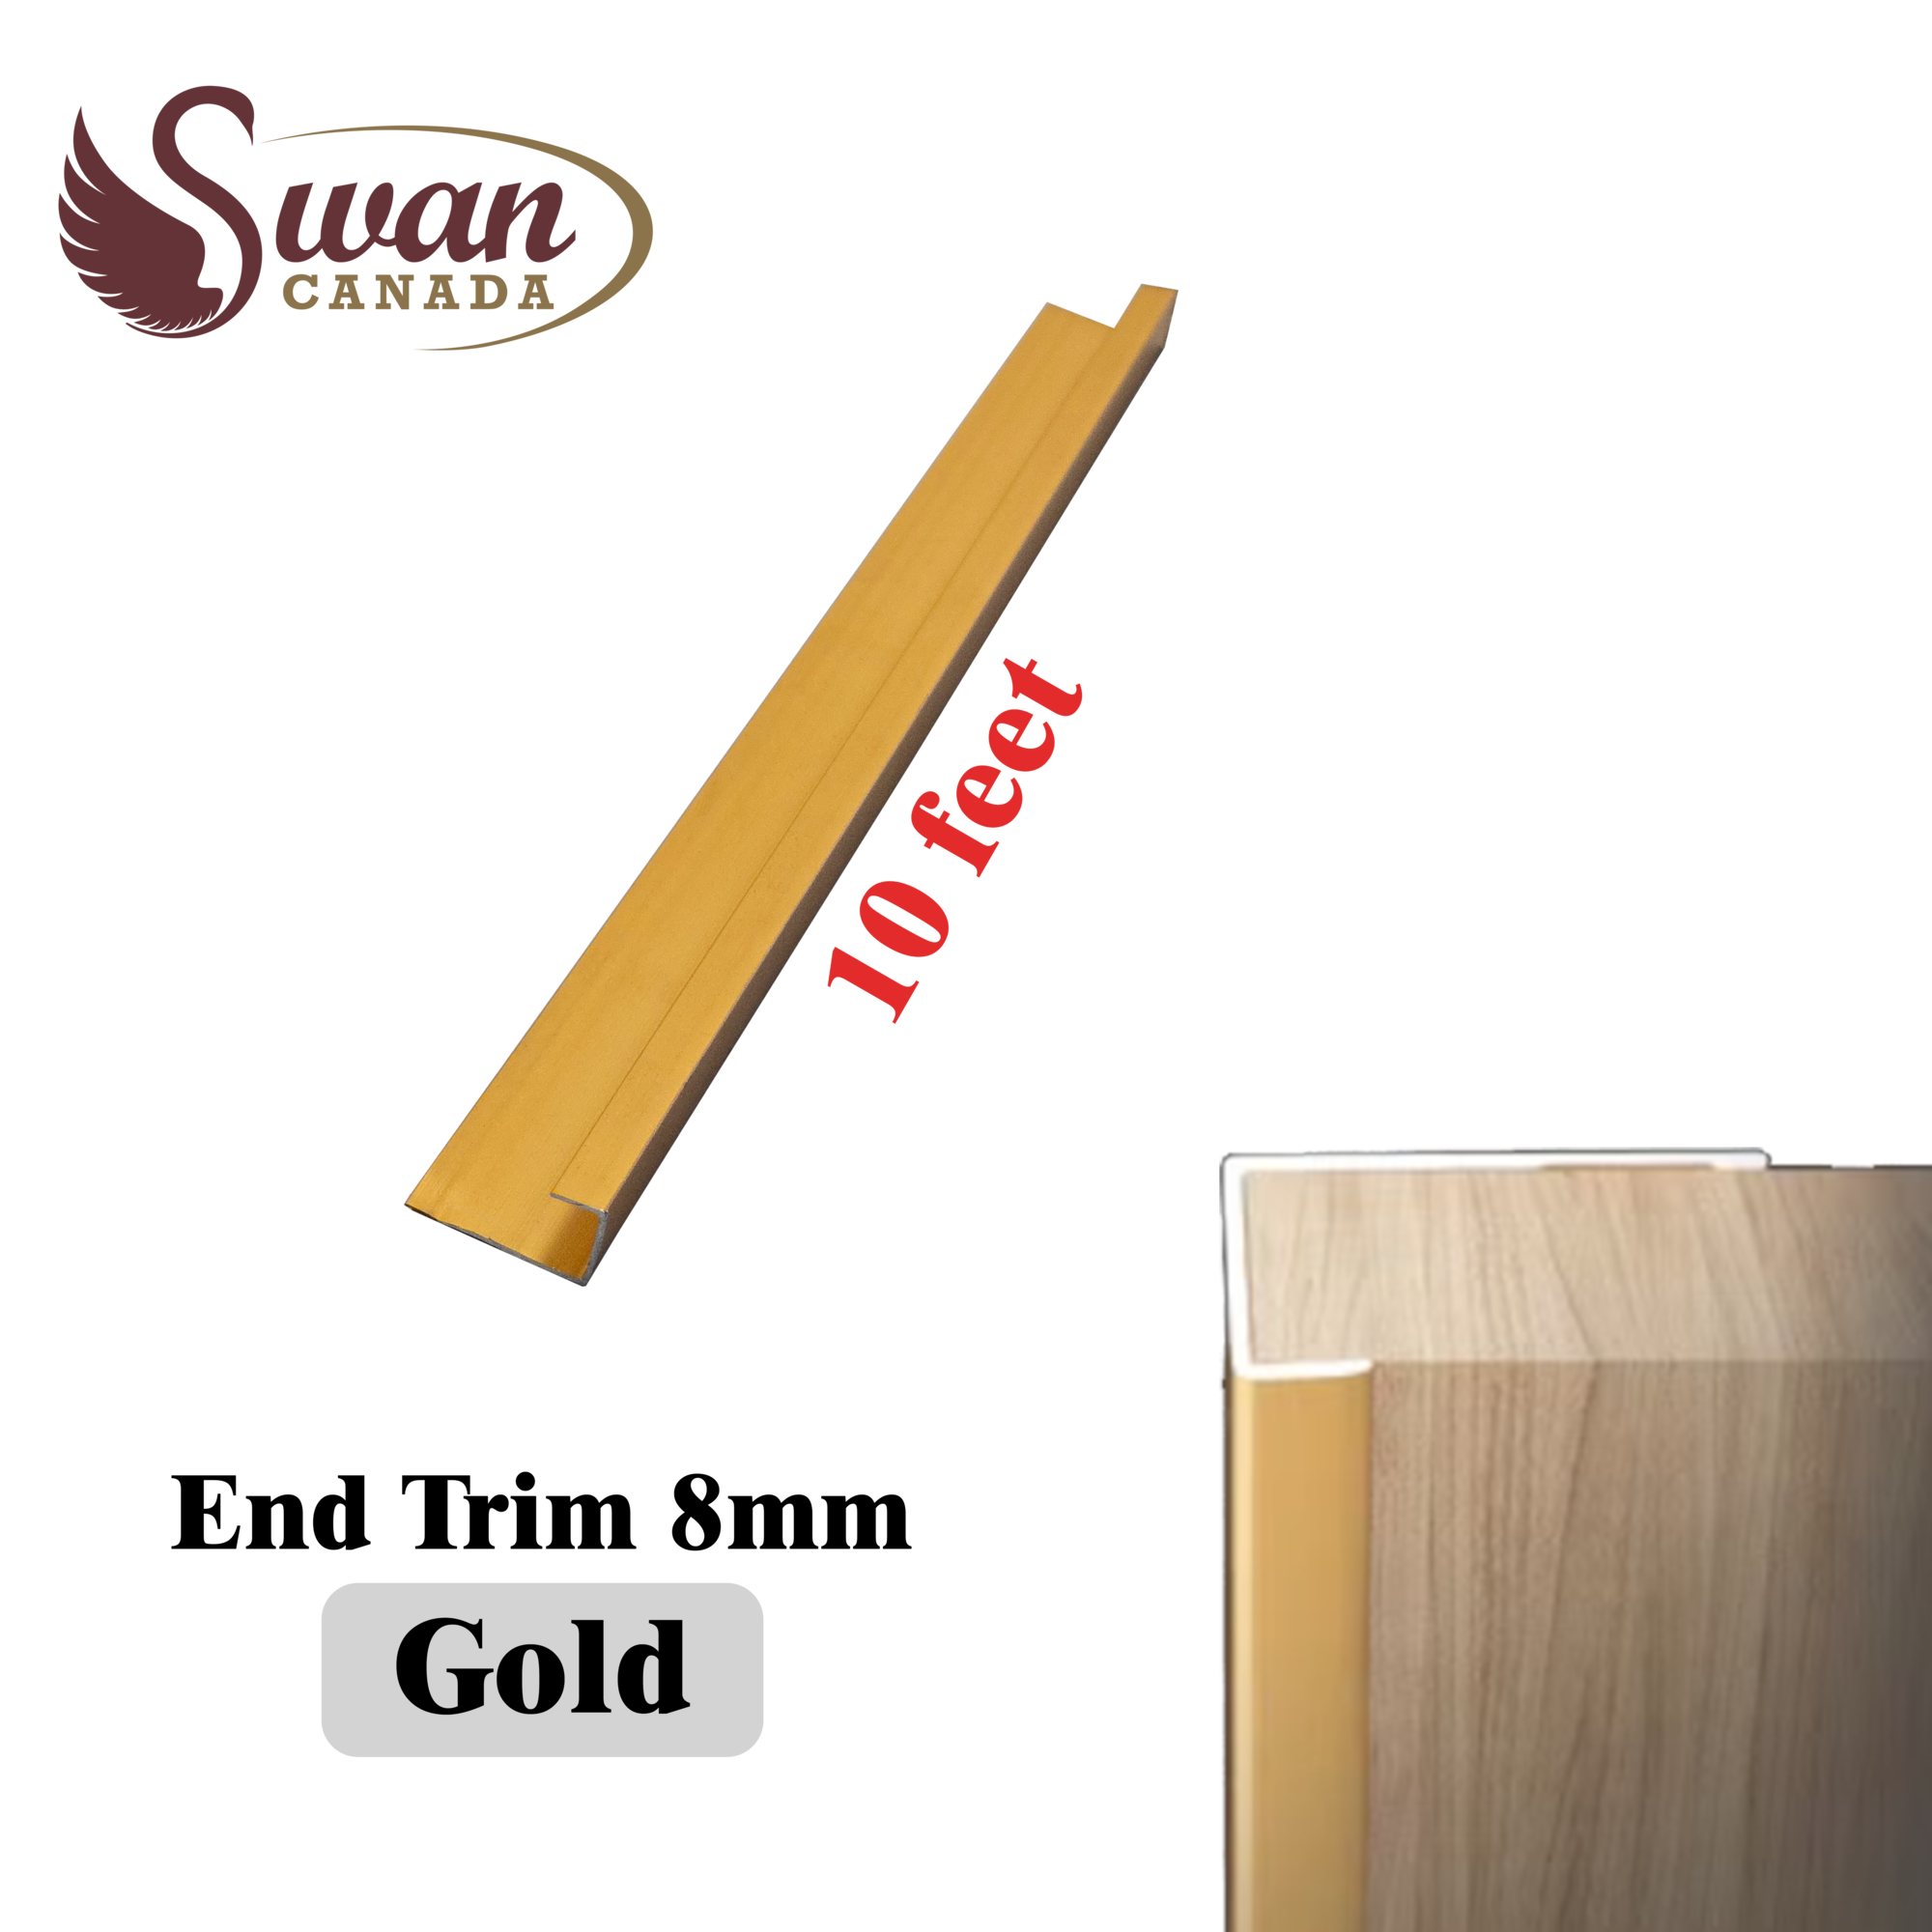
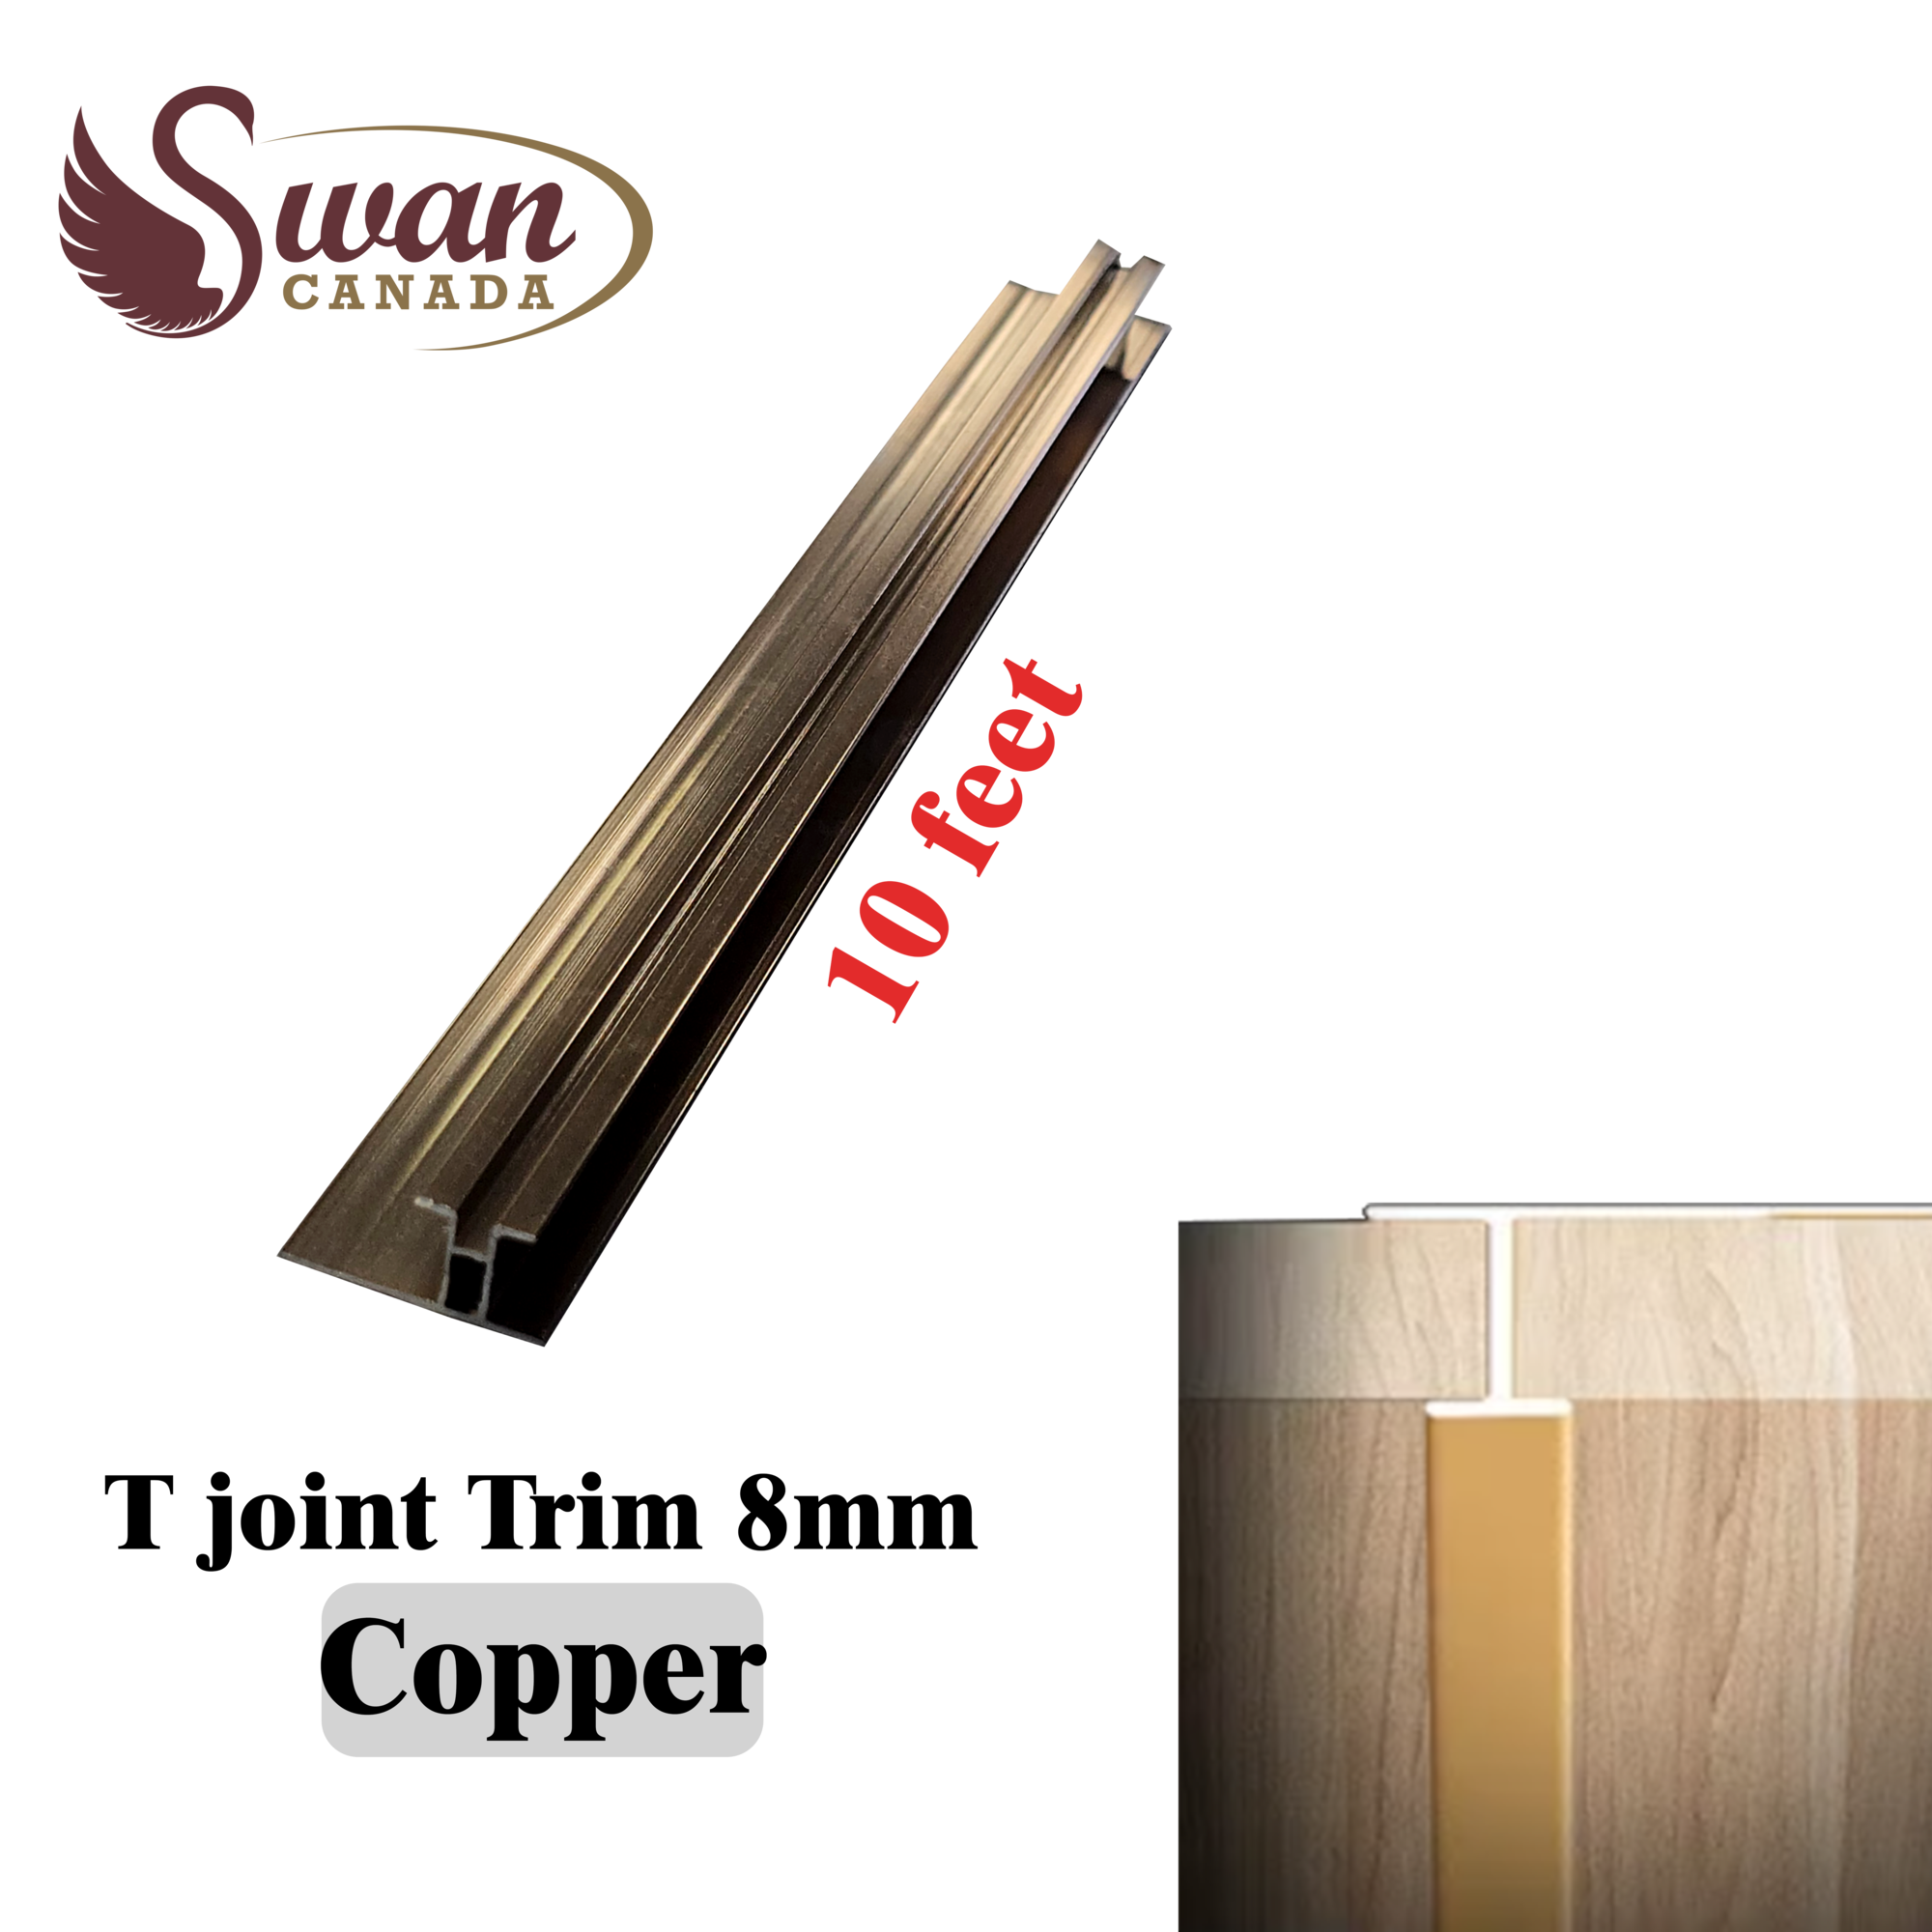
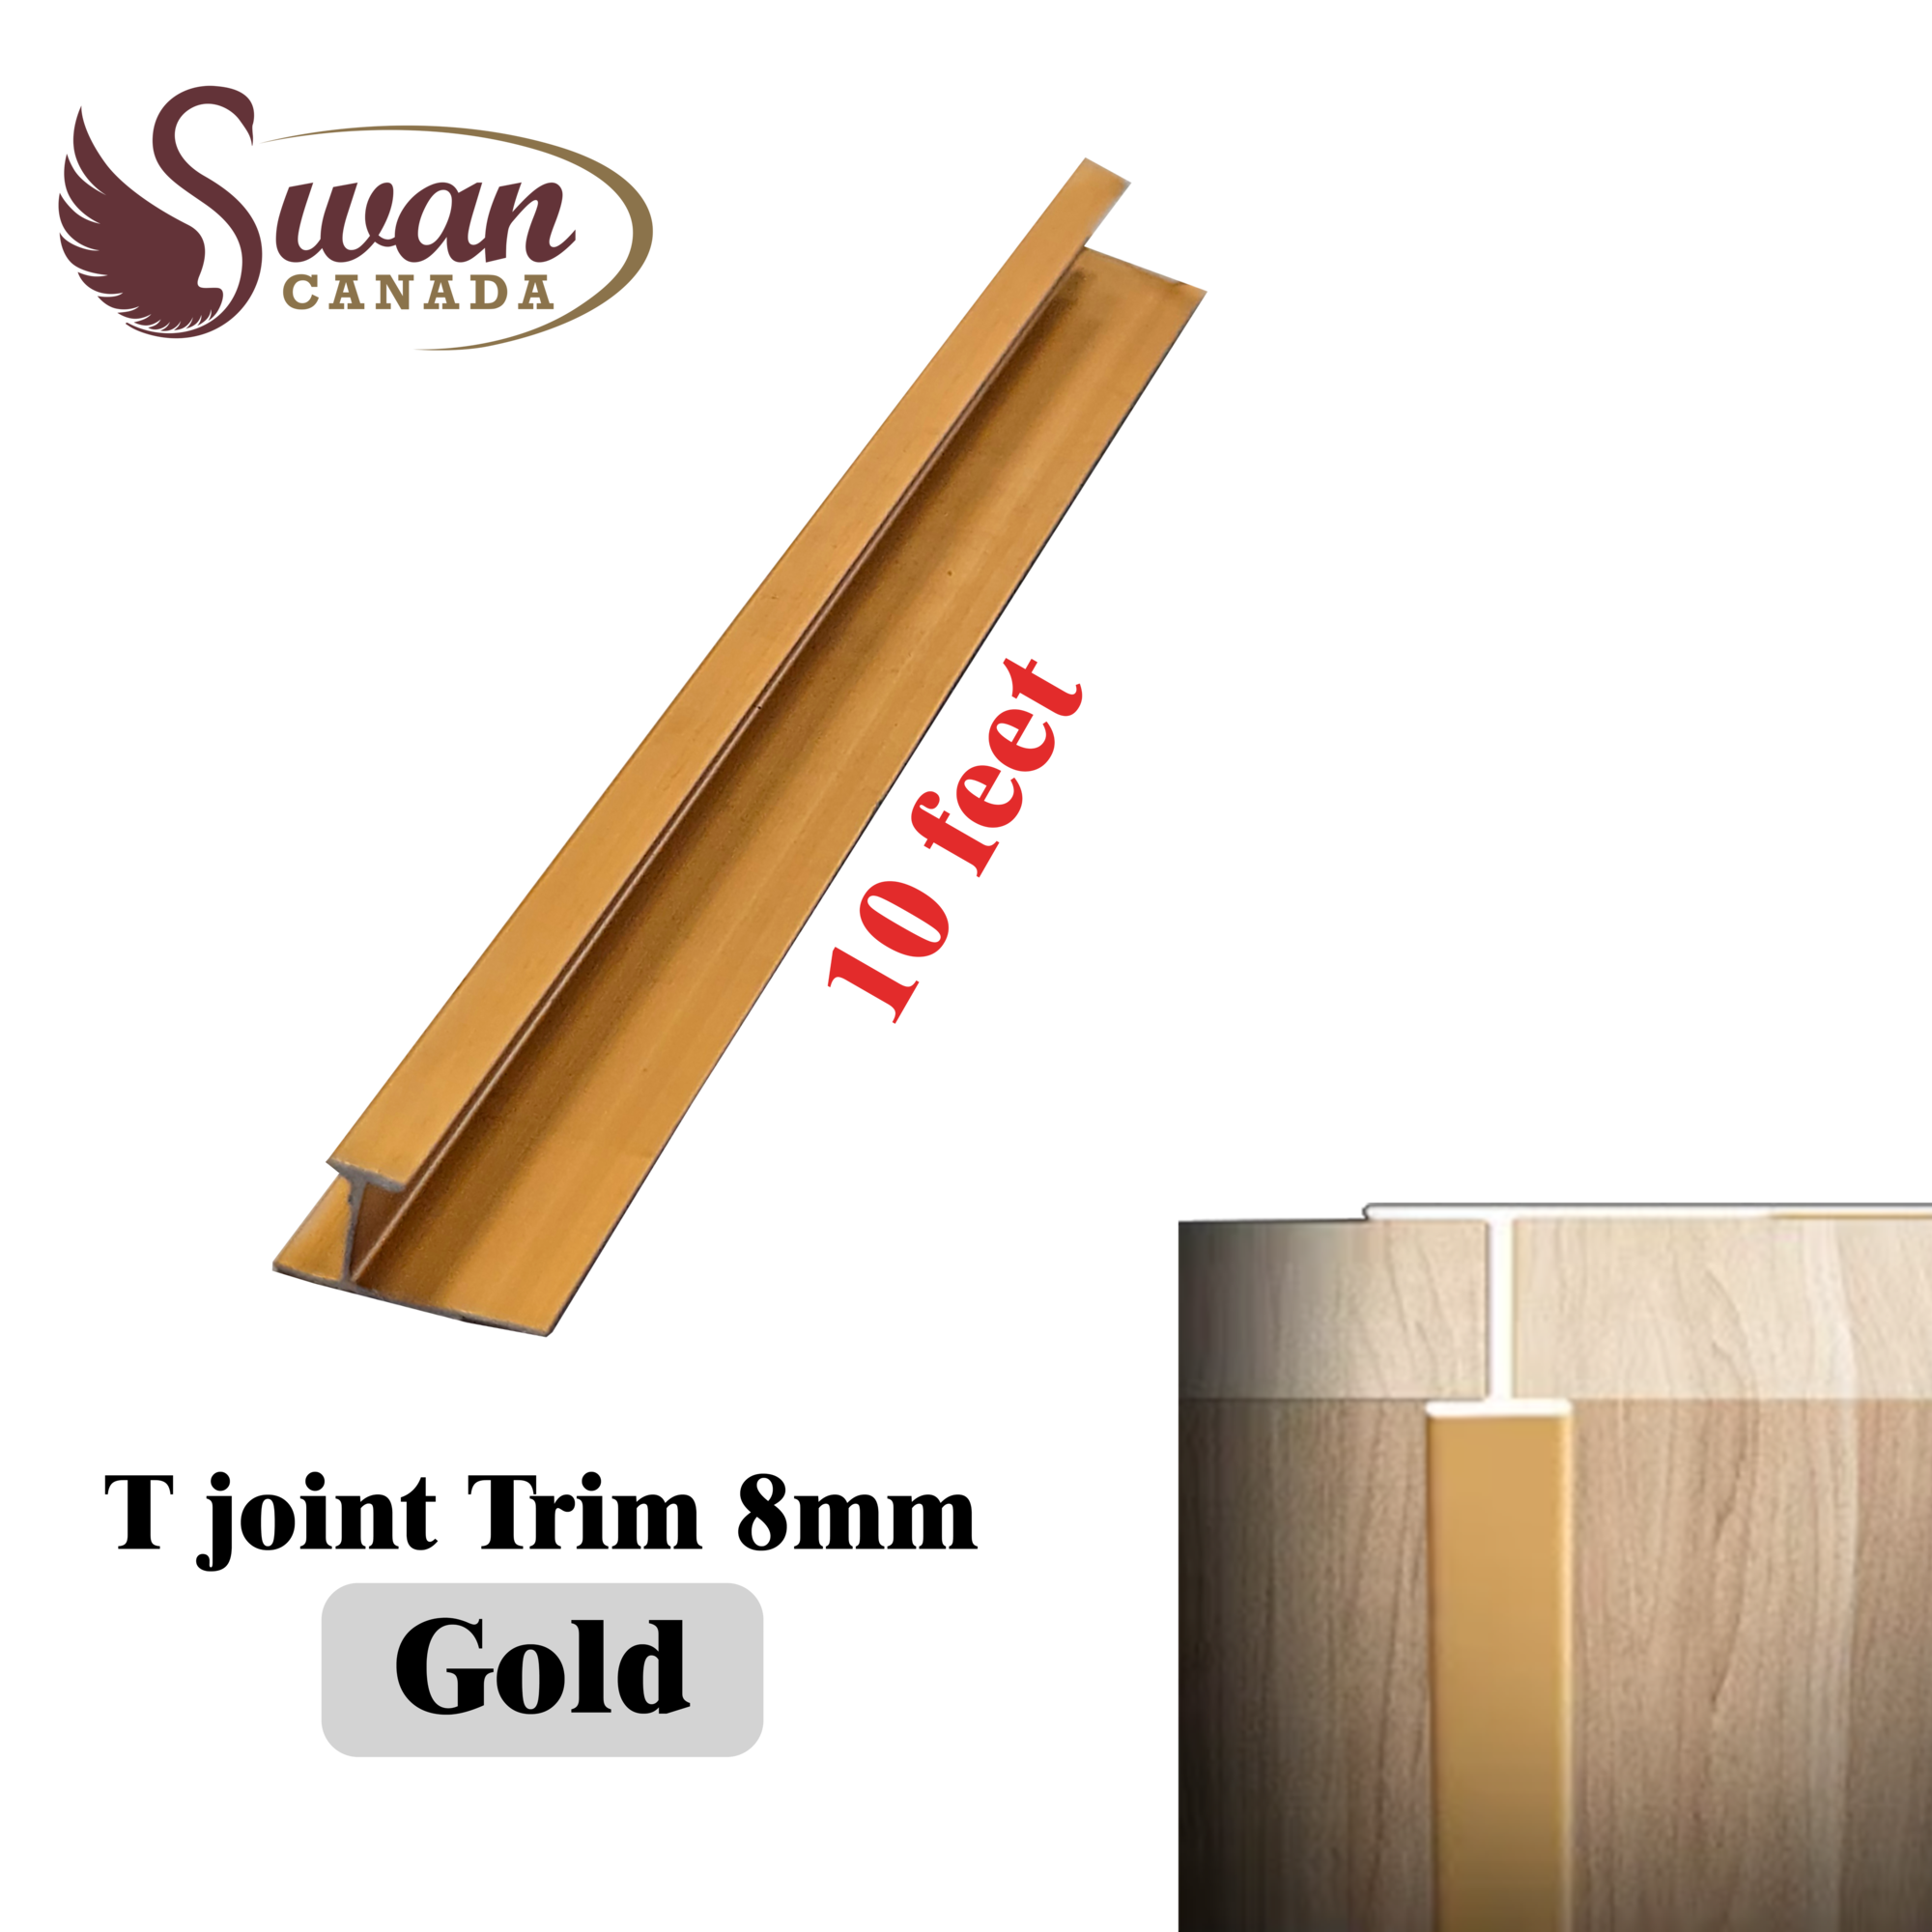
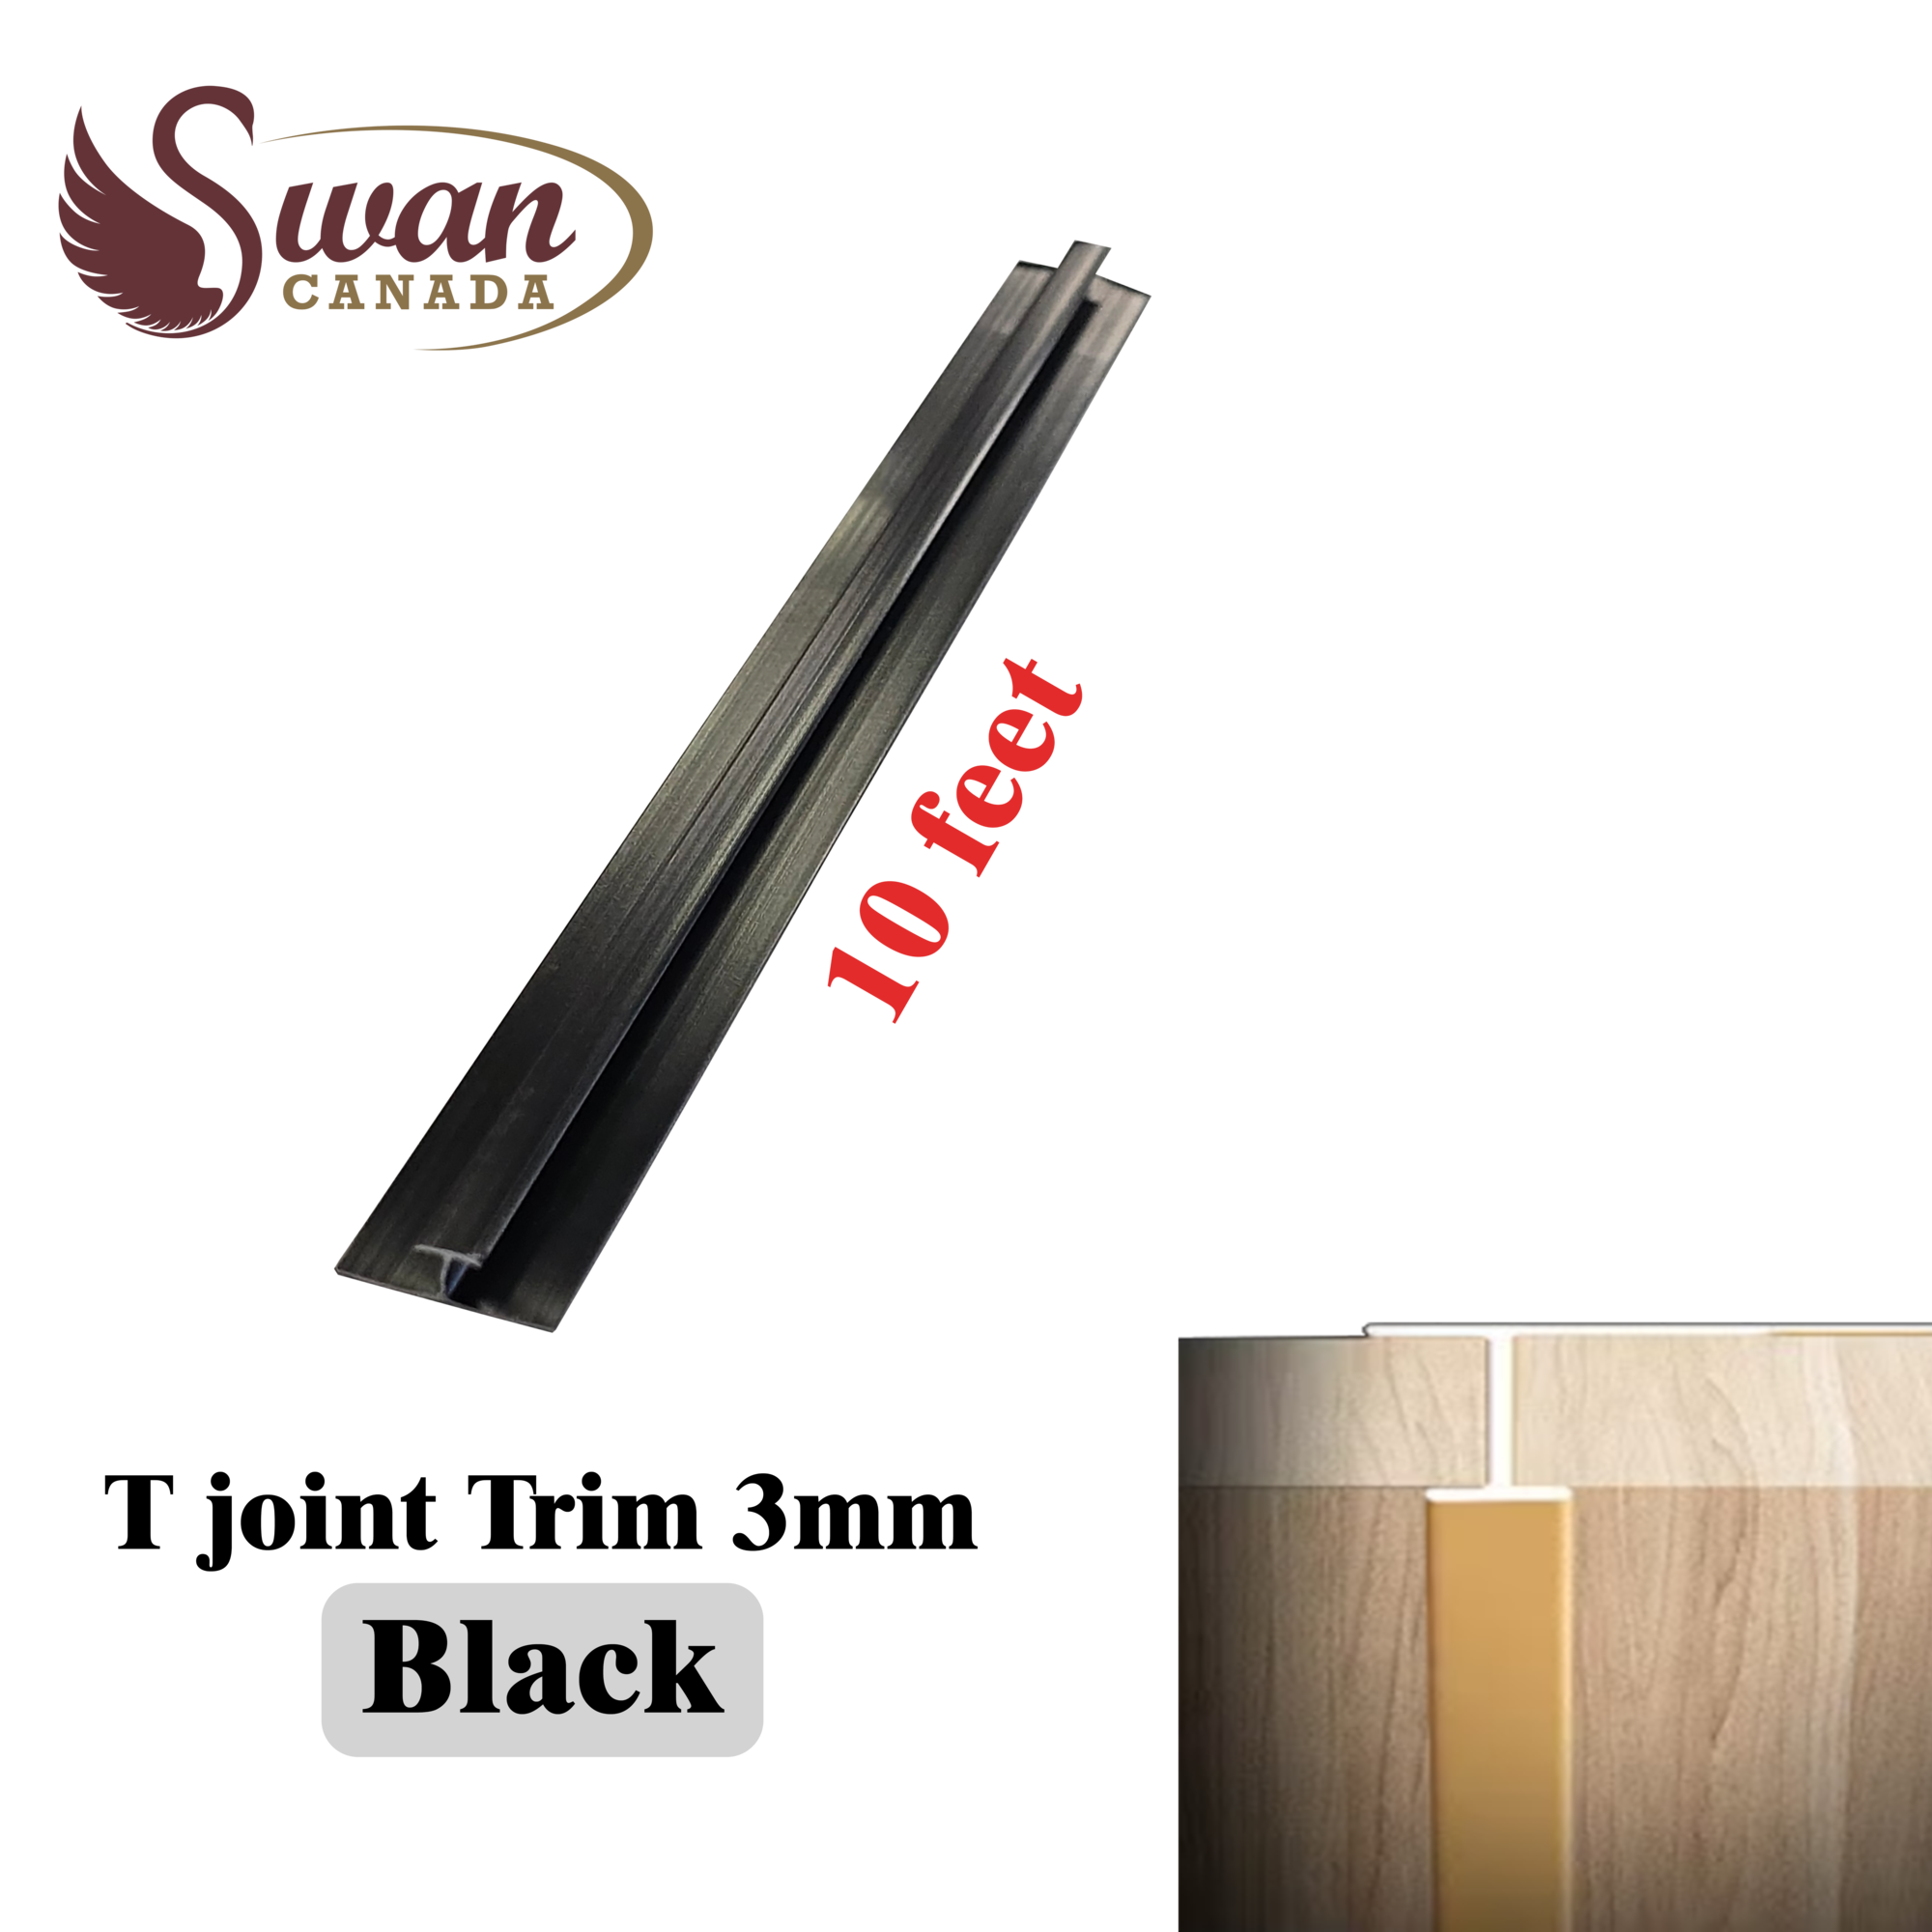
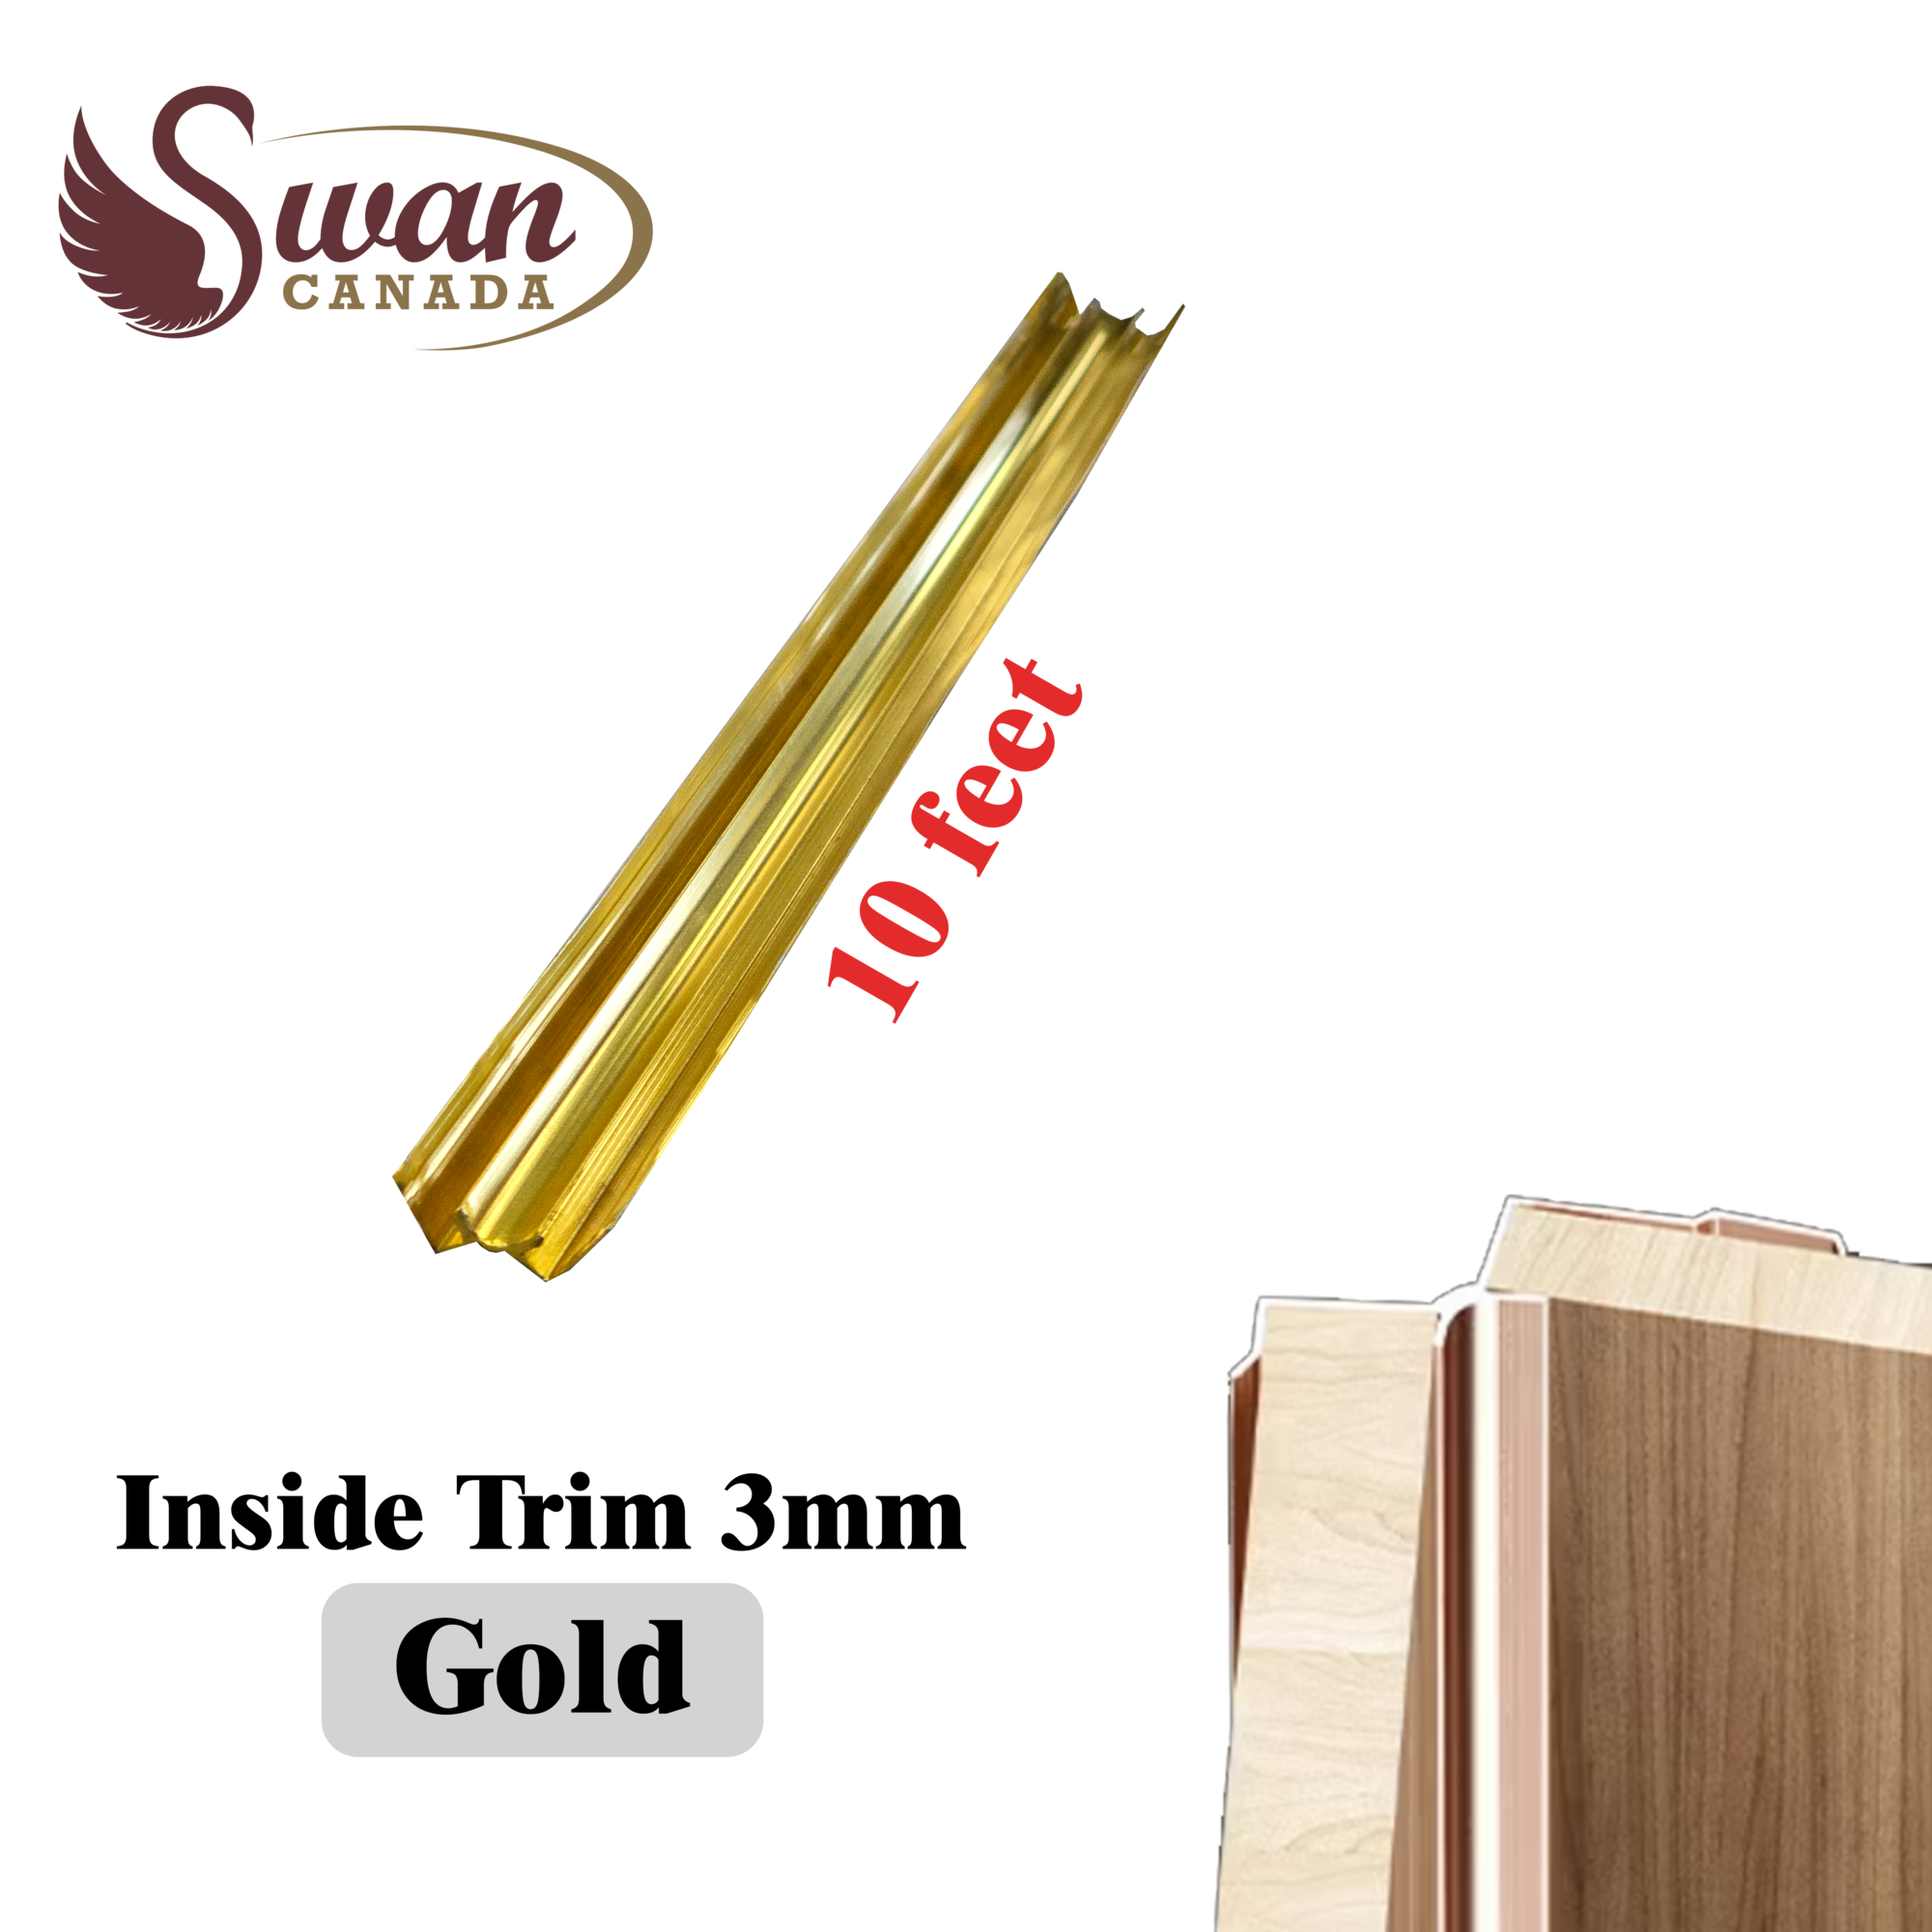
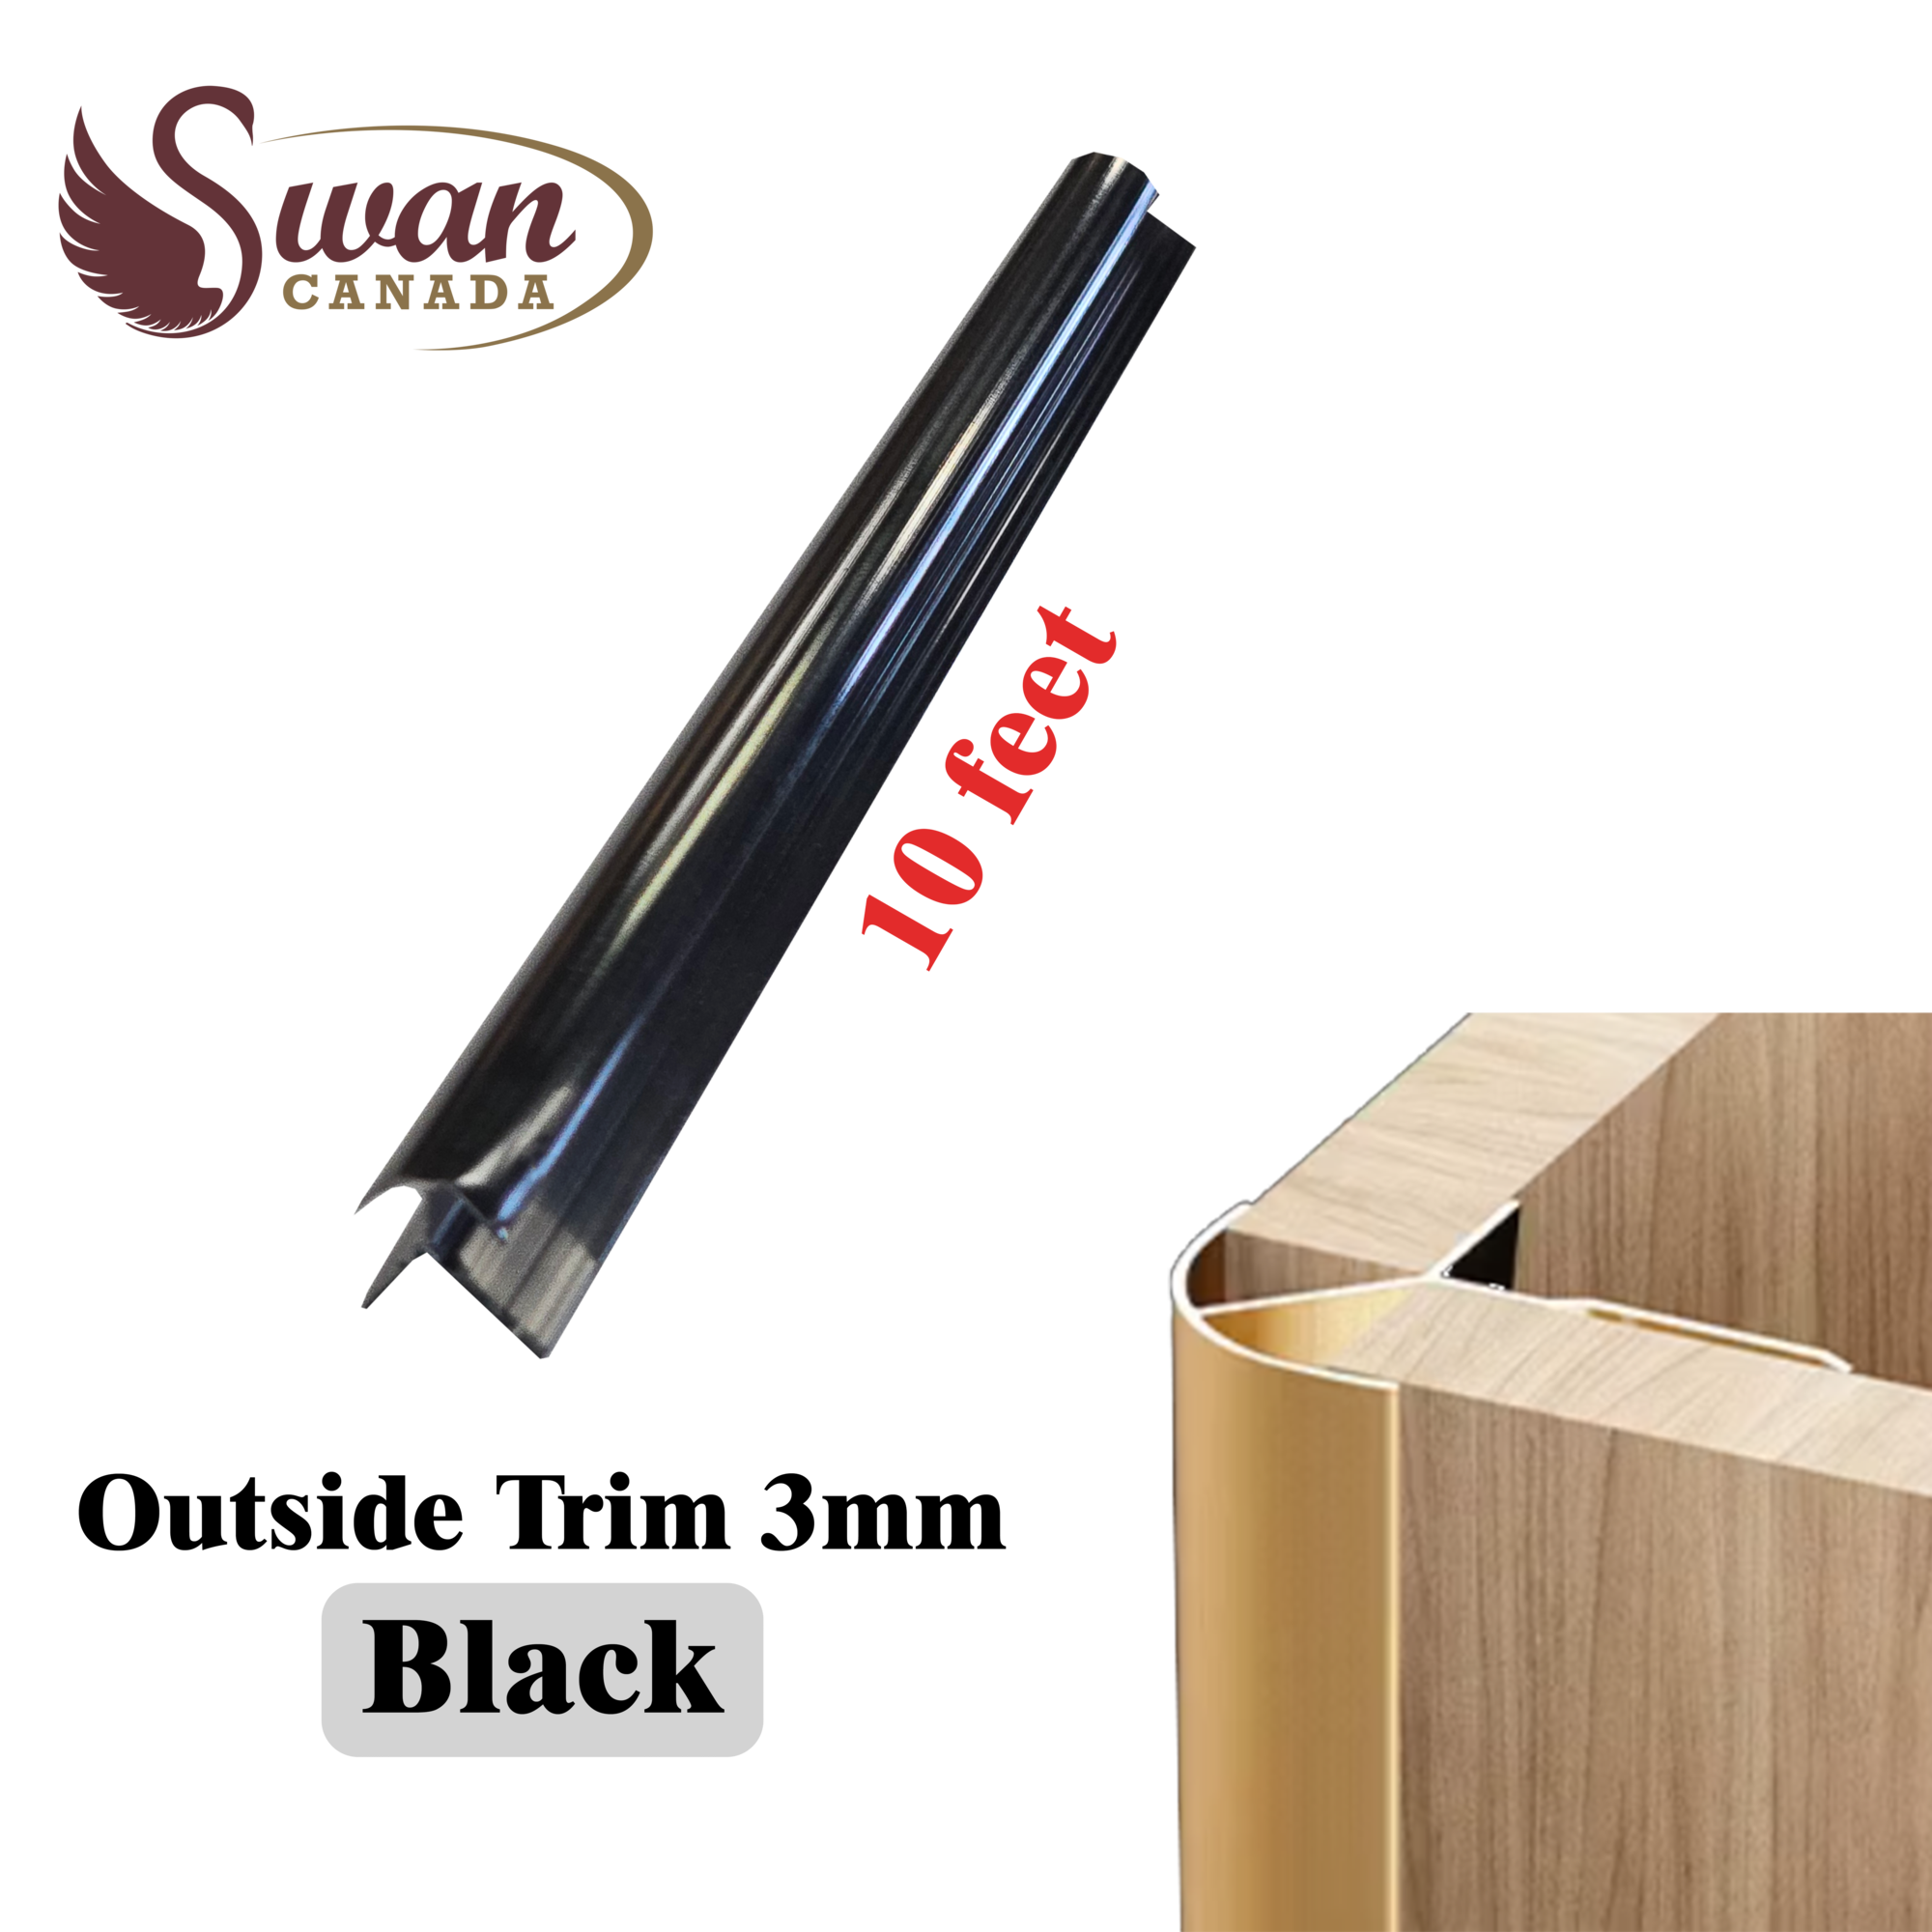
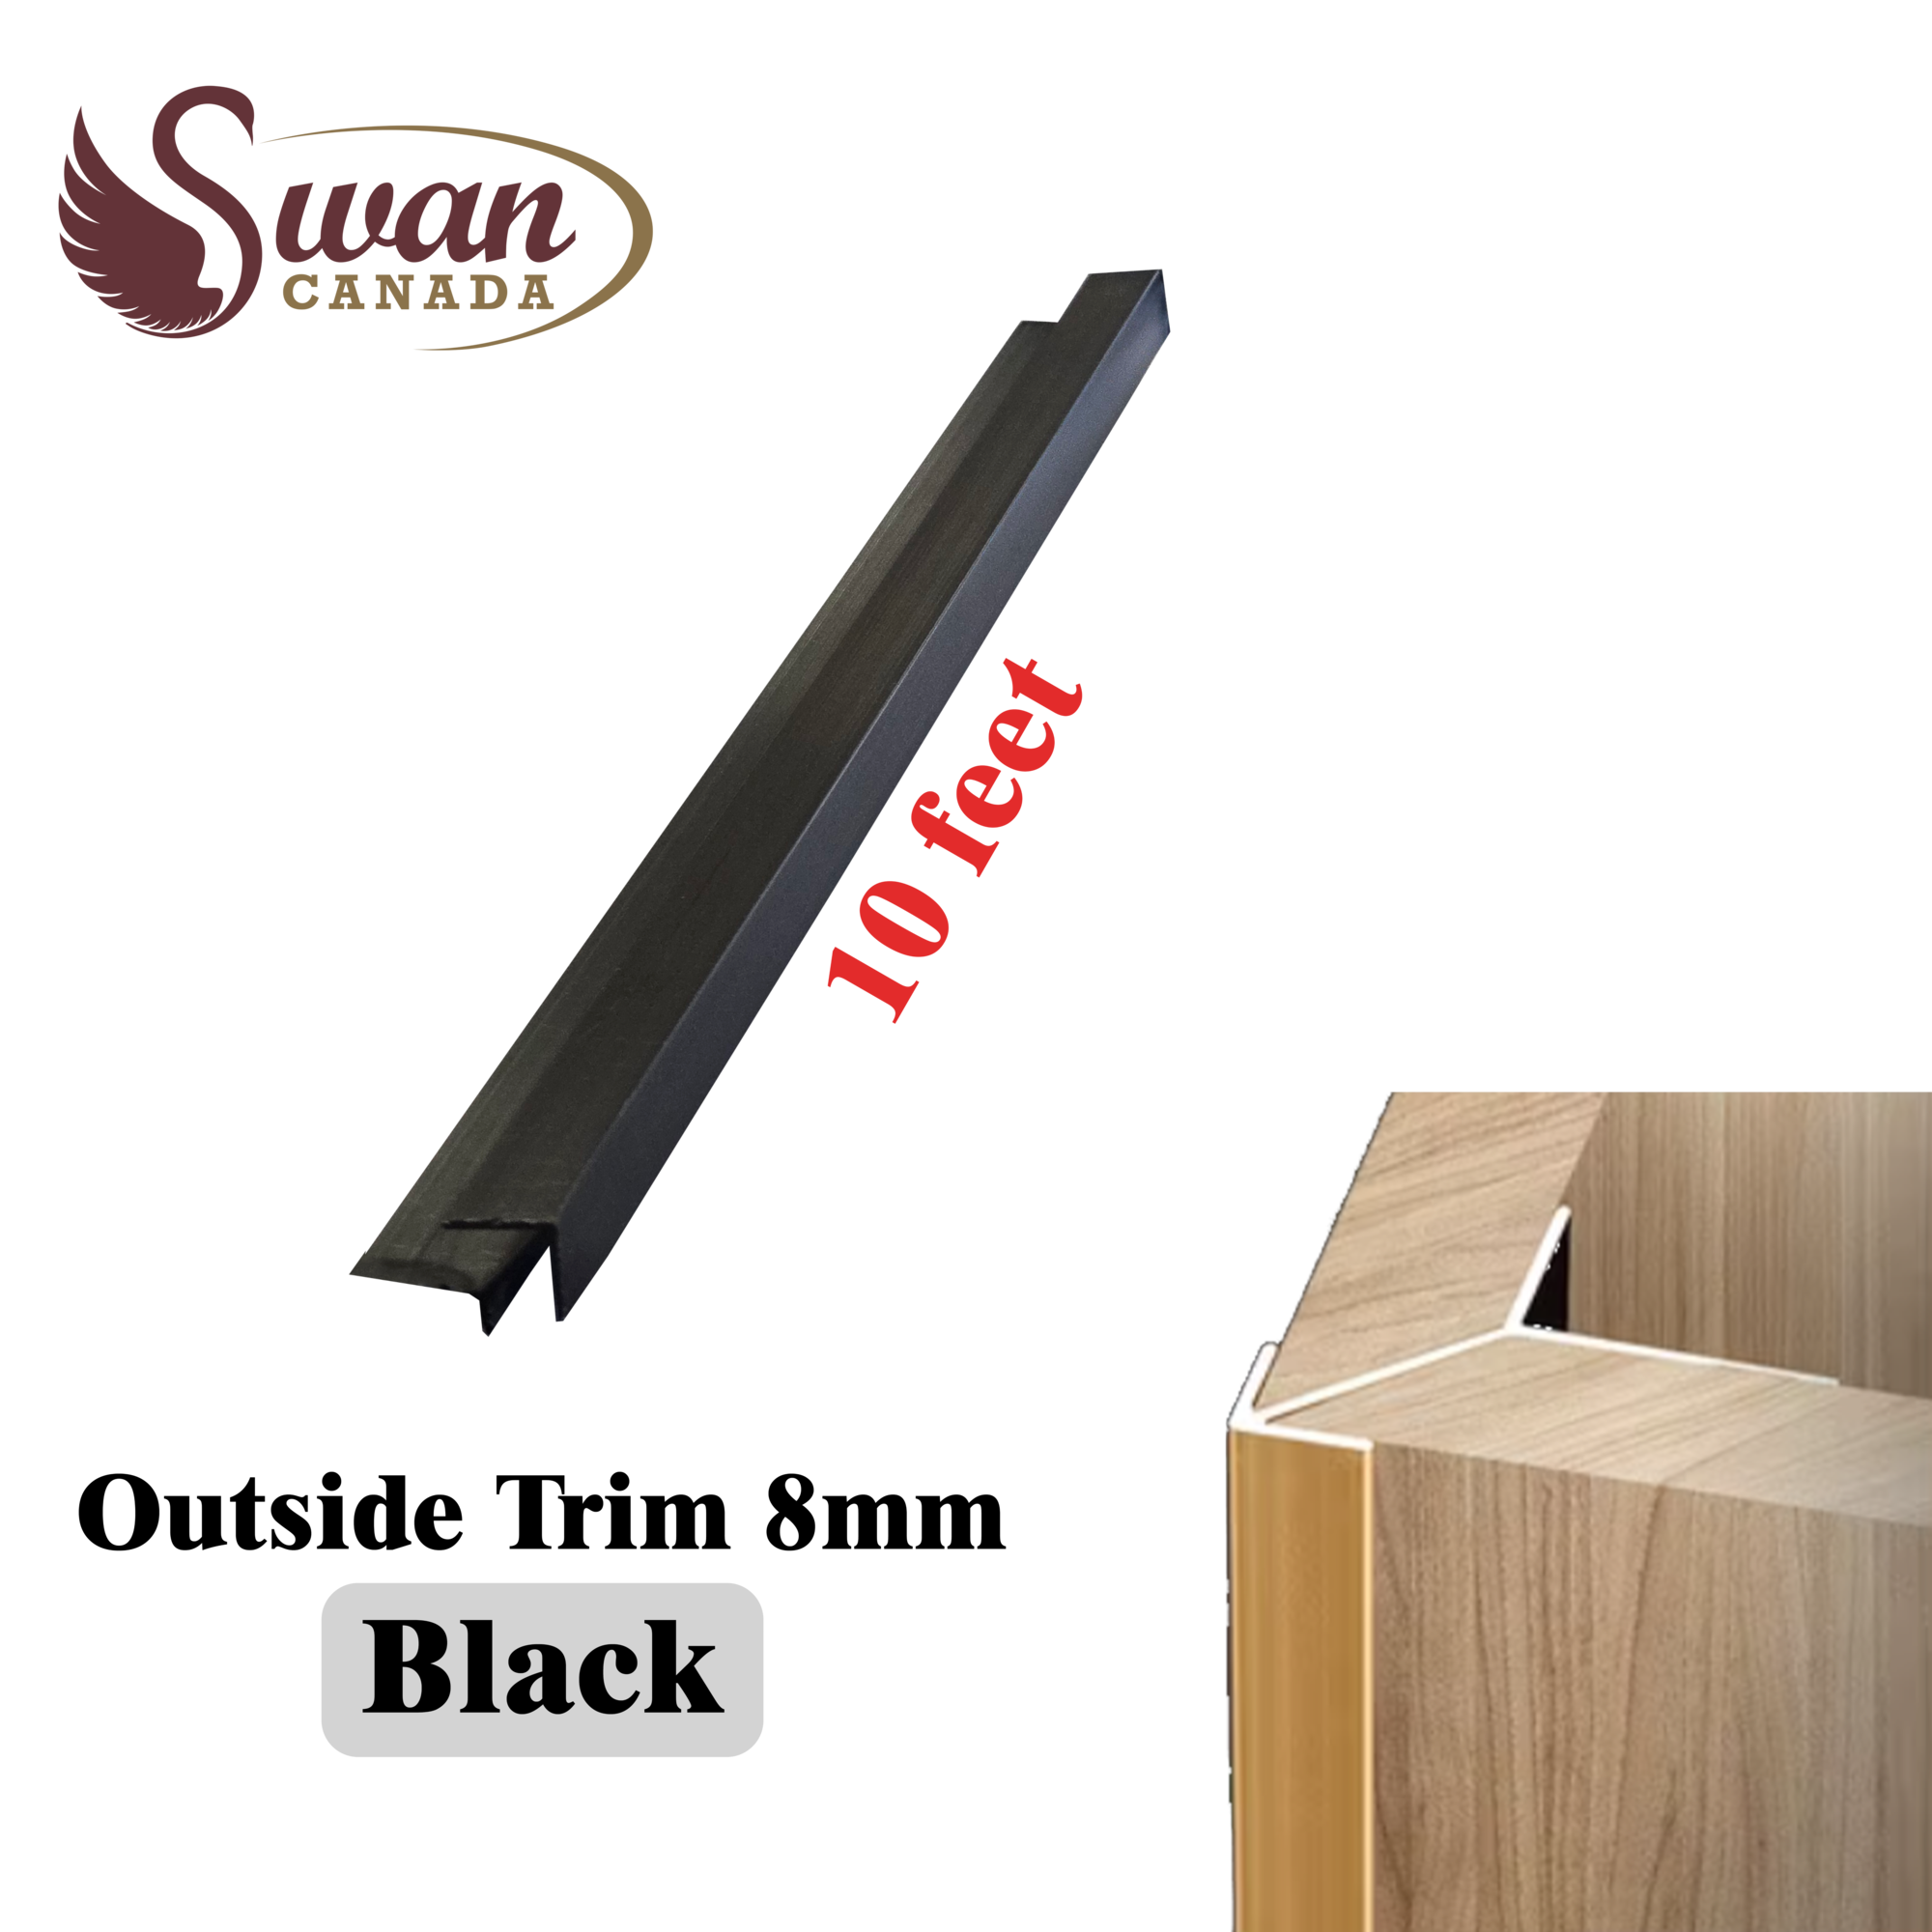
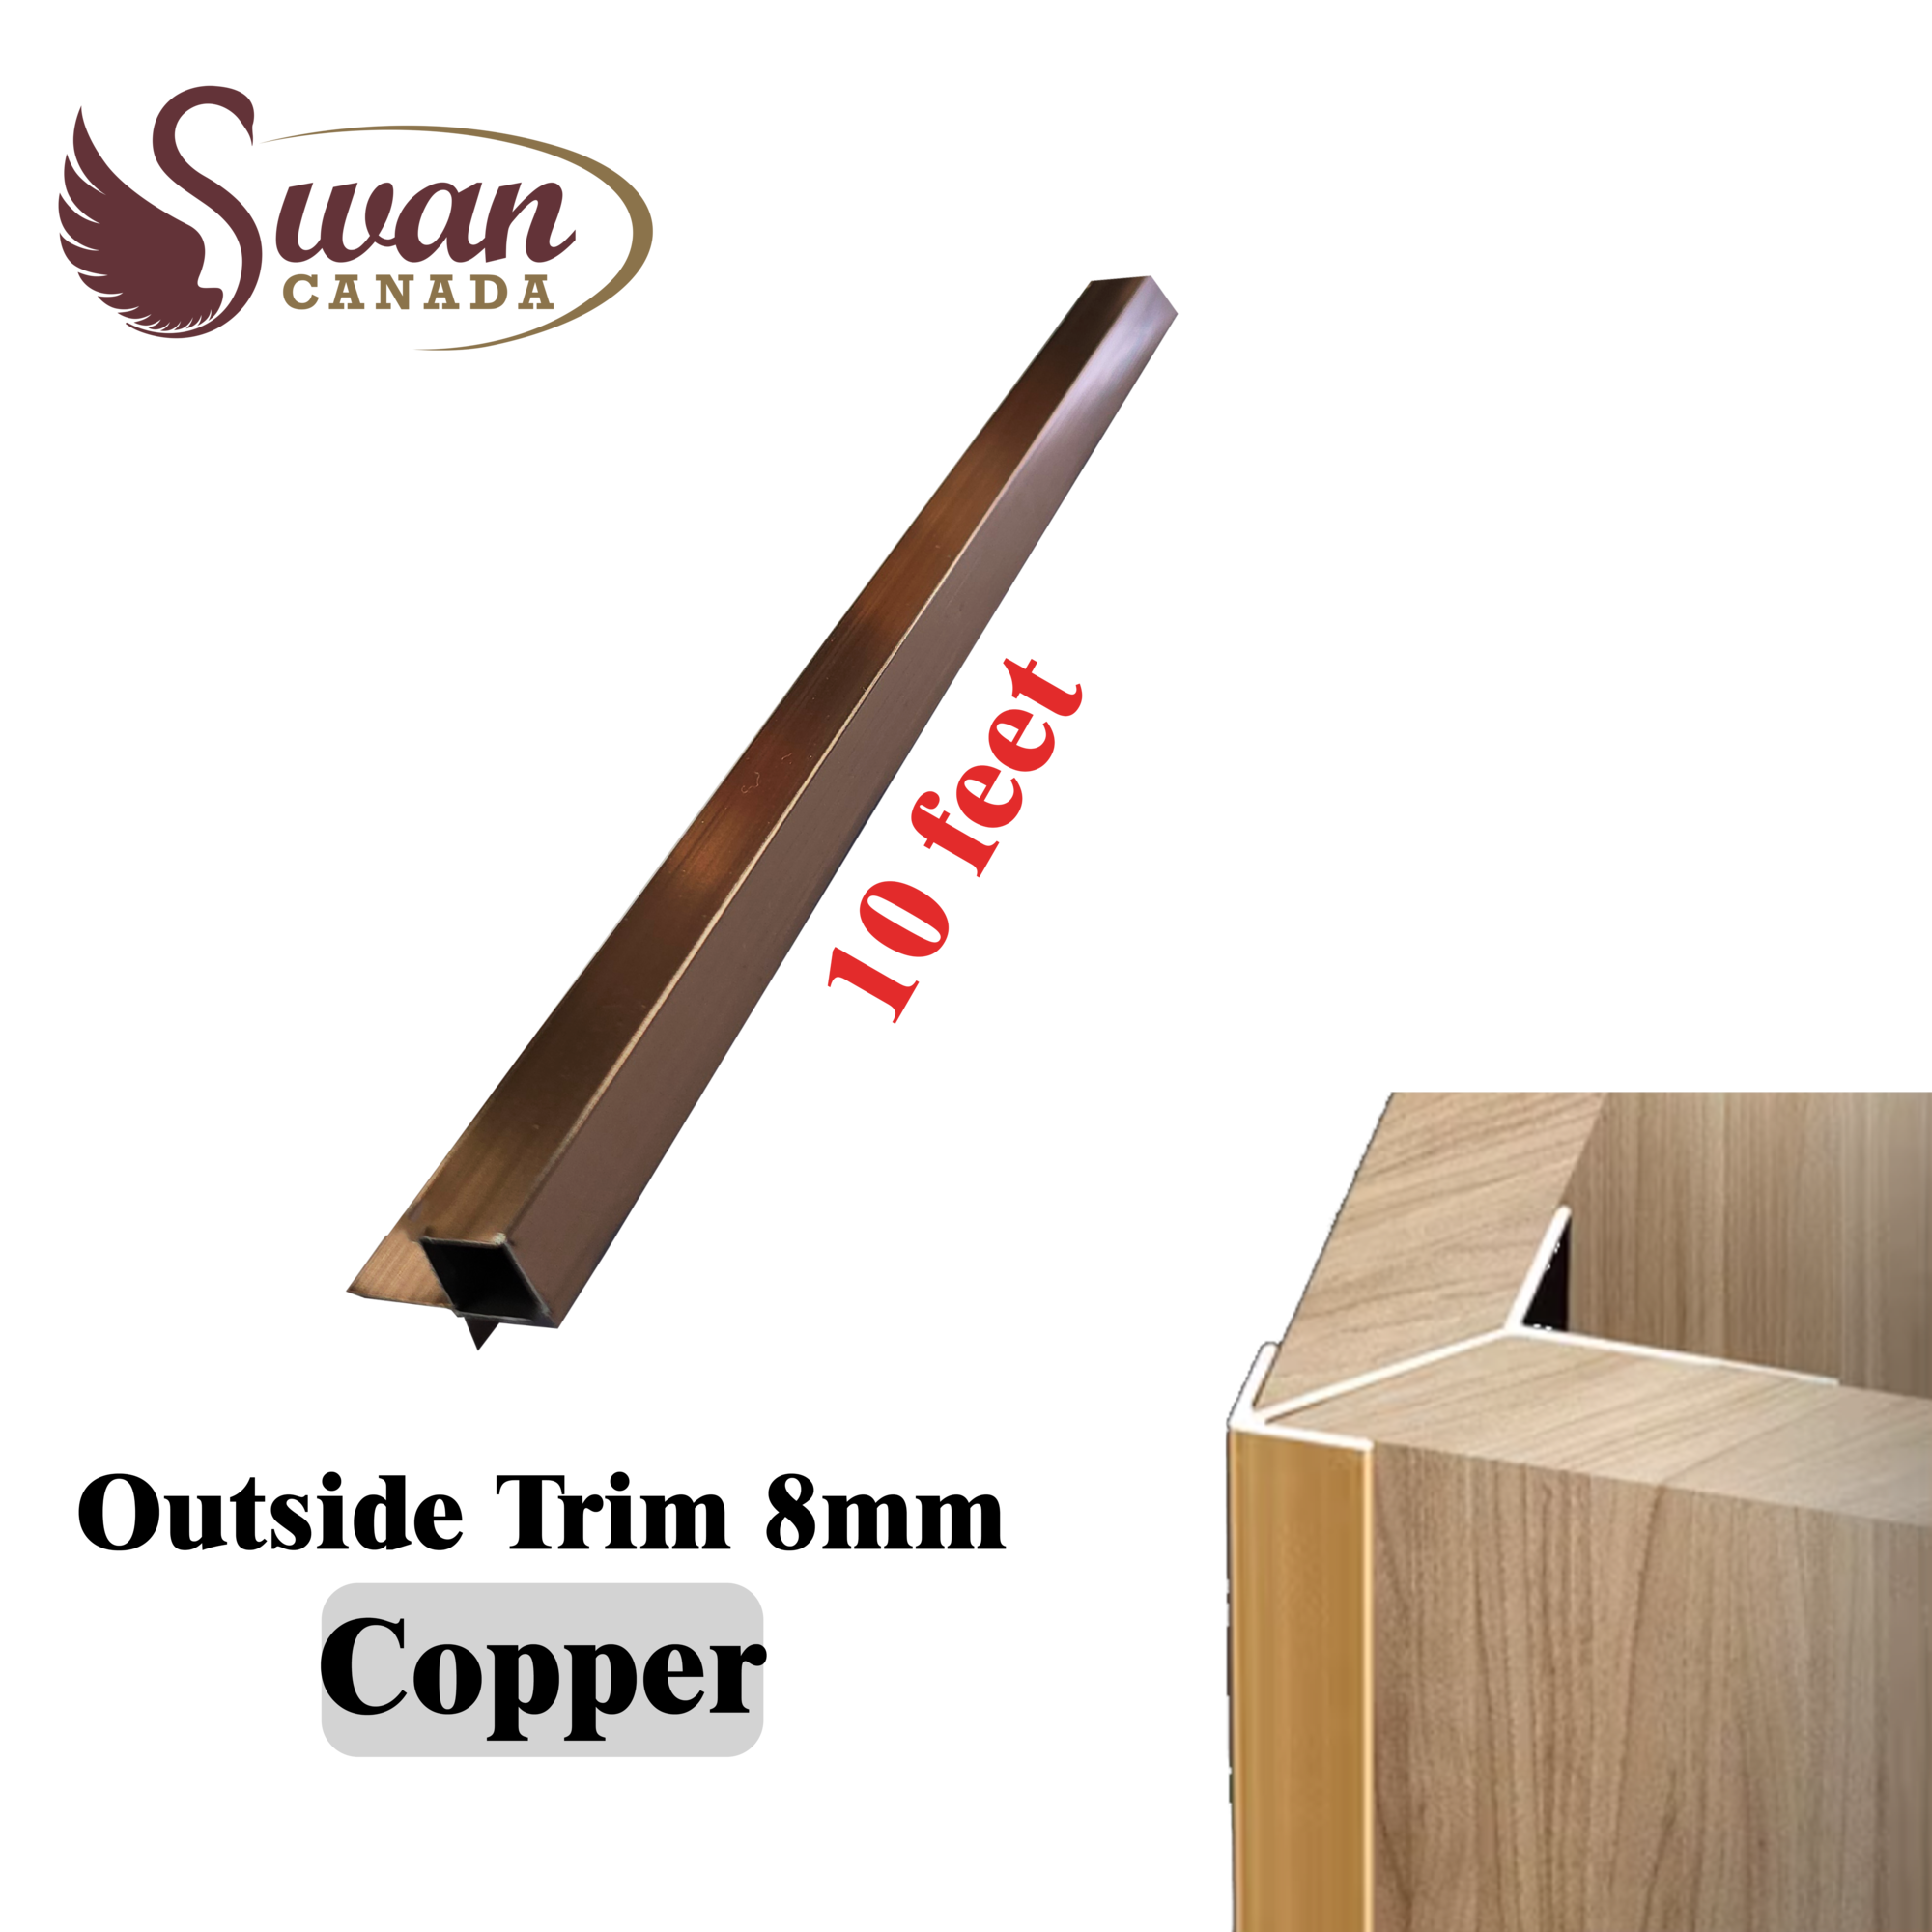
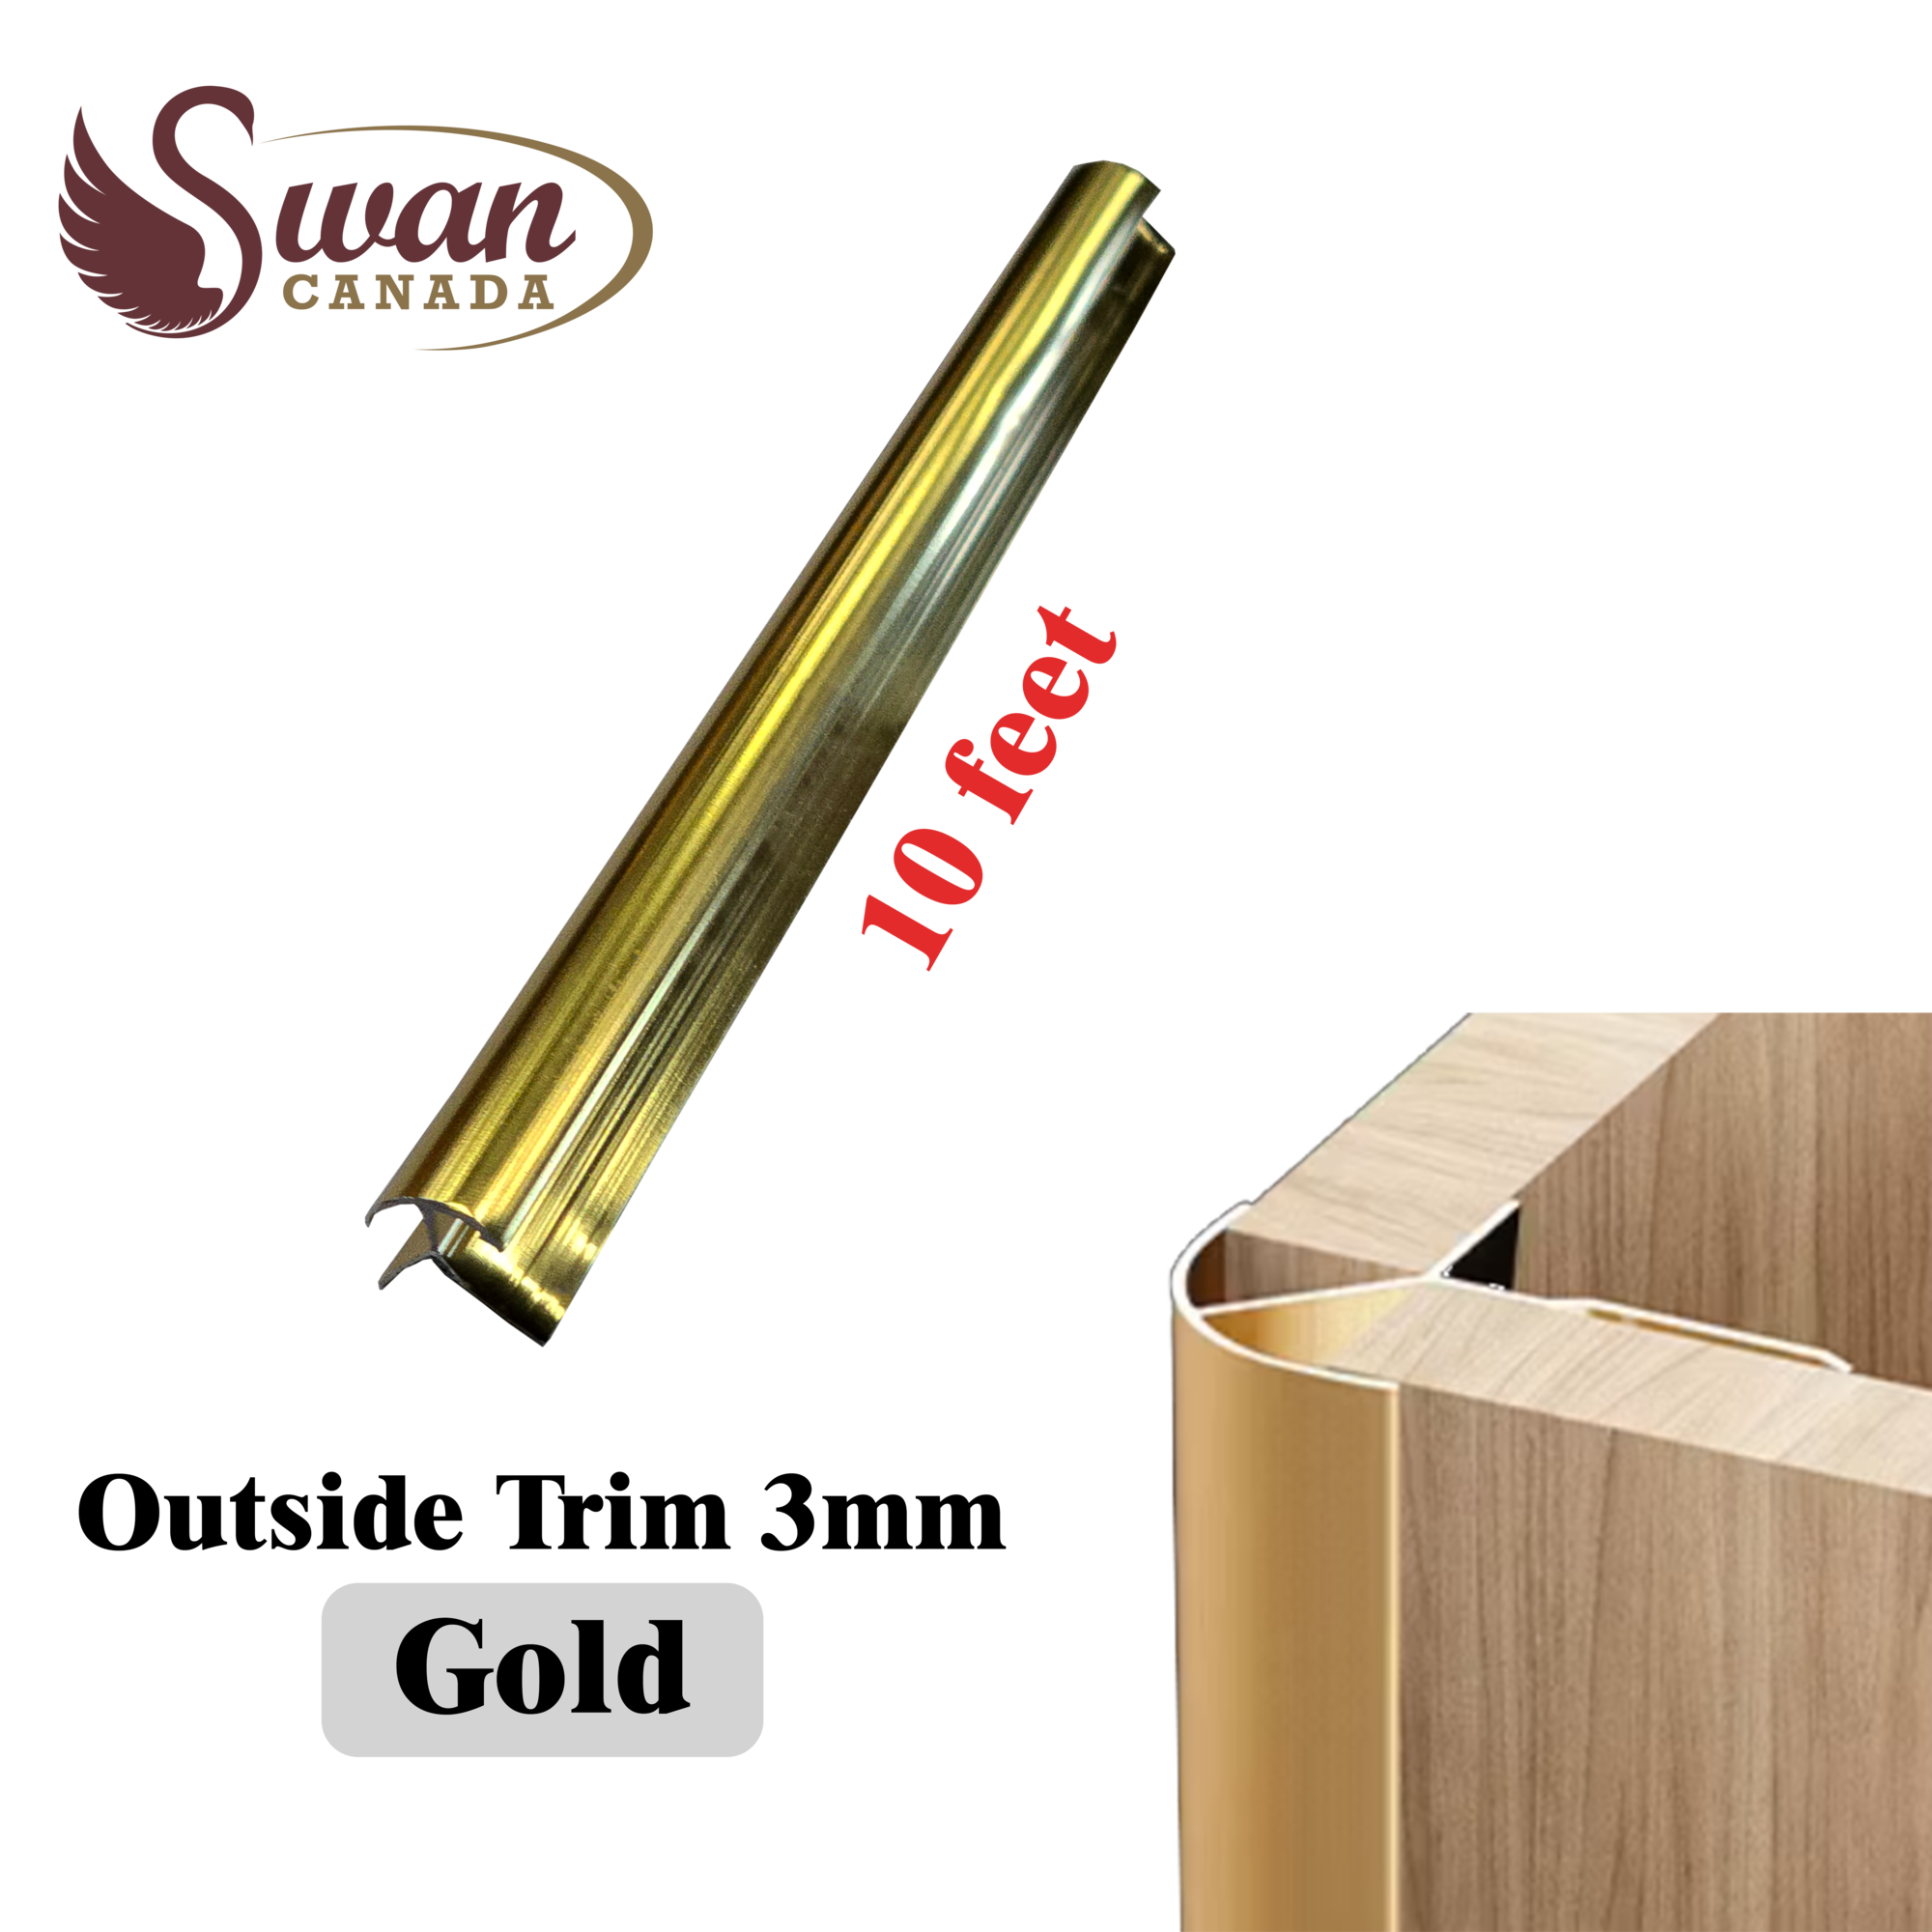
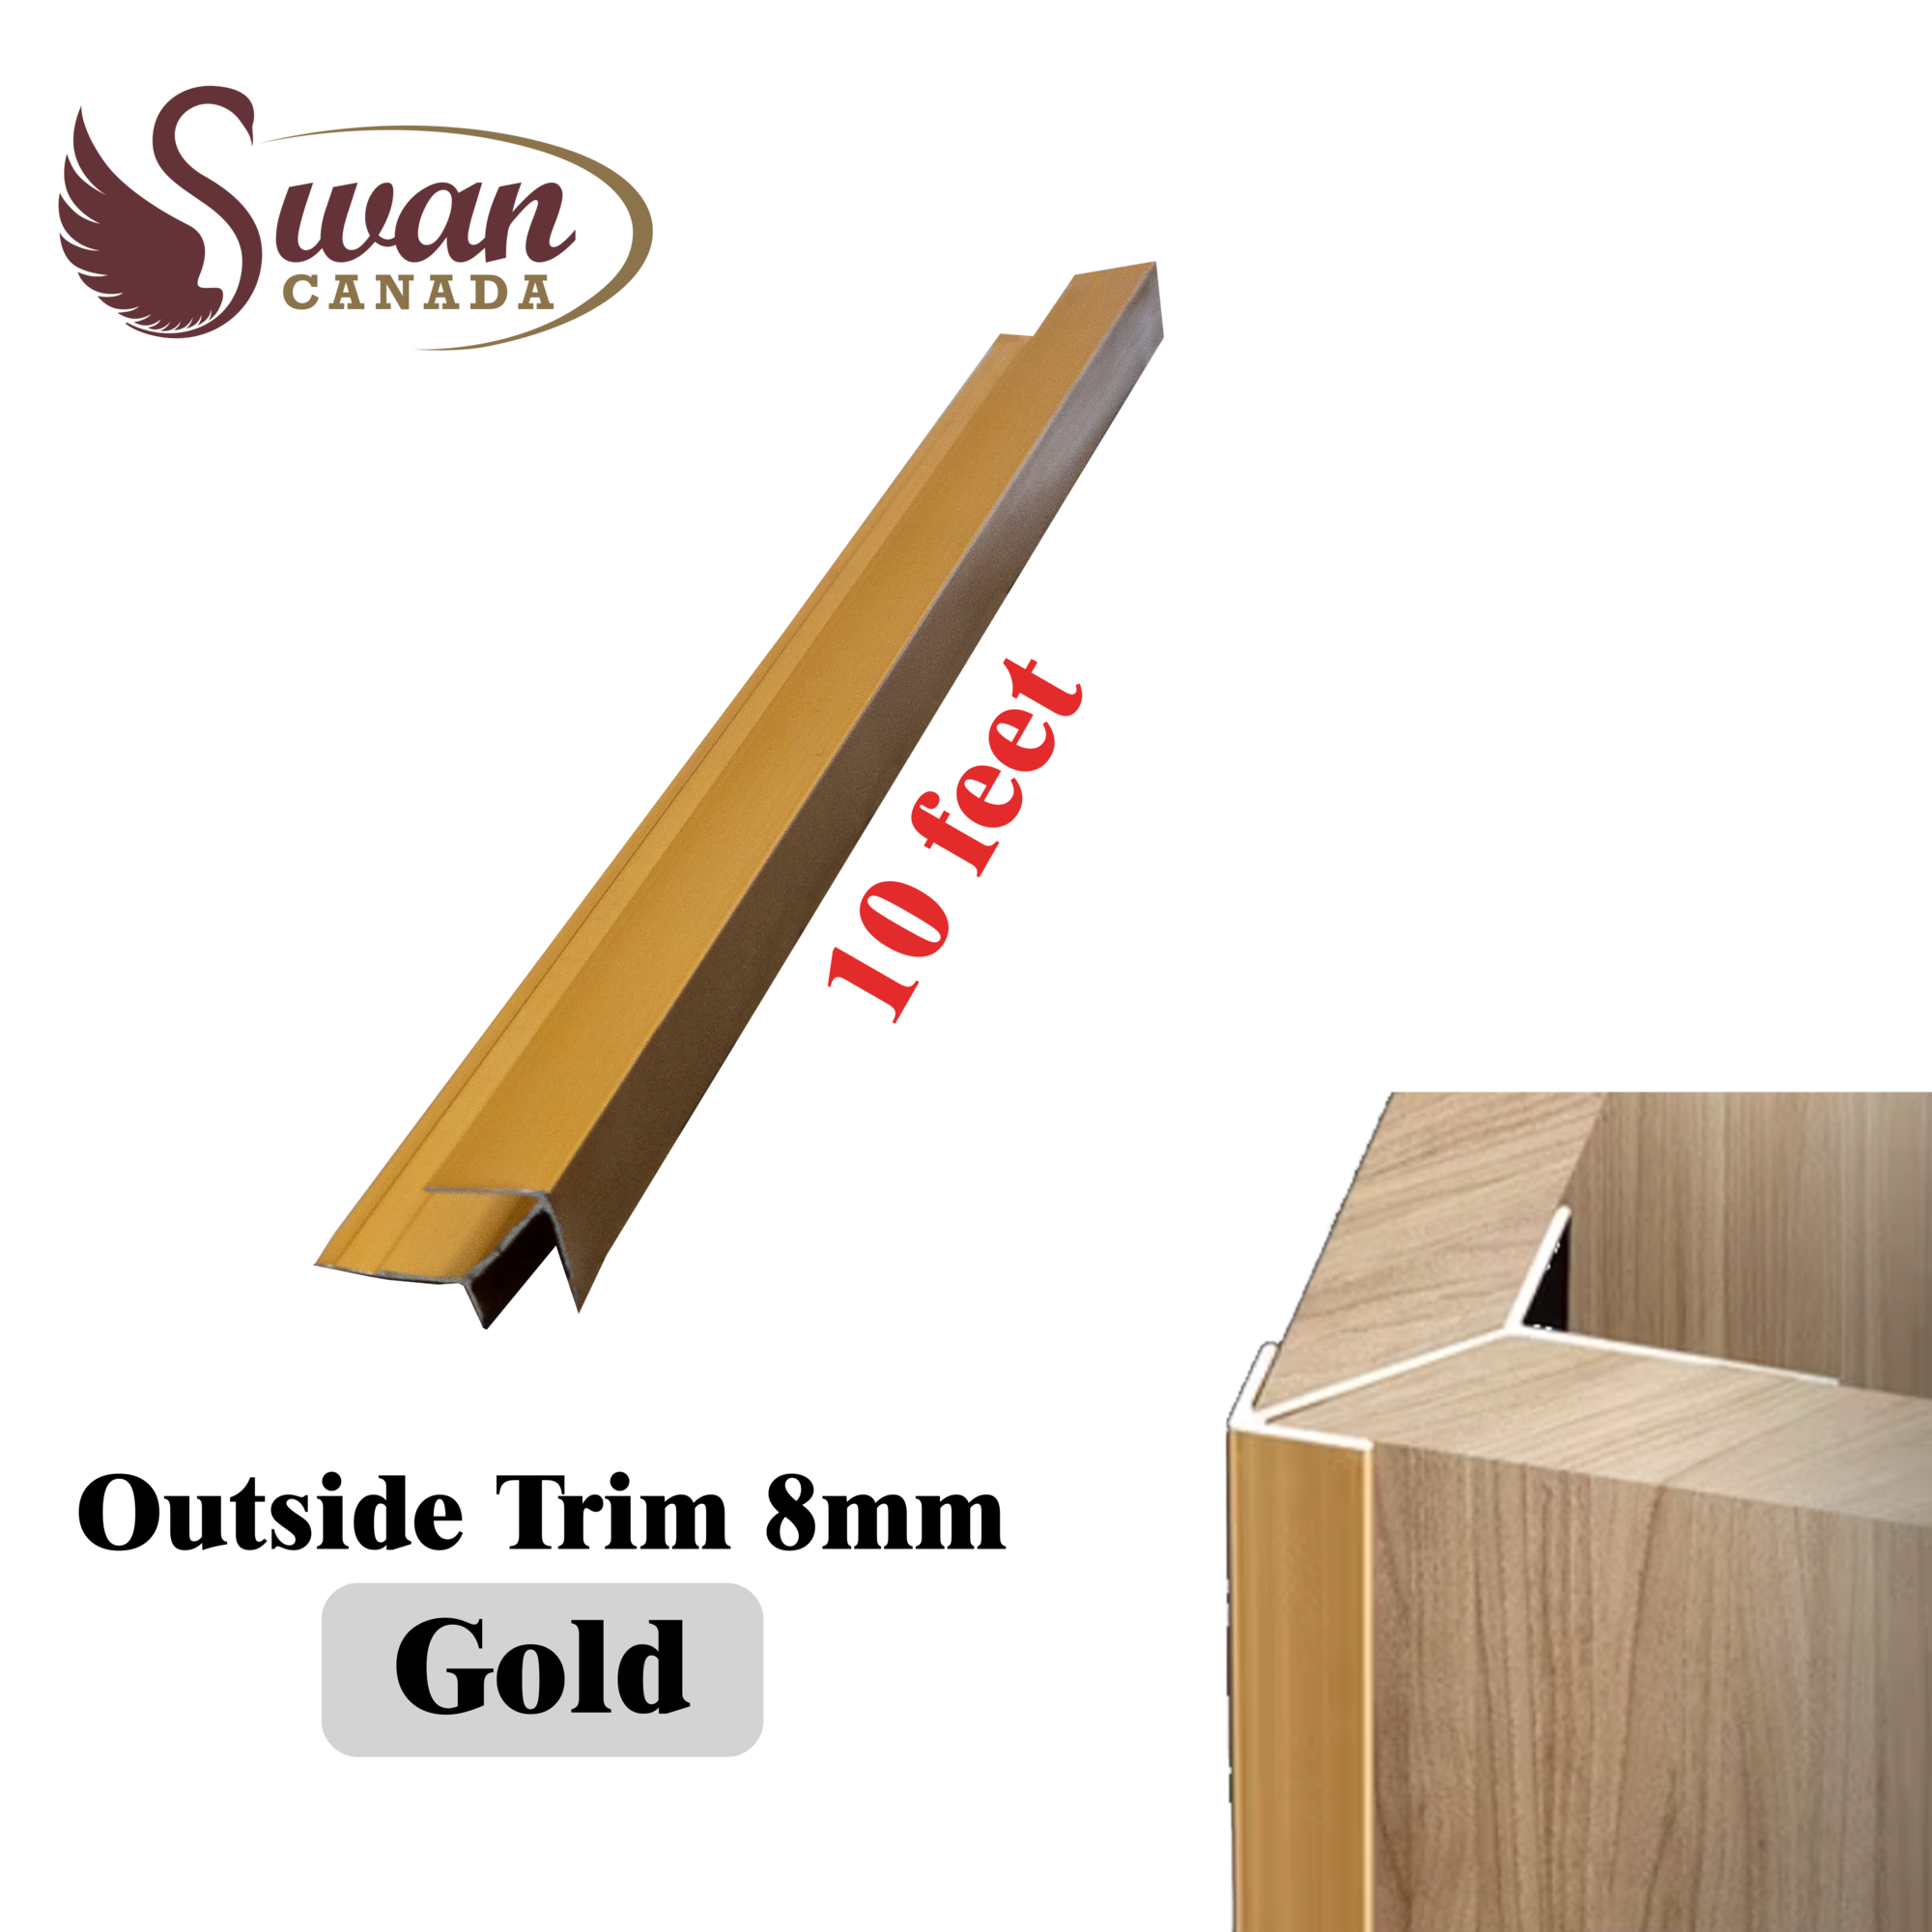
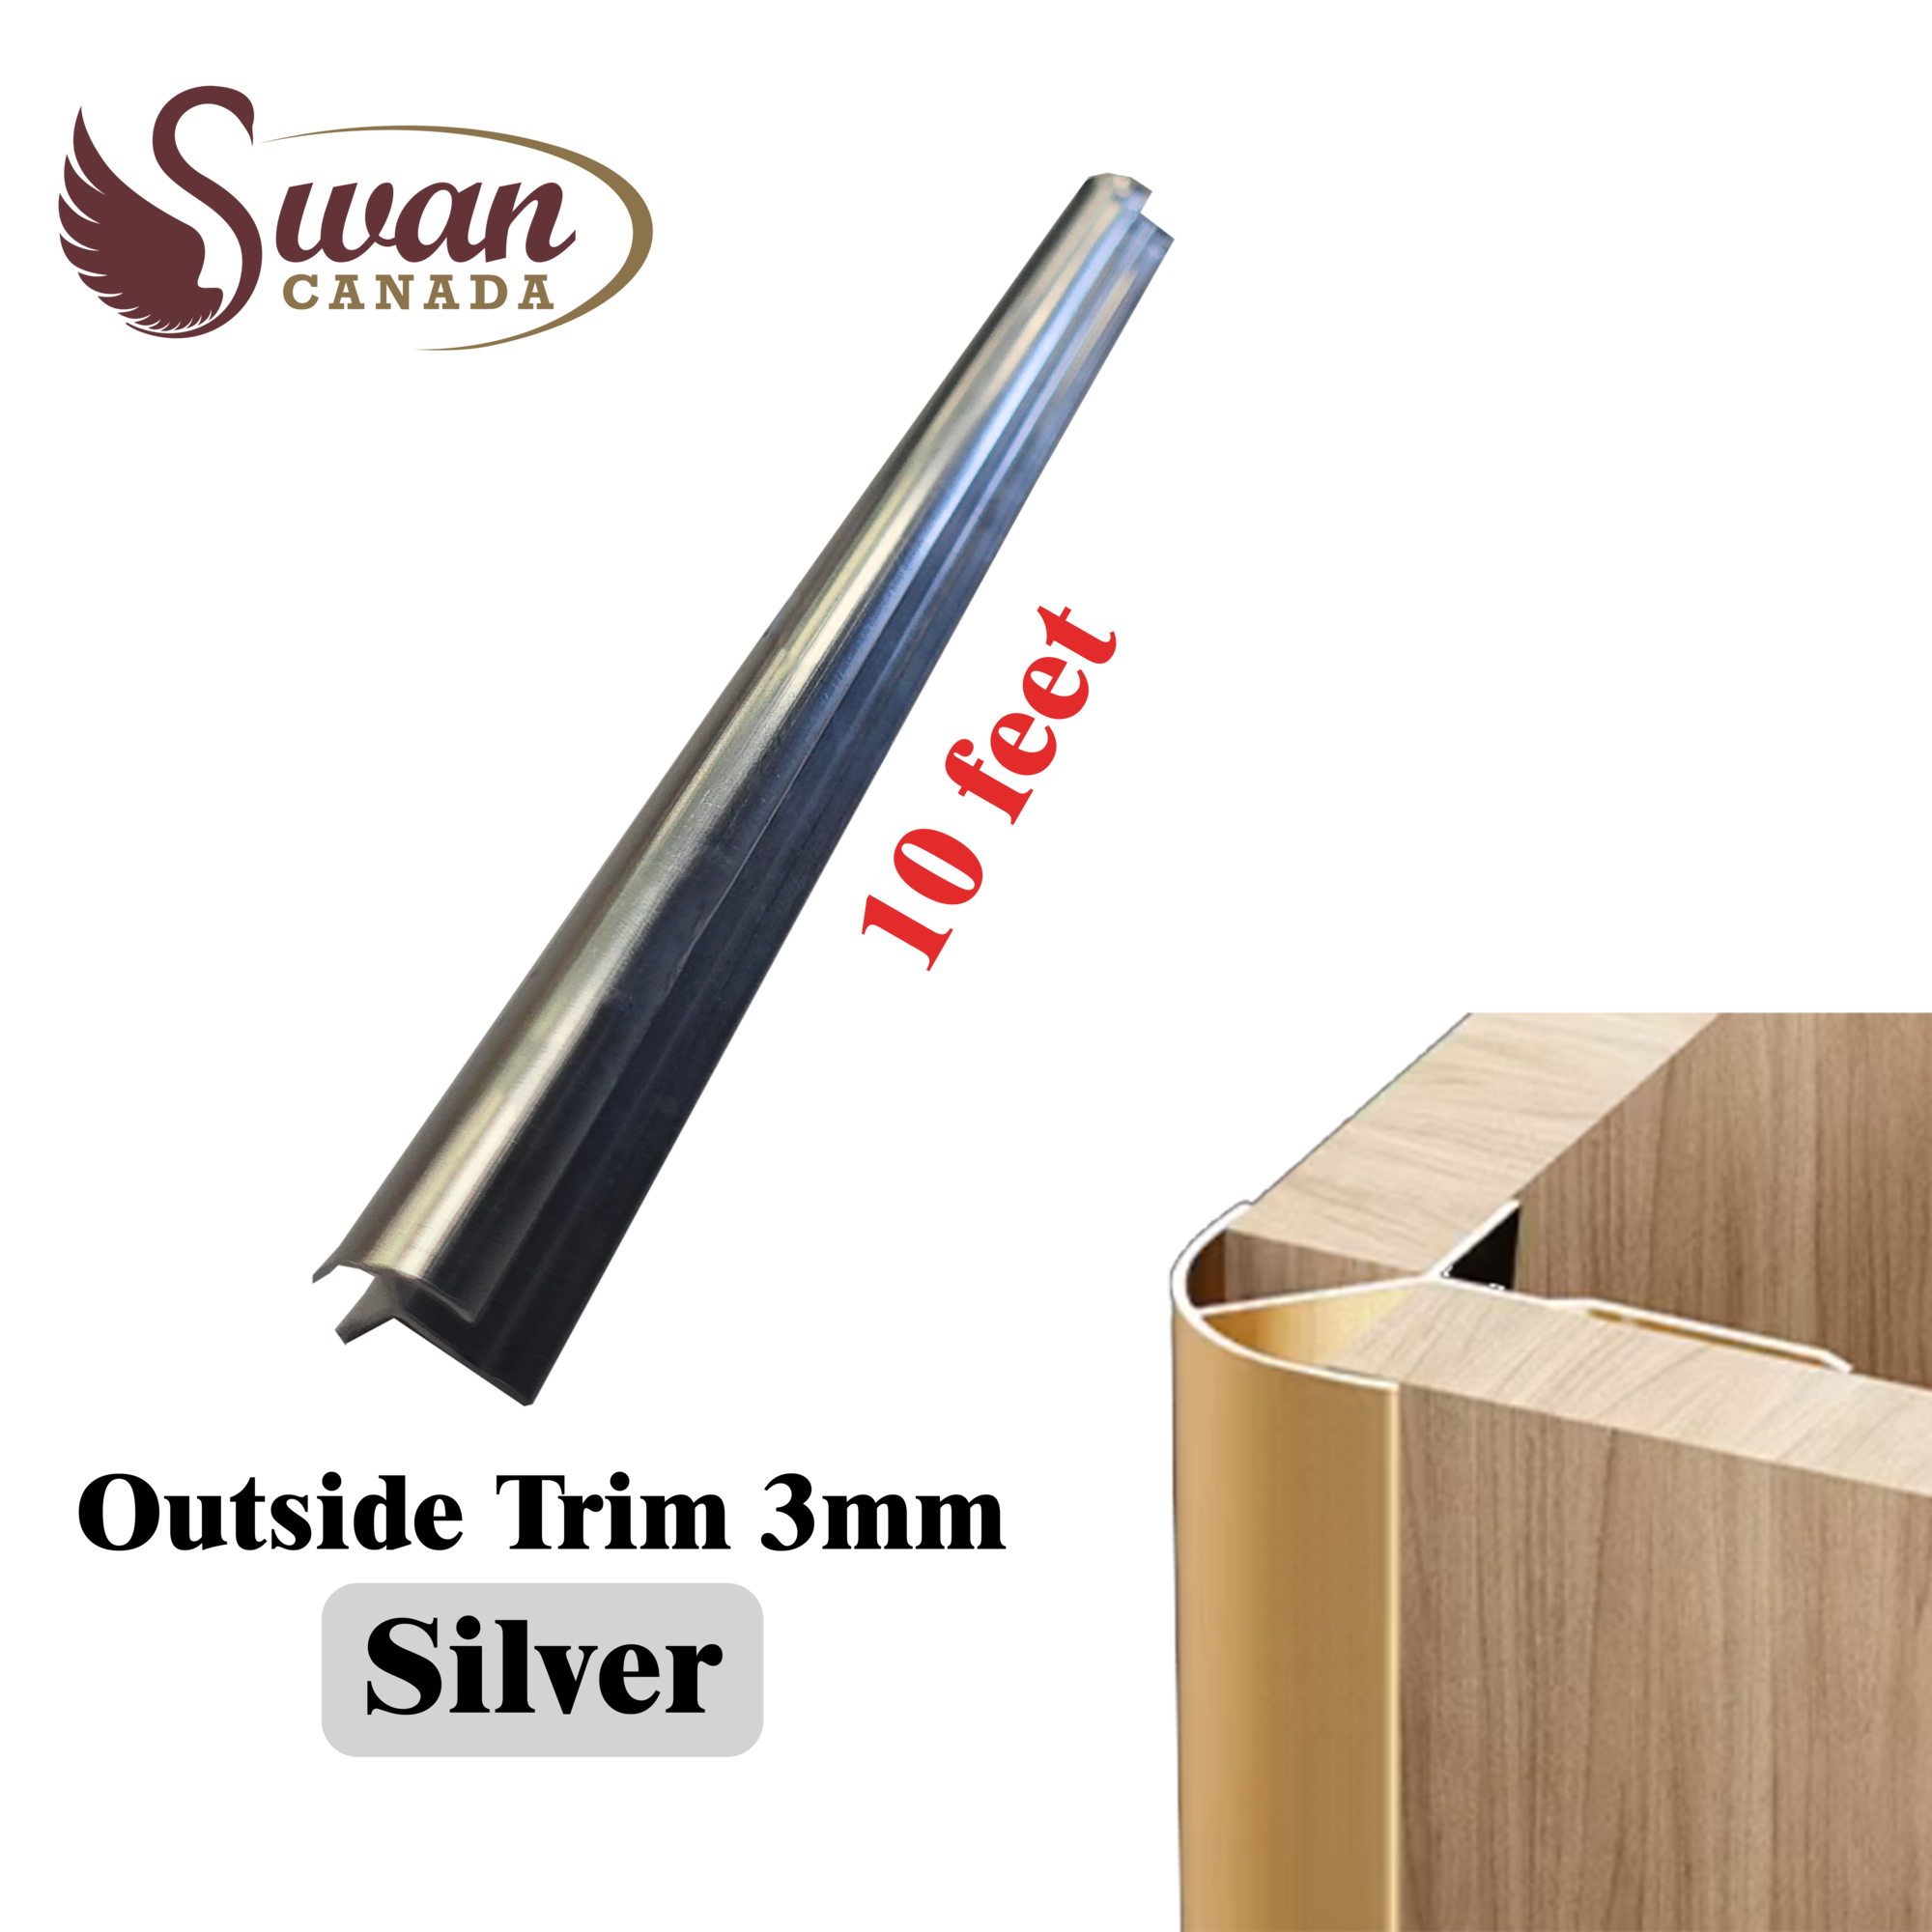
Use compatible Swan trims or a project-approved edge detail. Measure the finished thickness, dry-fit the trim and sheet together, and avoid leaving sharp or unsupported edges.
Can UV marble sheets be installed in a shower?
Only use the product where its instructions and the complete wall assembly allow it. Decorative sheets and sealant do not replace required waterproofing, and penetrations, seams and edges need an approved wet-area detail.
How do I make openings for outlets or plumbing?
Shut off the relevant services, measure from fixed edges and drill relieved corners where appropriate before connecting the cuts. Keep required clearances and have regulated electrical or plumbing work completed by qualified trades.
How long should the adhesive cure before the wall is used?
Curing time depends on the adhesive, temperature, humidity and substrate. Keep temporary support in place and avoid loading, cleaning or exposing the wall to moisture until the adhesive manufacturer’s full cure time has passed.